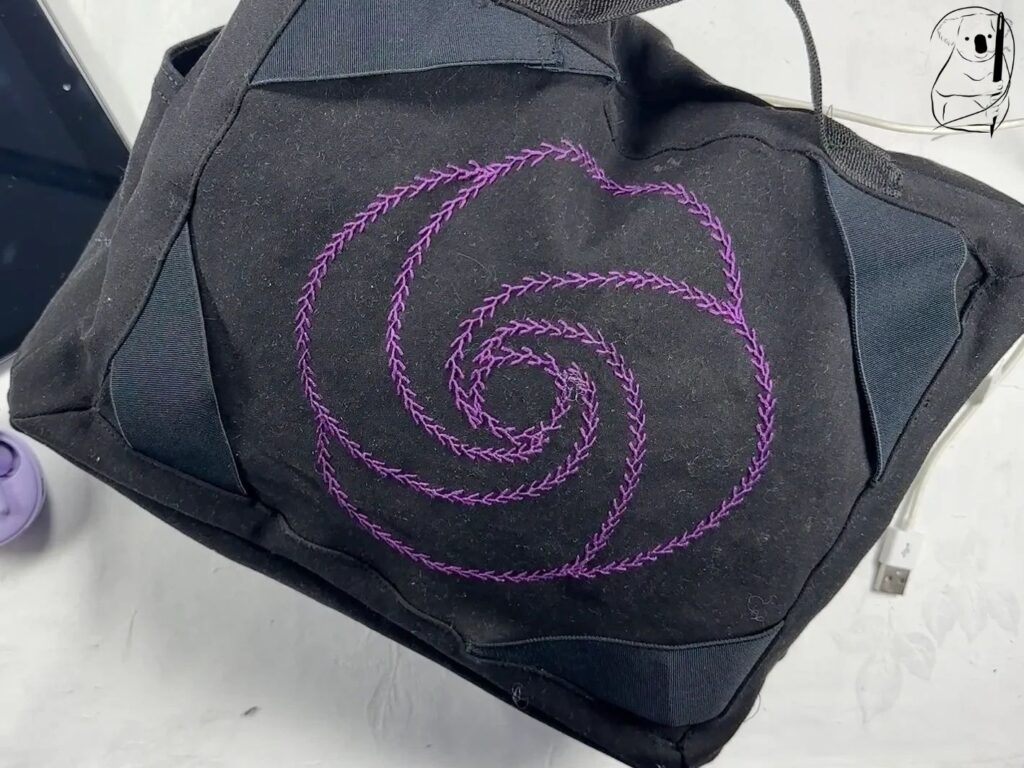
Here we have a 2 part project to decorate and construct a tablet cushion. The end result is a great motif which will personalise and everyday object which will be used nearly every day.
We recycle a pair of black denim shorts which were purchased especially for the project from a charity shop. They were sitting on the $2 rack and so were really inexpensive. They were in a large size to provide enough fabric for the project.
The pattern for the cushion originates from the fabric pieces fo an old ipad cushion that was literally falling apart. It should be noted that not all tablet cushions or tablets are created equal! The sizing of my pattern, which you can find in the Resources page of this website, may not be a perfect fit for other models of tablets or even ipads. You can make adjustments to suit your own tablet when stitching in the elastic to hold the corners of the device.
If you want to recreate this pattern measure up your own device before stitching the cushion together. You will see in the video where I pin the elastic in place then try my ipad in the project prior to sewing it on the sewing machine.
I also upgraded the original pattern to include a small pocket of each side of the cushion to accommodate ear buds and a charging cable. There are no pattern pieces for these pockets as I simply used the short's pockets against the sides and trimmed the denim to fit the space. I did consider going the extra mile and making a pocket to sit on the back to hold reading glasses. I ran out of fabric and did not go this extra step.
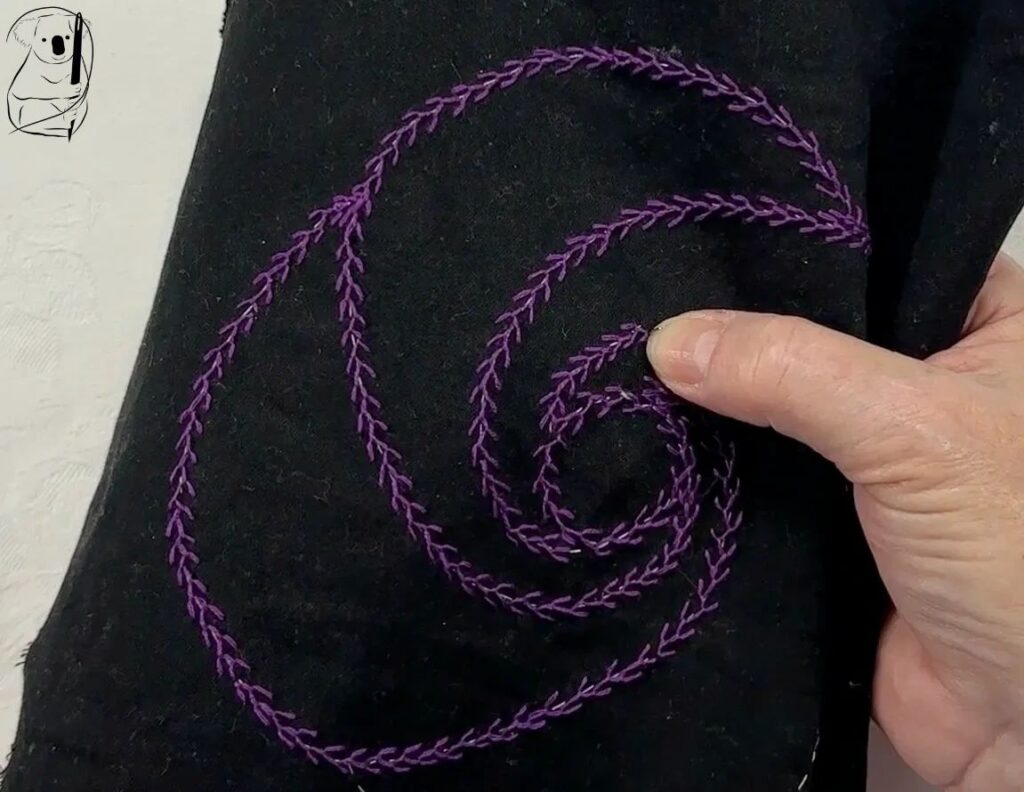
The first part of this project is the creation of the motif - a unisex geometric shape stitched in 2 strands of deep purple DMC cotton.
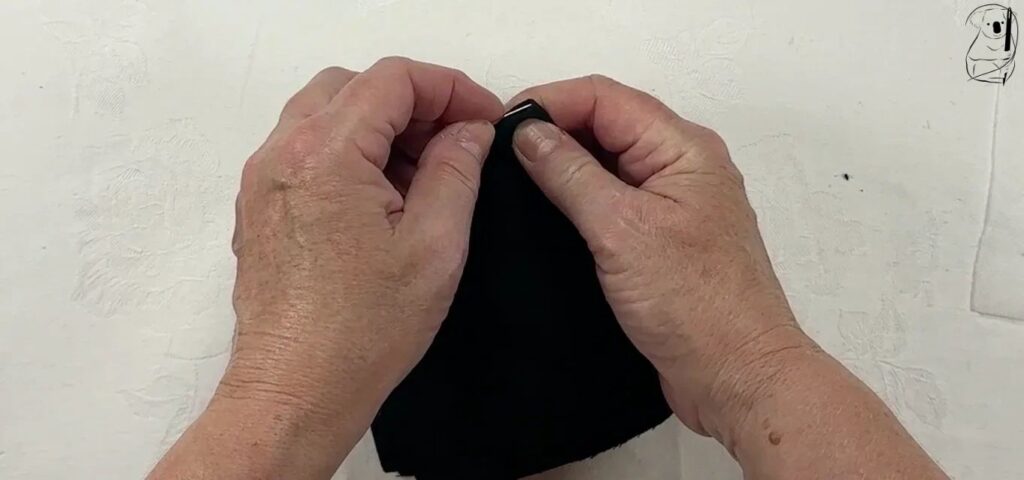
To place the motif on the front piece, I found the centre of the pattern piece by folding it in half, then in half again. I pinned the spot to mark it.
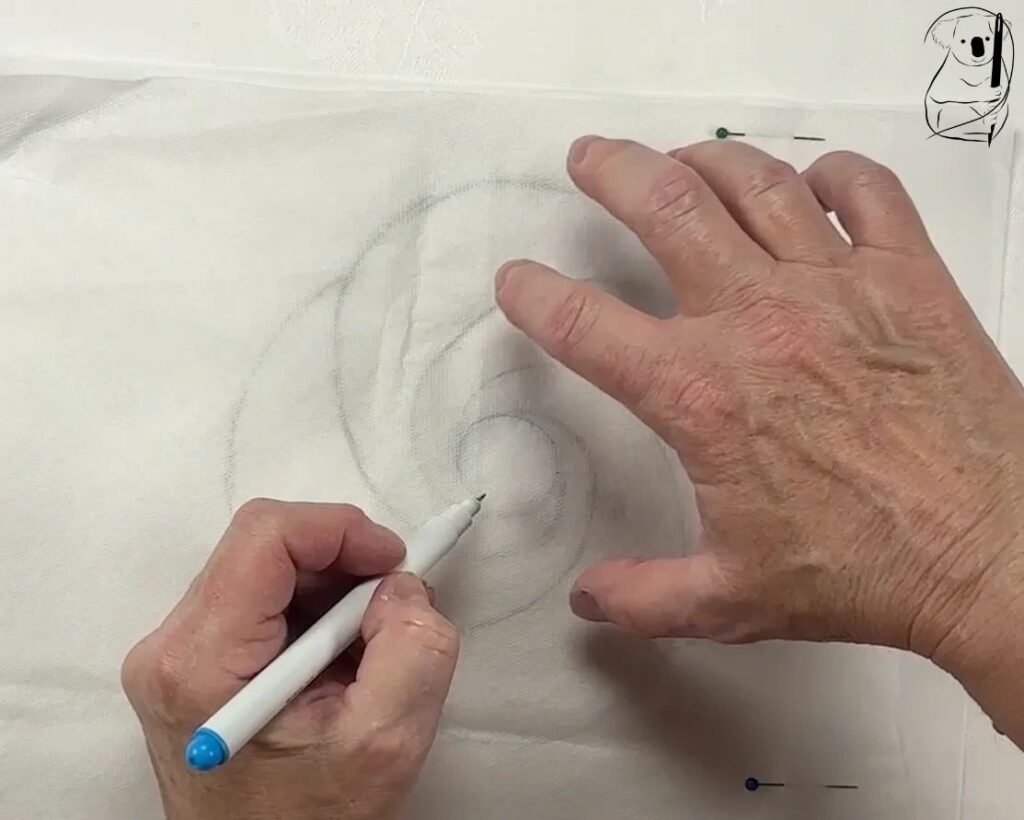
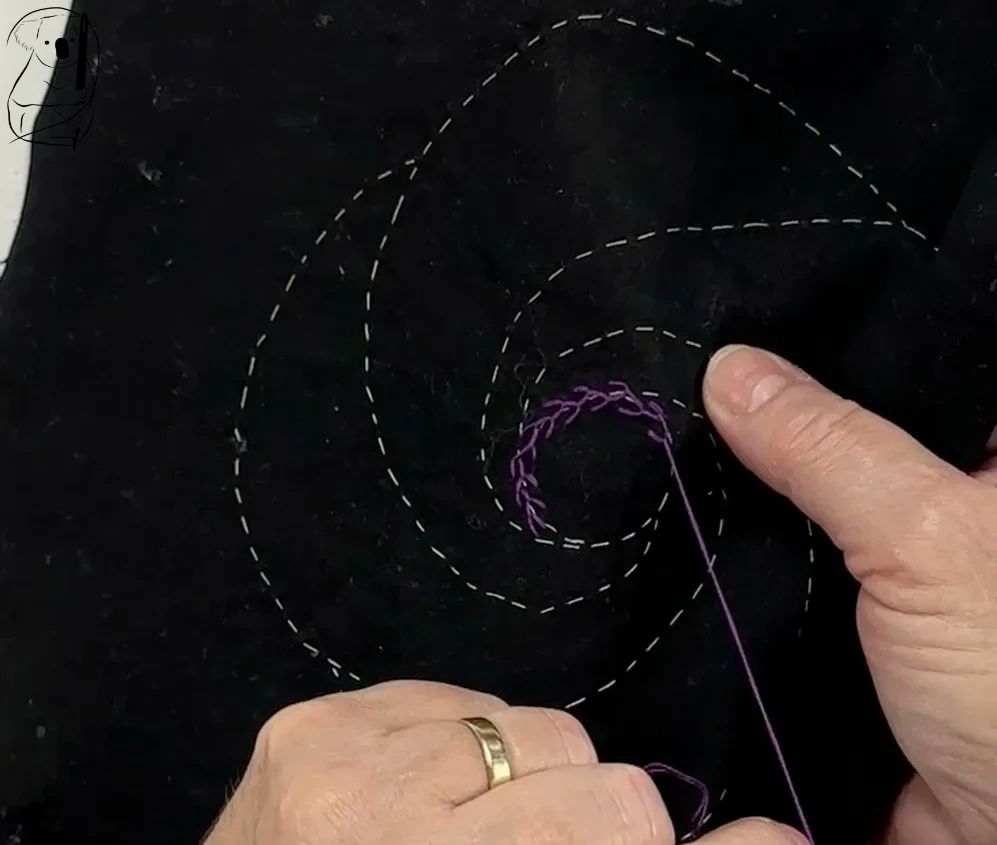
To transfer my image onto the fabric i drew the motif on some disolving fabric (solvy). Rather than stitching through the solvy and fabric, I used sewing machine white thread to stitch the design onto the fabric through the solvy. Here I used a simple Running Stitch.
This method proved to be super effective and very easy to follow.
.
As with the Miriam project using Herringbone Stitch, this pattern involves following curves using a stitch comprised of 2 "halves". On a curve, the inner half of the stitch will always move at a different rate than the outer half of the stitch.
When looking at Feather Stitch tutorials, I often saw 4 lines drawn to indicate where the parts of the feather Stitch should sit. That's great for a straight line. On a curve, it would be very difficult to draw 4 even lines moving around the curve.
Instead, I tried to measure out a distance on both sides from the line of white stitching by eye. This formed the outer edges of the Feather Stitch. The 2 inner lines of stitching fall right close to either side of the white Running Stitches.
This worked remarkably well and generally the stitches were even and looked regular.
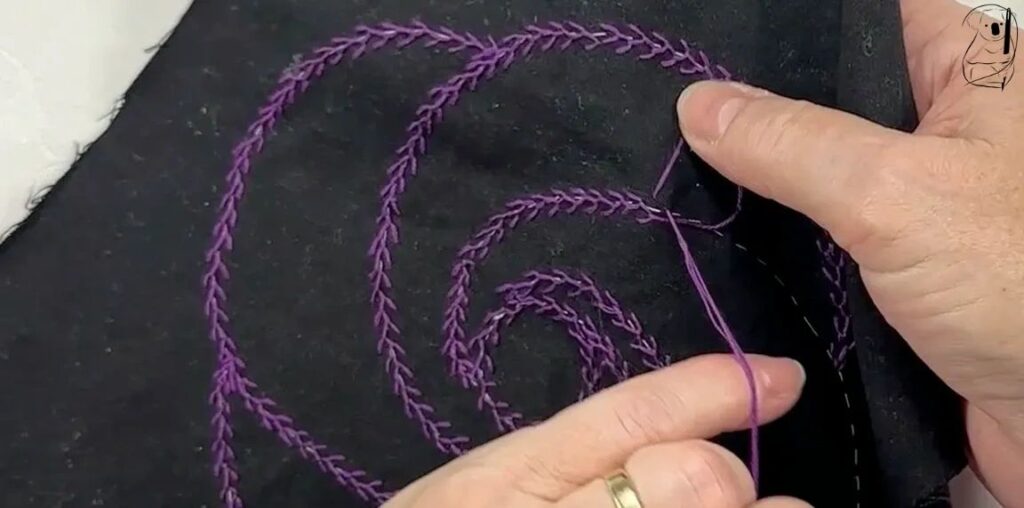
ng the needle at set distances from the white Running Stitch.
The curve at the centre of the motif is much tighter that at the outer edge of the design.
I had to keep turning the fabric around to maintain my stitching direction through this whole piece but more so near the centre.
You might notice that at the start of the stitching of Feather Stitch, I did struggle to work the thread to sit under the needle on occasions.
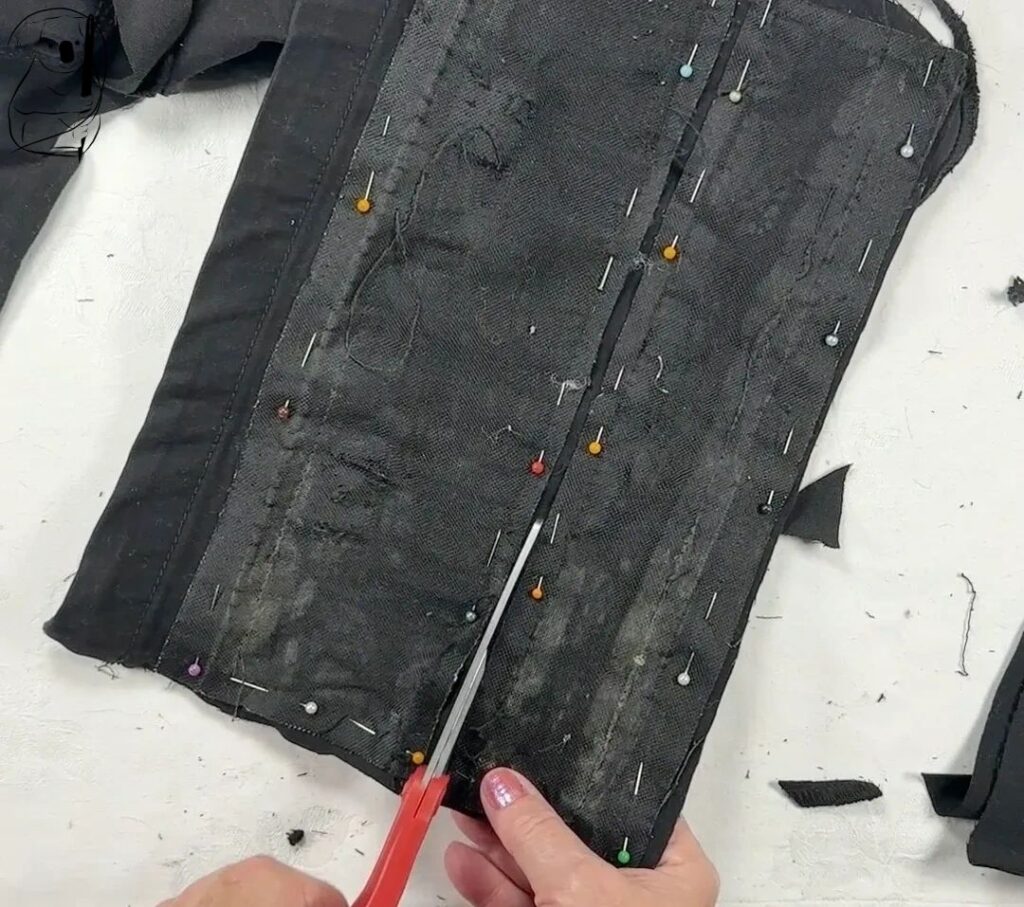
When cutting out your pattern be aware of the limited amount of fabric you have. My shorts were almost completely used up with this project. Always place as many pattern pieces out on the available fabric as you can before cutting the fabric. The larger pieces should be placed first and smaller pieces left to last as they may fit into narrow sections left on the garment. The trim which surrounds the front square, was placed right up against the inner leg seam under the crotch curve. These pieces are deceptively long. To lay the fabric as flat as possible cut the seams with scissors.
You can see from the photo to the right, that the old cushion pieces were really worn, grubby and had bits of plastic backing falling off. Note that the seam allowance on those pieces and the pattern in the Resources Section is really small - about .8cm or just under 3/8 inch.
This is quite common in commercial garments and sewn items. Be aware when stitching up this pattern that the seam allowances are much smaller than those in the sewing patterns you may be used to
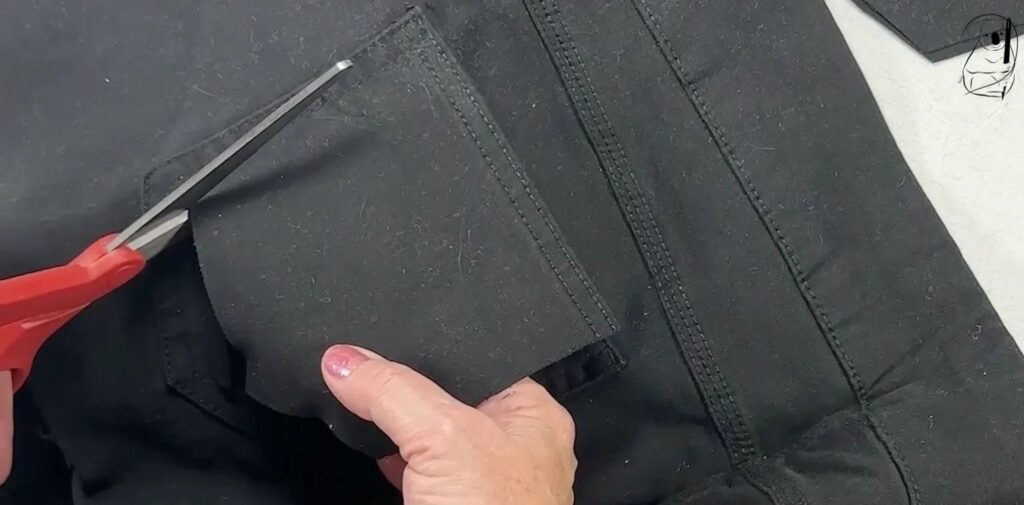
Using the existing pockets was a great way to utilize a part of the garment. They already had a great finished hem and were big enough to hold the ear buds and cables. You will see in the video that when pinning the pockets onto the side pieces, I created space in the pocket opening by placing a eraser under the fabric. Having this little bit of extra room in the pockets makes it a little bit easier to get fingers in and out of the space.
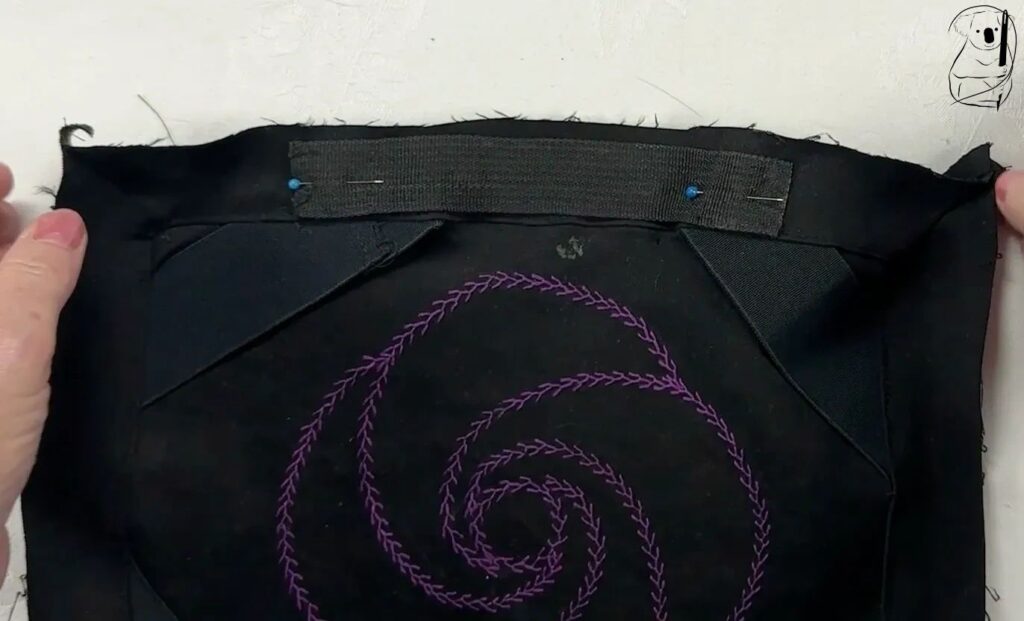
For this project I salvaged what could be useful from the old cushion and this included the hand strap and the zipper. They do show wear, however I know that they will be the exact size and weight required for the new cushion.
Watch out when sewing the strap ends to the fabric and be sure to stay outside of the seam allowances. And when using an old zipper always test it by running the zip pull up and down a few times to ensure it still works smoothly.
When using zippers from old garments and other items, you may find that at the ends of the zipper the teeth are not held together by a metal clip. If this is the case then sew the teeth together by hand with sewing machine thread at each end.
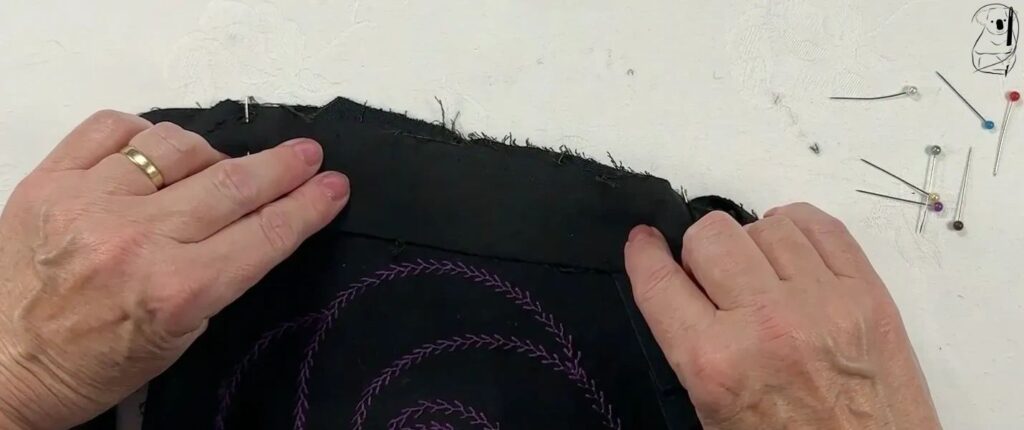
I was quite fortunate that the denim shorts used in this project were made from a stretchy fabric. This made easing the fabric around corners very simple. I hadn't even considered this to be a factor when selecting the garment for the fabric. The trim pieces around the front motif have lots of corners to sew and the stretch was a real benefit here.
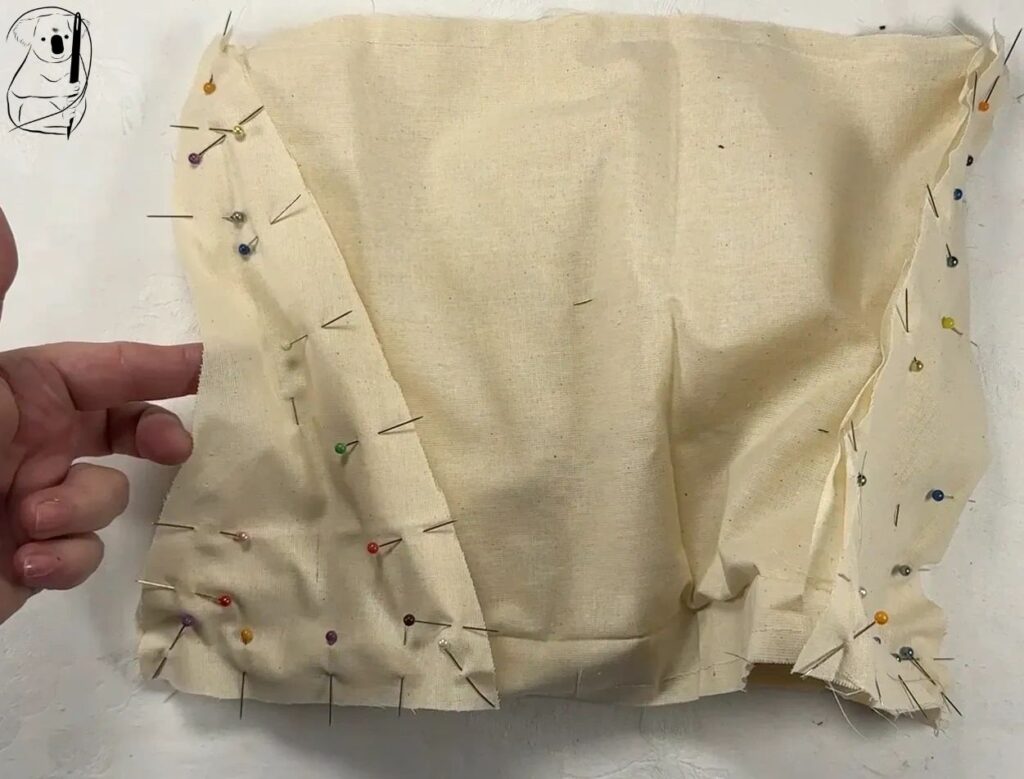
The lining is much simpler than the cushion itself. It is made from the Back piece cut twice, 2 side pieces and a bottom.
When stitching the second side piece to the back pieces, be sure to leave a gap so you can insert stuffing into the lining once it has been sewn and turned right side out.
Don't make the same mistake I did. I stuffed the lining then sewed it up. I thought I had finished off the cushion but was told that it was too soft - so I opened up the lining again, put more stuffing in and restitched it.
Next time I would baste or pin the lining closed at this gap and then test out the density of the cushion by placing it in the cushion cover. If it is dense enough, then the gap in the lining seam could be properly closed.
I was suprised how quickly the embroidery grew and was completed, and also how simple it was. It literally only took a couple of hours to complete the embroidery. And I love the colour choice for a unisex piece that gets daily use. The cushion went together easily due in part to the stretch of the fabric. Test out the pattern as you go, firstly to make sure your tablet is going to fit comfortable inside the elastic corners, and secondly that adequate stuffing is in the lining to support the tablet comfortably.
My materials for the motif were
Large black denim shorts - thrifted
Crewel Needle
Fabric style solvy
Iris embroidery floss colour no. 755 purchased in a mixed bag of floss at a thrift store
Some white sewing machine thread
Blue water soluble marker pen.
Watch the video of decorating this project on YouTube.
Watch the video of constructing the cushion on YouTube.
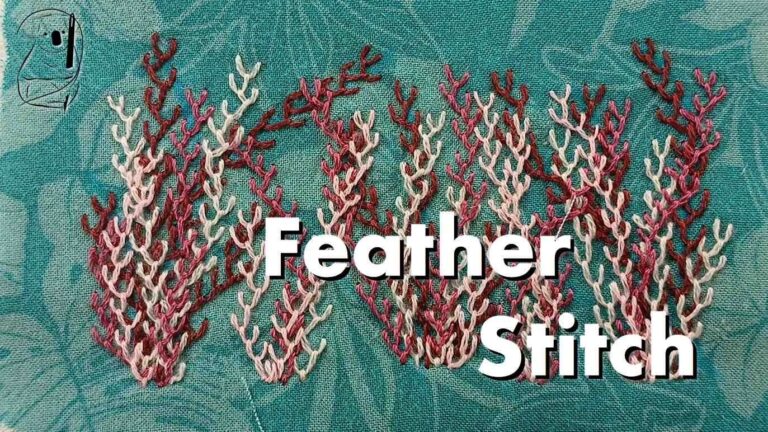
Watch our video tutorial on Feather stitch on YouTube.
Look at our web tutorial for Feather stitch here.