Graceful and flowing, feather stitch abounds with decorative and functional possibilities.
Whether creating a beautiful representation of foliage or seaweed, as an abstract decorative element, or used to hold down a facing or the edge of the fabric, feather stitch is a great stitch to bring an interesting blend of organic and geometric to your stitching.
Steps to Create a Feather Stitch
Step 1: Preparation
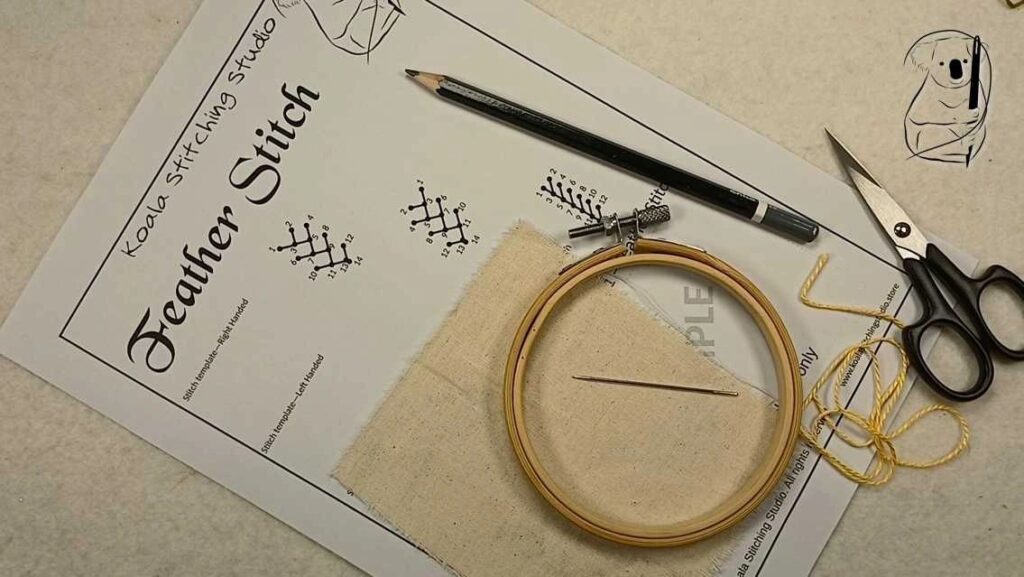
Cut a length of thread, approximately 12 to18 inches long, to ensure it is manageable and doesn't tangle easily. Thread the needle and knot the end of the thread to prevent it from pulling through the fabric. (see our video - Getting Started In Hand Stitching for a simple starting knot , or the Getting Started in Hand Stitching blog page for a description with photos.)
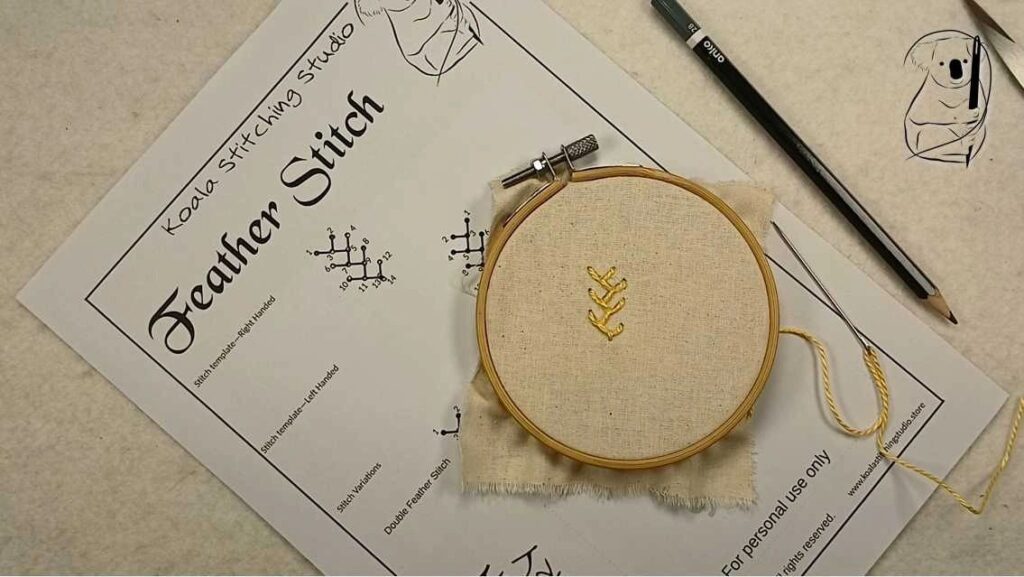
If you are using our stitch guide, mark your fabric. For practice stitching, pencil works well. I have used a 2B pencil here, which is soft enough to make clear marks.
Step 2: Starting the Stitch
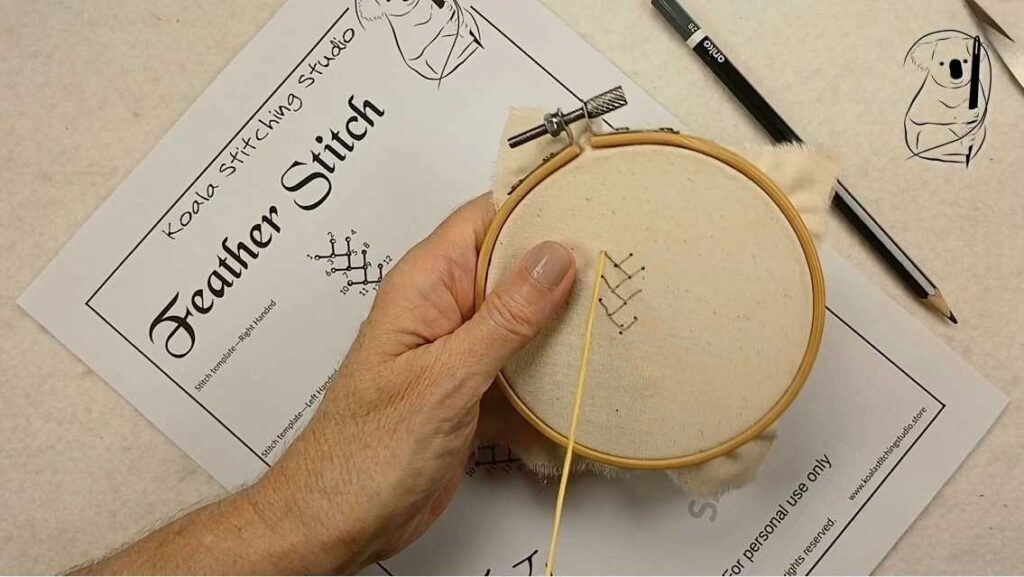
Insert the needle into the fabric from the underside at the point where you want to start your stitch. Pull the thread through until the knot rests against the fabric.
Step 3: Making the Stitches
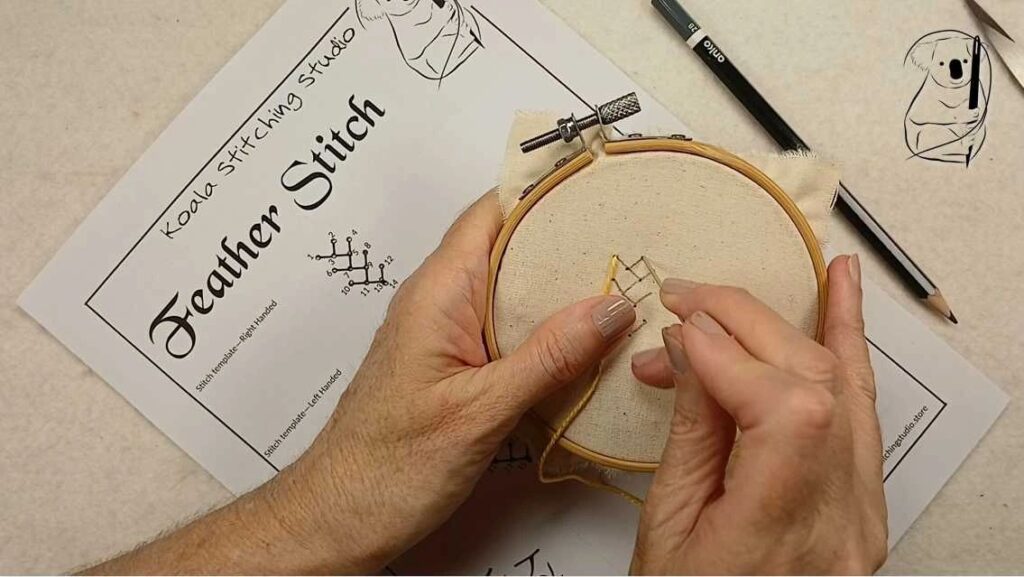
Push the needle back into and through the fabric a short distance away, leaving a small loop of thread on the surface of the fabric.
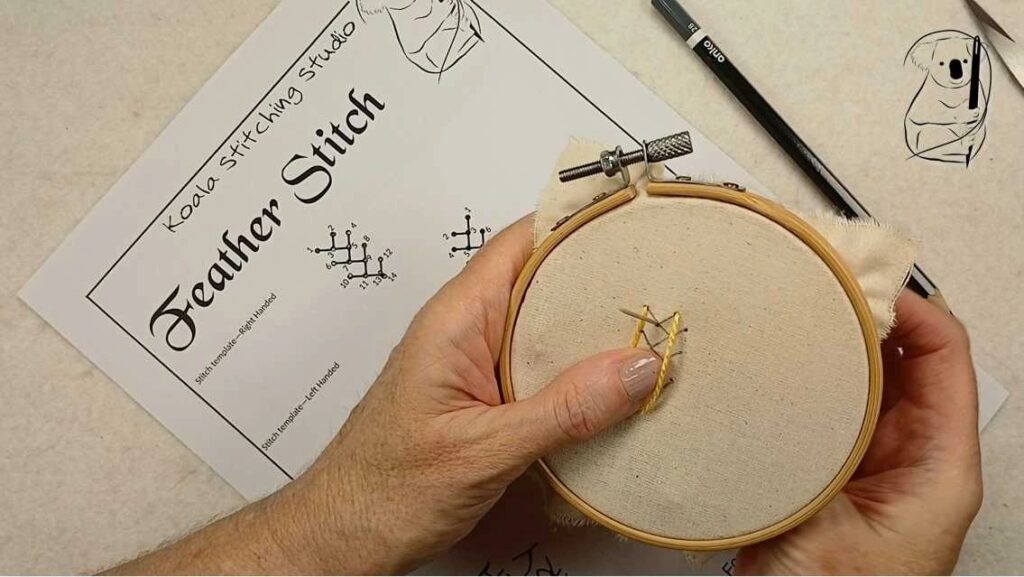
Bring the needle back up, below and centred, to create a v-shape. Pull the thread so the loop is snug against the surface of the fabric.
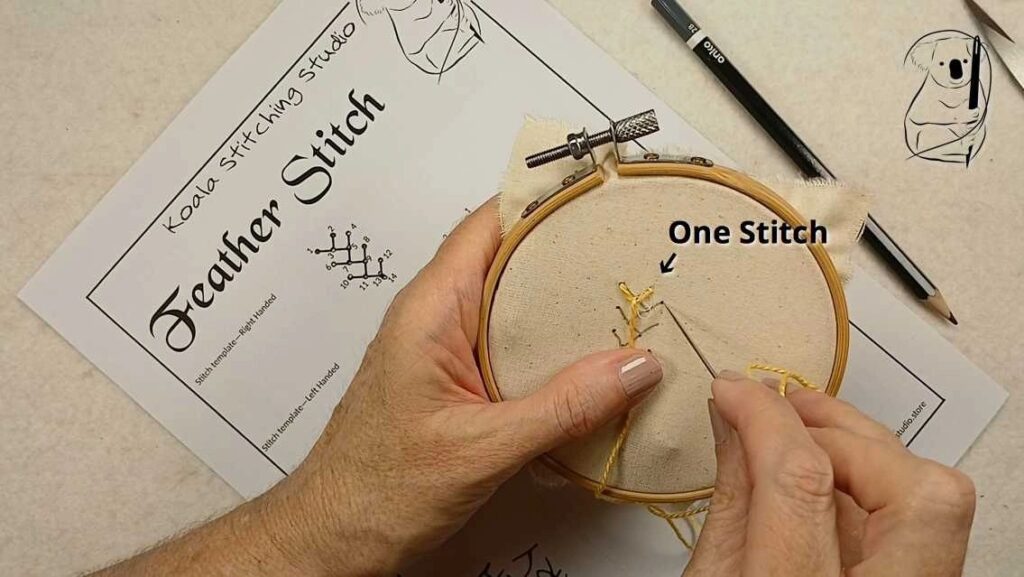
This is one stitch.
Step 4: Continuing the Pattern
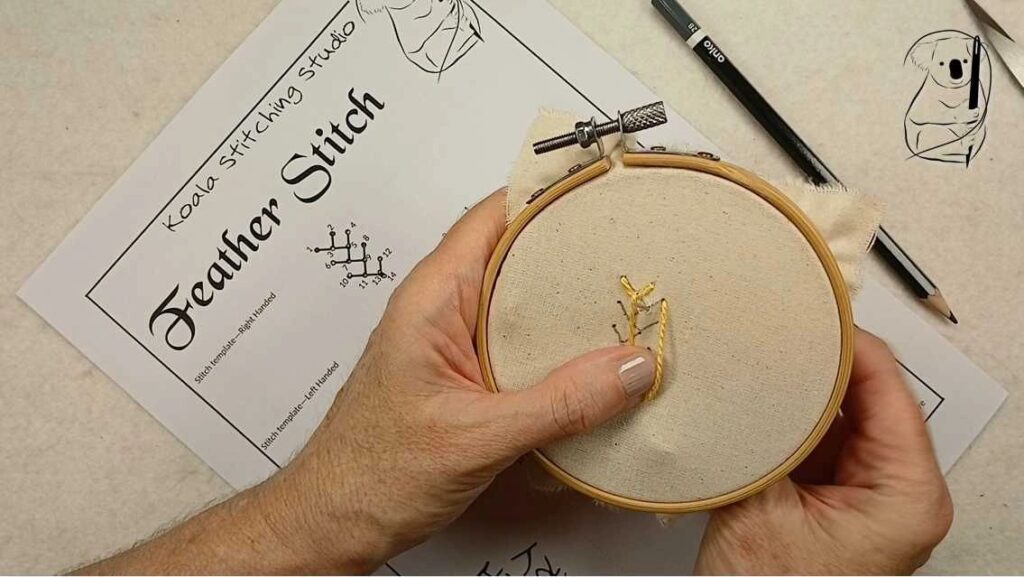
Continue the feather stitch by repeating the process, taking the needle back down through the fabric across where the thread emerges, approximately the same distance as your first stitch. Leave a small loop on the surface of the fabric.
Bring the needle up again, centred and below to create a 'V'. This point will be directly below the arm of your previous stitch.
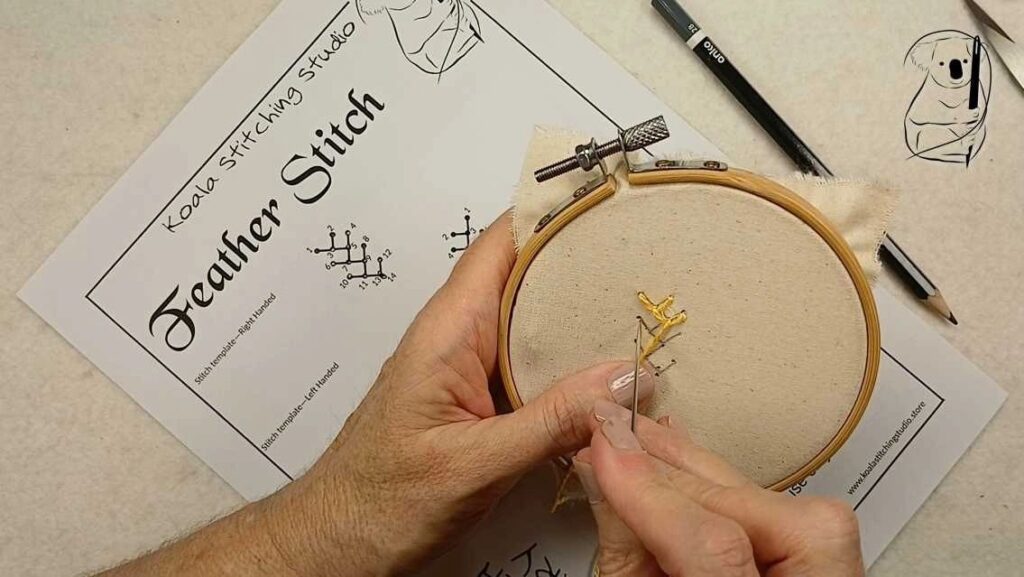
To create the zig-zag effect, take the needle back through the fabric to create the next 'V' directly under the first 'V'.
Continue in this way, swapping from side to side, to create the basic feather stitch.
Keeping the size of the stitches and their alignment under the previous stitch even will contribute to the overall appearance of your stitching.
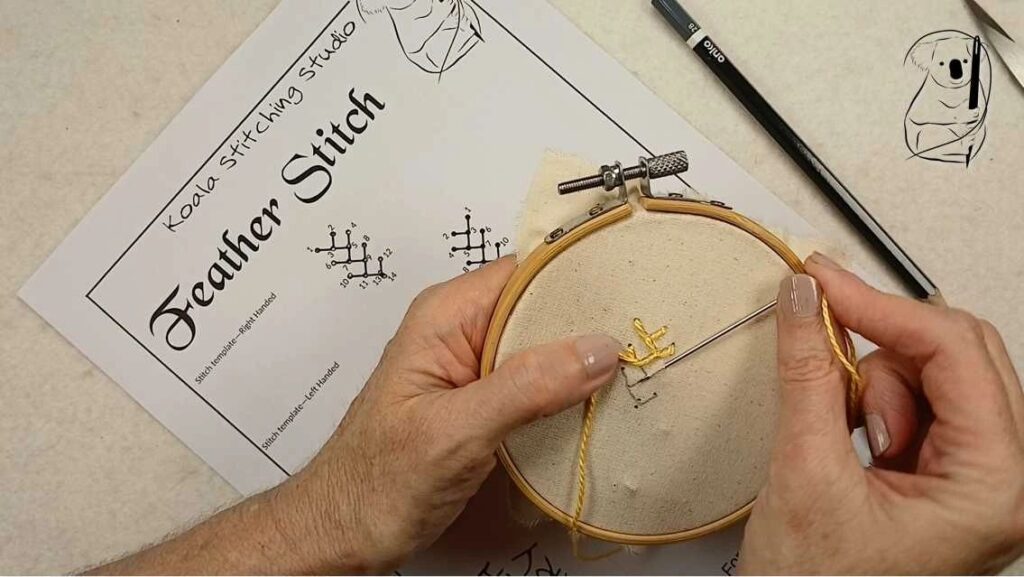
Using a sewing motion instead of pulling the thread all the way through the fabric for each stitch, can increase your stitching speed. Care needs to be taken when doing this, as it can be harder to be as precise with your needle placement.
Step 5: Finishing the Stitch
When you reach the end of your line of stitching, bring the needle to the under side of the fabric.
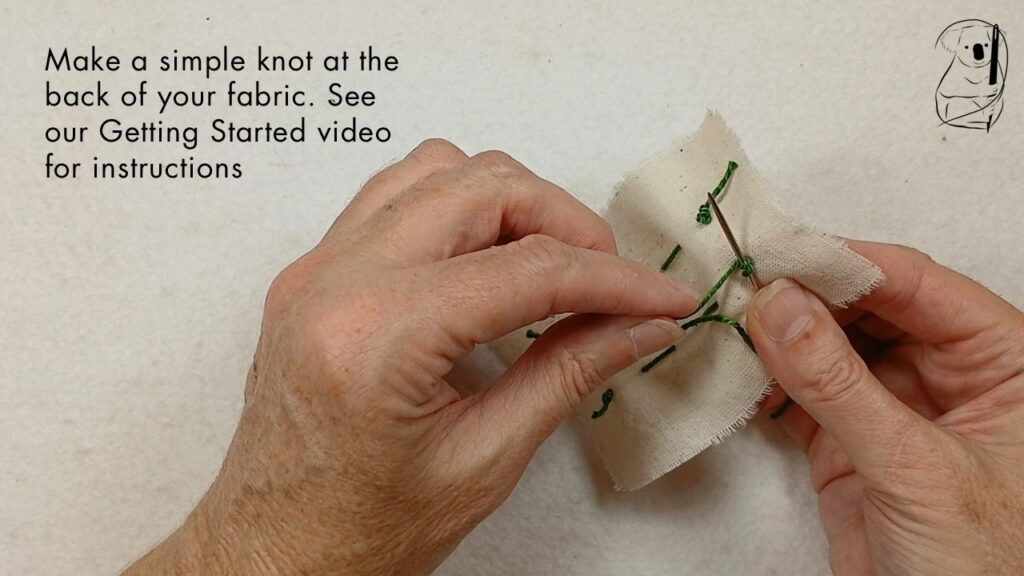
Make a small knot close to the fabric to secure the thread. Trim any excess thread with scissors. (see our video - Getting Started in Hand Stitching for a simple end knot, or the Getting Started in Hand Stitching blog page for a description with photos.)
Variations on Feather Stitch
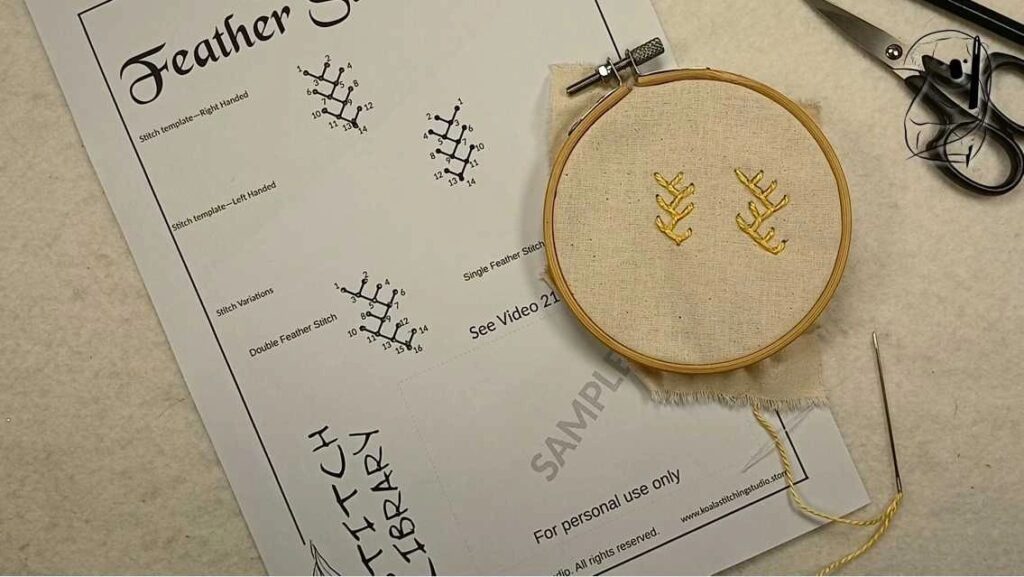
Double feather stitch is created by repeating the 'V' shaped stitch twice toward the same side, then twice toward the other side.
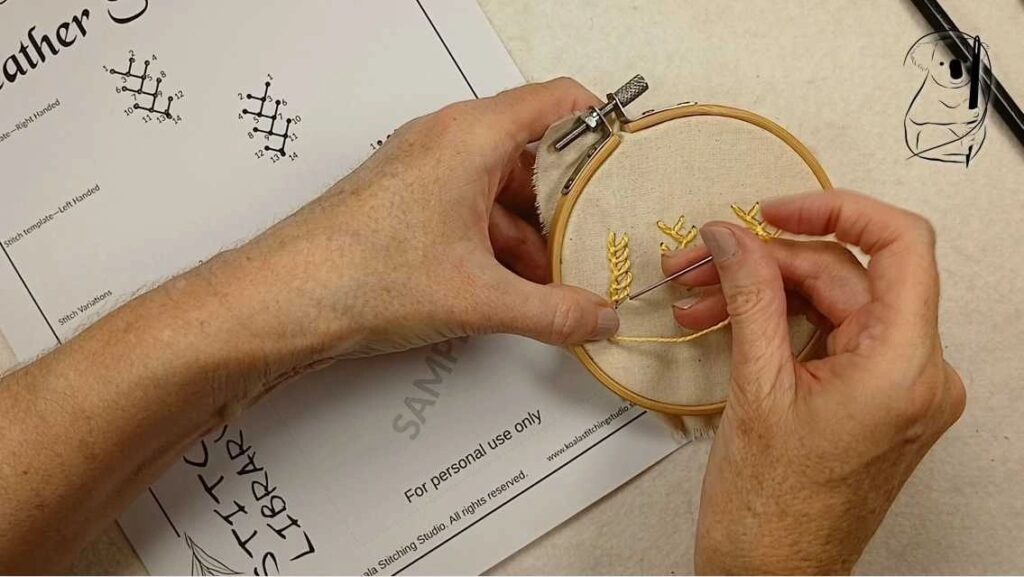
Single feather stitch is created by repeating the 'V' shape to only one side, keeping each new stitch directly below the previous stitches. This creates a continuous line with arms reaching off just one side.
Applications of Straight Stitch
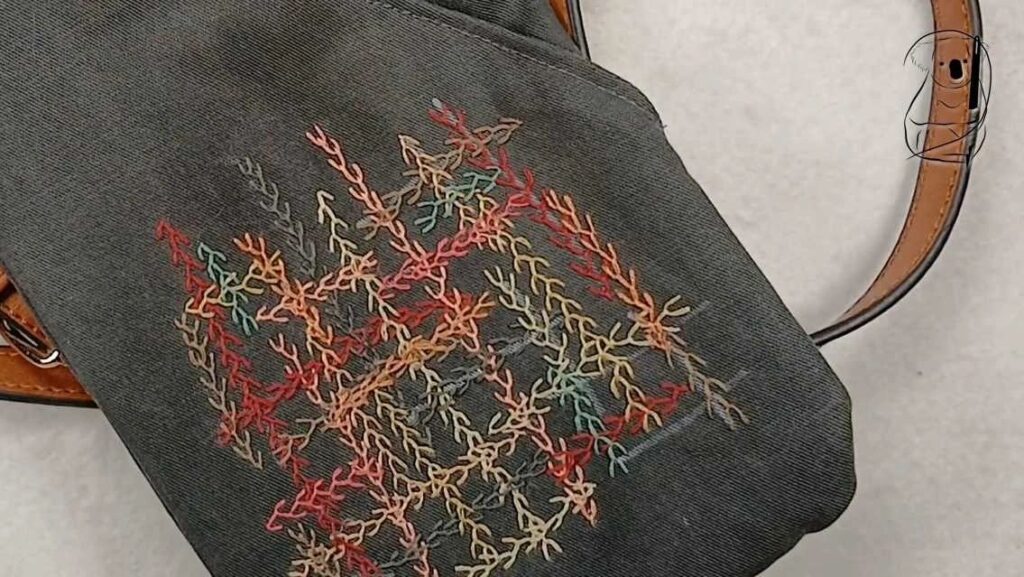
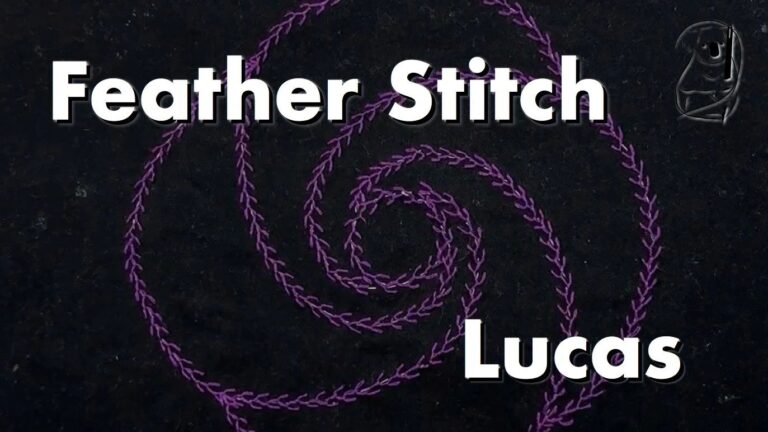
Feather stitch is usually thought of in terms of decorative use.
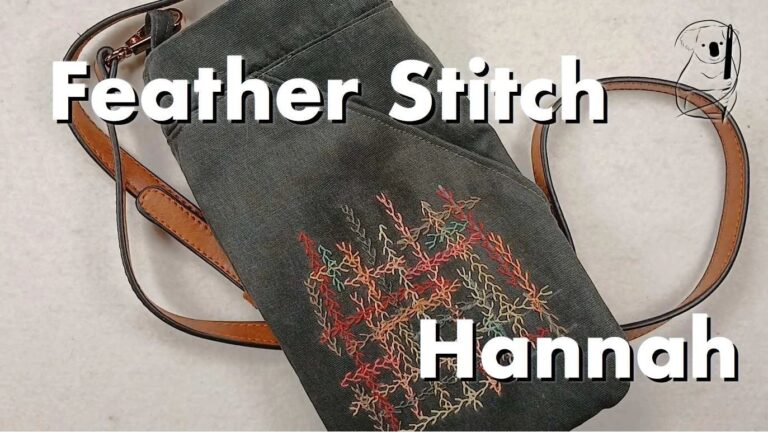
It can be part of an abstract design, or used to represent the stems and foliage of a plant, with added stitches for flower buds.
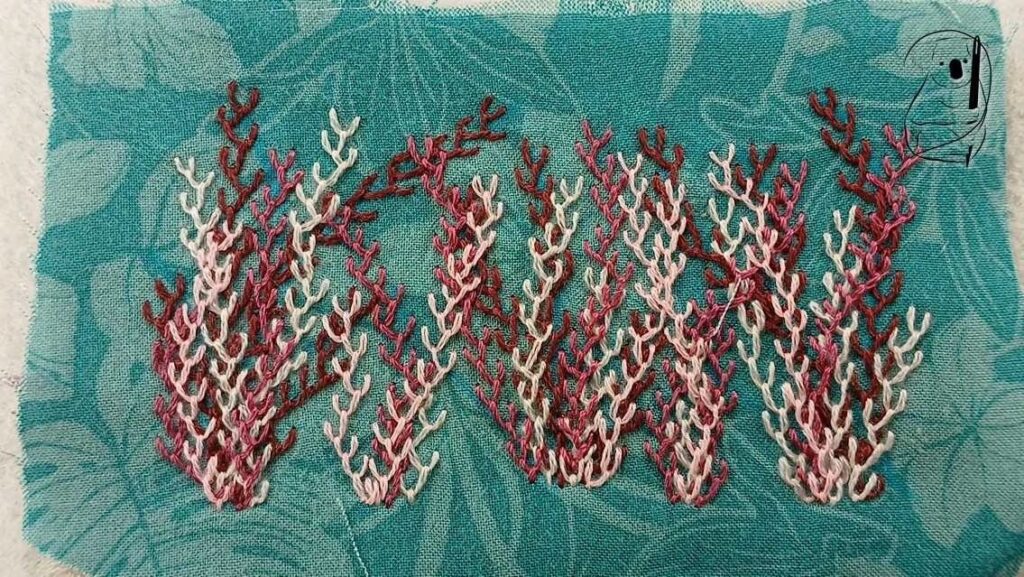
It also makes great looking "seaweed."
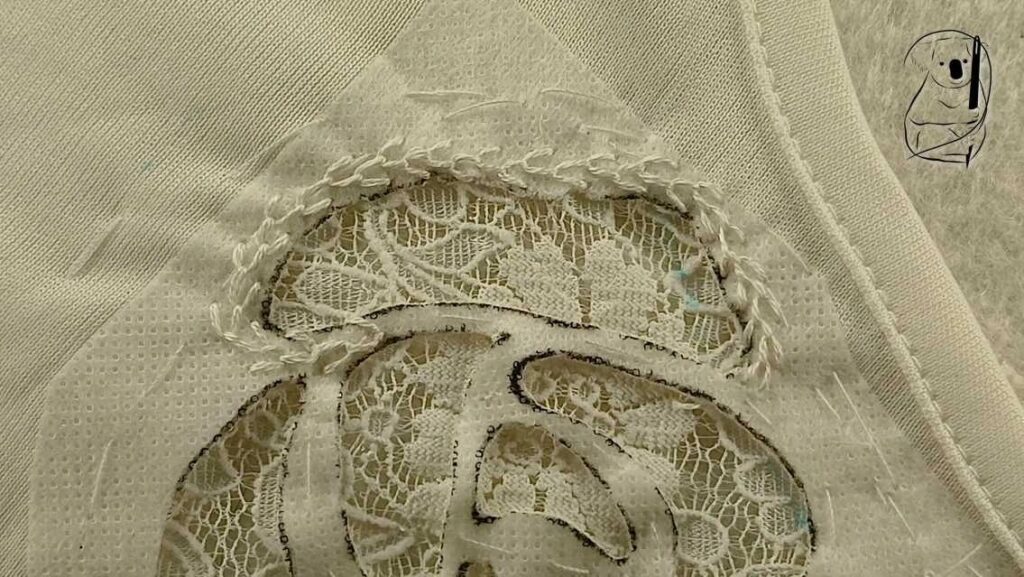
As a functional stitch, feather stitch is handy in applique, where the width of the stitch can be useful to prevent fabric from rolling near the edges.
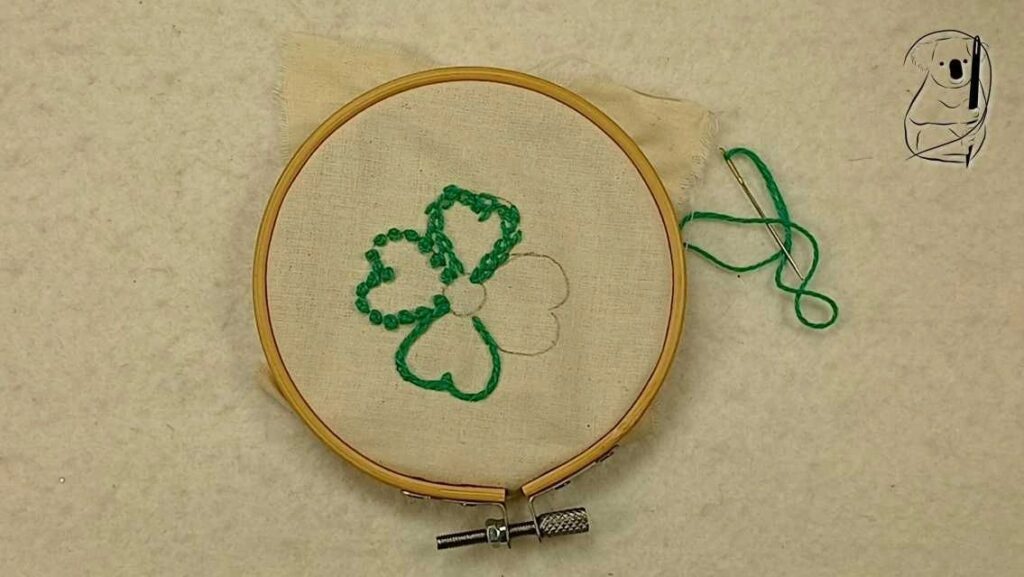
Our sample flower with a petal stitched in Feather stitch.