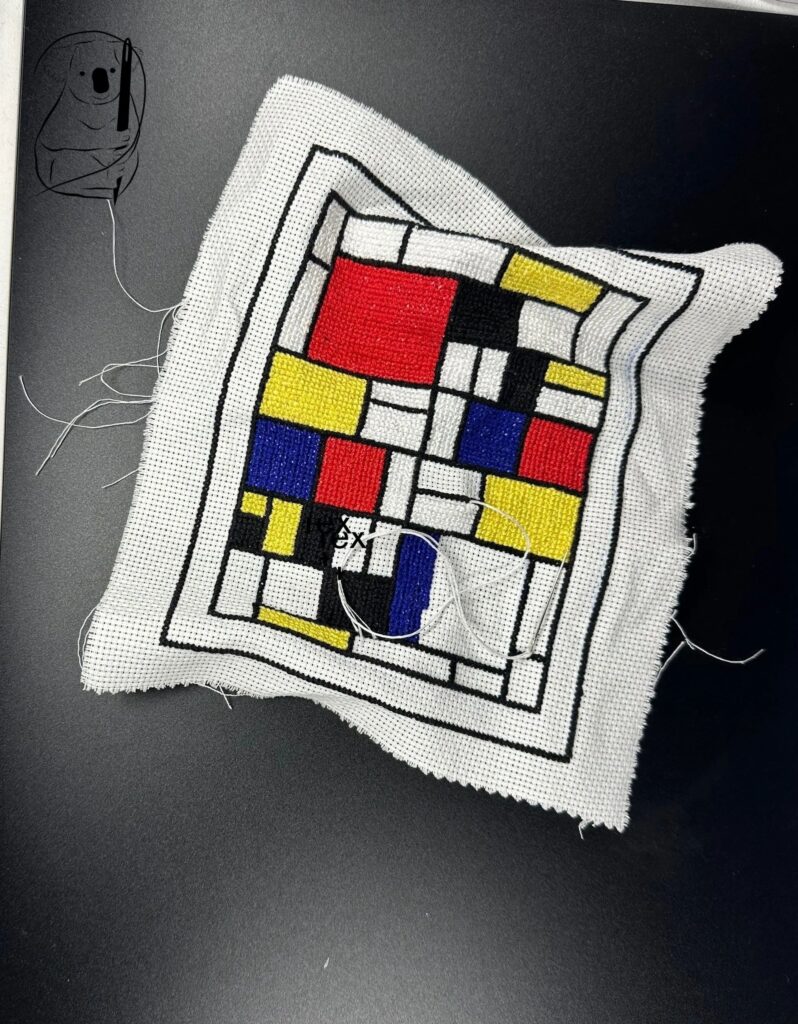
This project is my first foray into cross stitch and the use of aida. I love the result however it was a lot of work and took almost 2 weeks of stitching to complete. As you can see I have tried to replicate an image from the works of Mondrian which uses bold colours and shapes and is instantly recognizable as similar to his works.
I chose this design for a cross stitch project as the chore of counting squares of aida was frankly just to much for my eyes and patience. In this work, the design was traced onto kitchen baking paper using iron on fabric pen. This pen does not disappear once set with an iron, however I knew that the pattern on the aida would be well hidden by the stitches .
I did not anticipate that using this transfer method would of course flip the design so my project is the reverse image of the pattern you will find in the Resources Section.
The pattern itself seems to be 2 halves which are almost flipped mirror images of themselves. This was quite confusing every time I had to work out where the various colours went. I penciled in the colours on my pattern diagram and also put some yellow thread in the aida to mark the top of the design.
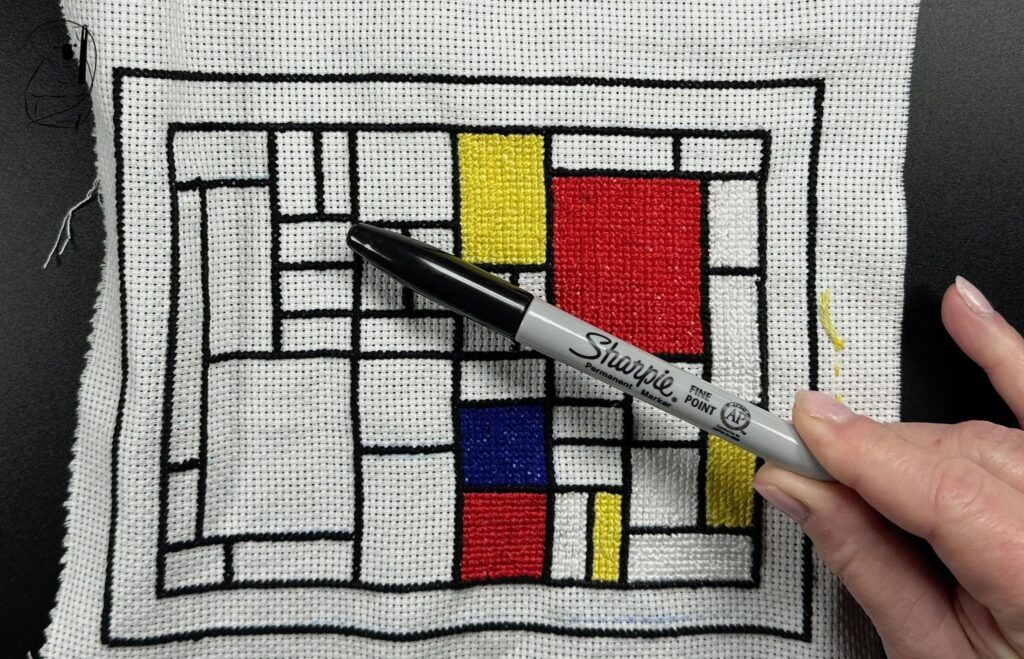
Once the pattern was ironed onto the aida, I stitched the black outlines using black DMC cotton. Initially 3 strands were used but I felt that the white of the aida showed through. Switching to 4 strands of black thread the outlines were completed simply by stitching along the lines - no counting , no worries. I felt that these lines were quite raised and wondered if 4 strands of cotton were a little too much. So for the coloured squares I used 3 strands of cotton.
I'm still not sure if this was a mistake as the coloured squares seem to stand just as high as the black lines. And of course it was possible to see some aida showing through the colours particularly the red and blue squares.
Knowing that this effect may be more pronounced in the black squares, I resorted to colouring in the black squares with a black sharpie. Is this cheating ???
Not sure what the purists may think about that one, however the colouring in worked a treat and the black squares are really black. No aida showing through at all. Had I known how well this worked, I would have coloured in all the red and blue squares also.
My other comment regarding the use of the sharpie, was that it made stitching the black thread on black aida pretty difficult. I was already learning to cope with stitching white thread onto the aida. Most of this piece was worked using a desk magnifying lamp. I have seen them used in the sewing room before but would consider them essential for close work like this.
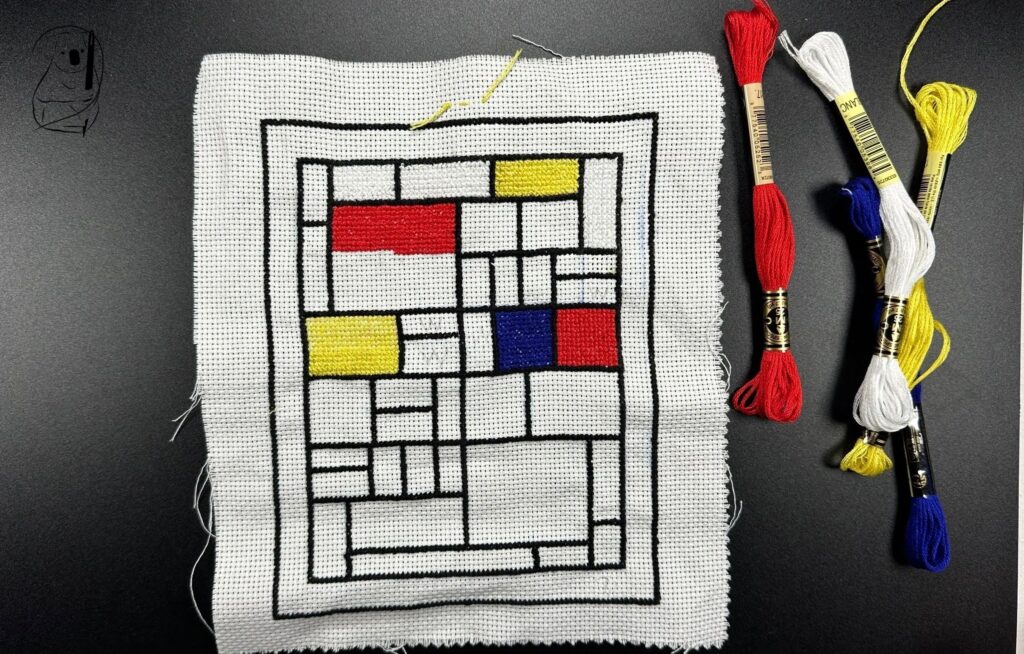
You may also see in the video that I stitched the border and black outlines using the Danish method which I thought may have been quicker than the traditional method. It worked well for the outlines however when I tried to use the Danish method on the coloured squares it became difficult to see the aida holes and any time gains were quickly lost.
Swtiching to the traditional method may have been slower however I found it much easier to see the aida holes. After completing the first half of a stitch, I gently pulled the thread away from the hole which opened it up a little and made it more visible.
Also with regard to visibility, you may see that I commenced this piece with a white background but quickly changed to a black background. This was most helpful in enhancing the visibility of the holes.
You may also note that when stitching this piece I used a sewing motion with the needle, not an up the down etc motion. You do need to be careful when using this sewing motion to put the needle through the holes cleanly and mostly I achieved this. If I had used the other motion of needle down and through then up and through, this piece would have taken a lot longer.
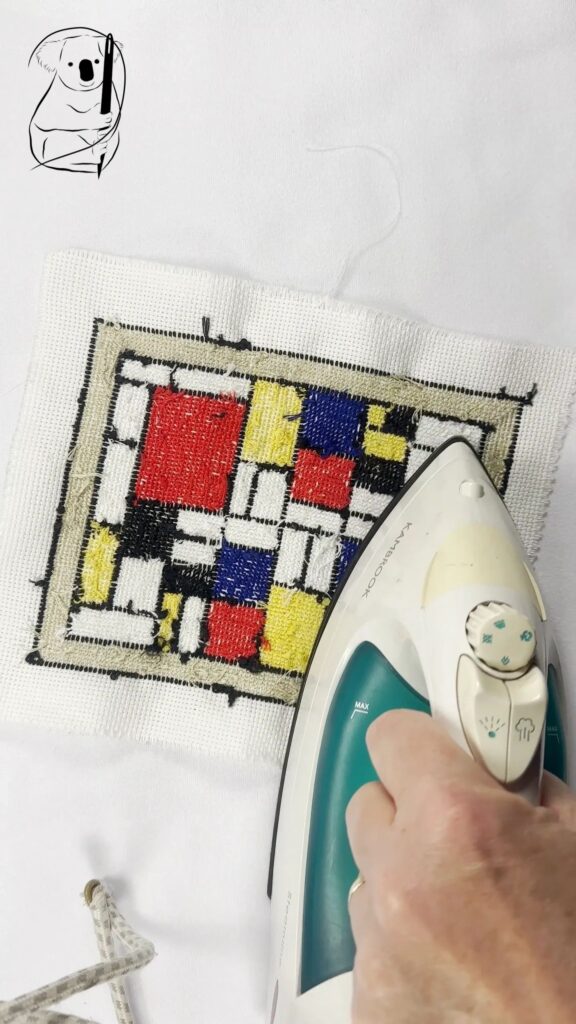
To complete the piece I placed it face down on a towel and dabbed on some water onto the aida. I then ironed the back of the aida by pressing gently. This did not flatten the stitches on the other side and the finished piece was wrinkle free.
My materials used were
A pre cut DMC Aida 14ct piece 15 X 18 inches or 38.1 X 45.7cm
in white purchased at Spotlight (Australia) for $25.00. The piece I cut out for this project was 23 X 20.5 cm.
DMC threads
-Black 310
-Yellow 17
-Blue 820
-Red 817
-Blanc
- Buff 613
Sew Easy Hot-Iron Transfer Pen (Blue)
To see the application of this piece, watch our video Piet tote bag. The cross stitch is used to form a pocket on the outside of a tote bag and this is a great way to showcase this outstanding work.
Watch the Piet cross stitch panel being completed.
Watch the making of the Piet Tote bag on YouTube.
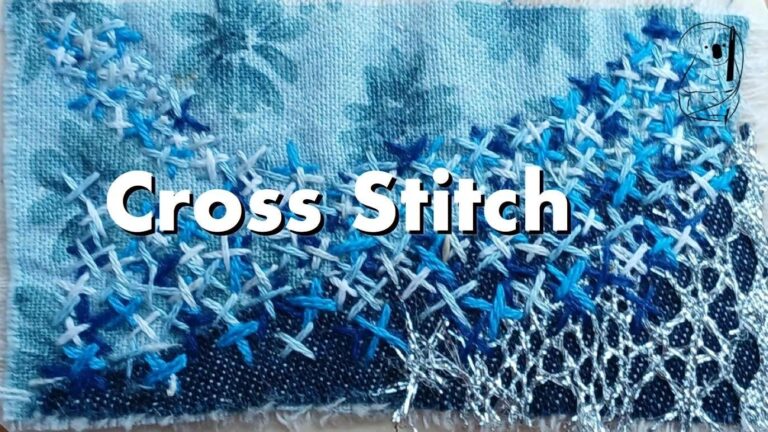
See our stitch tutorial on Cross stitch on YouTube.
Find the Piet Tote bag blog page here.
Have a look at the Cross stitch blog tutorial here.