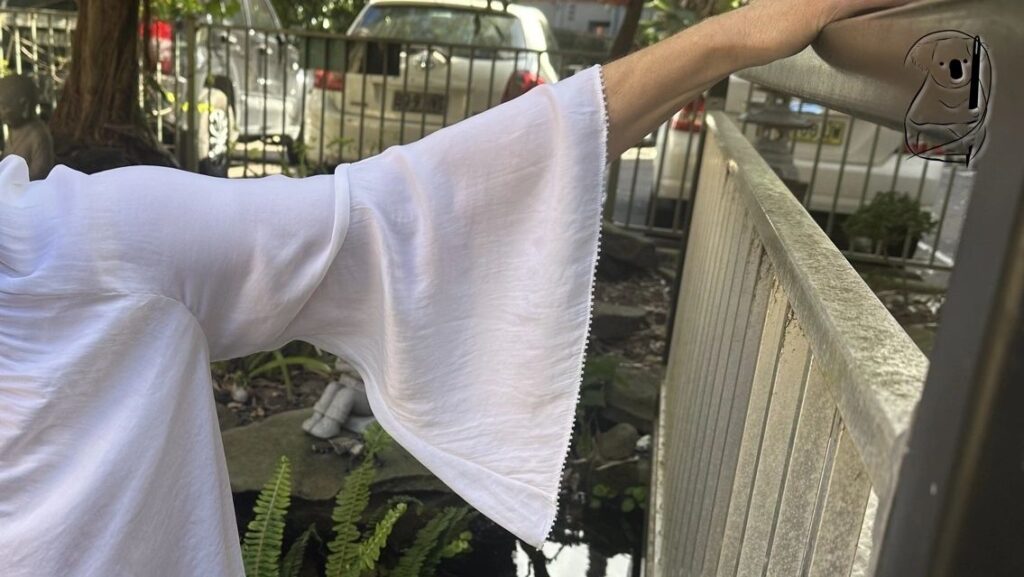
A top with a lovely sleeve, adding some beads to the hem gives the sleeves a little more weight and drama.
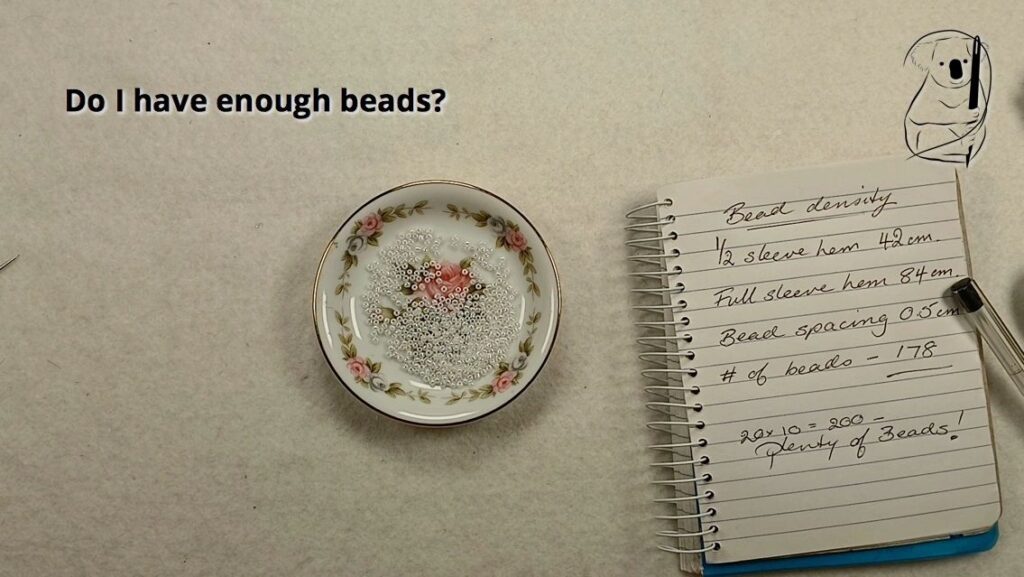
This was a very straightforward project, but because so many of my resources are bought in thrift shops, one of my main concerns when starting a project is that I will have enough materials to complete it.
So before I did anything else, I had to check that I would have enough beads. It seems silly when I look at the actual volume of beads required - I had plenty of beads - but it is very disappointing to discover part-way through a project that you have run out of something that you can't get more of, so at least I knew I could start the project with confidence in that regard.
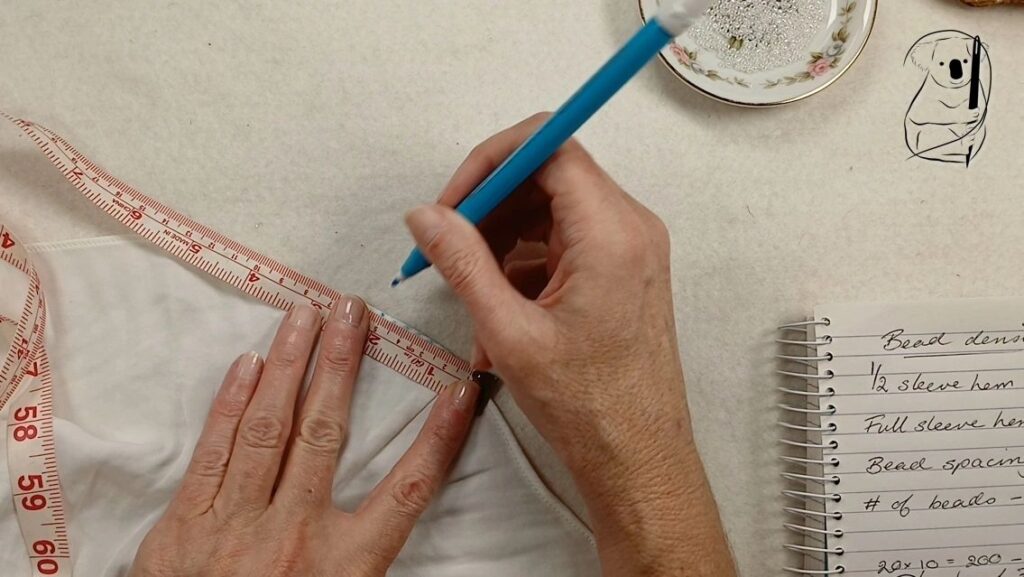
Once I was sure I'd have enough beads to complete the project, I measured out the bead placements to ensure an even coverage of beads around the sleeve hem.
Spacing the beads at half a centimetre each gave a dense enough coverage, without the beads looking crowded.
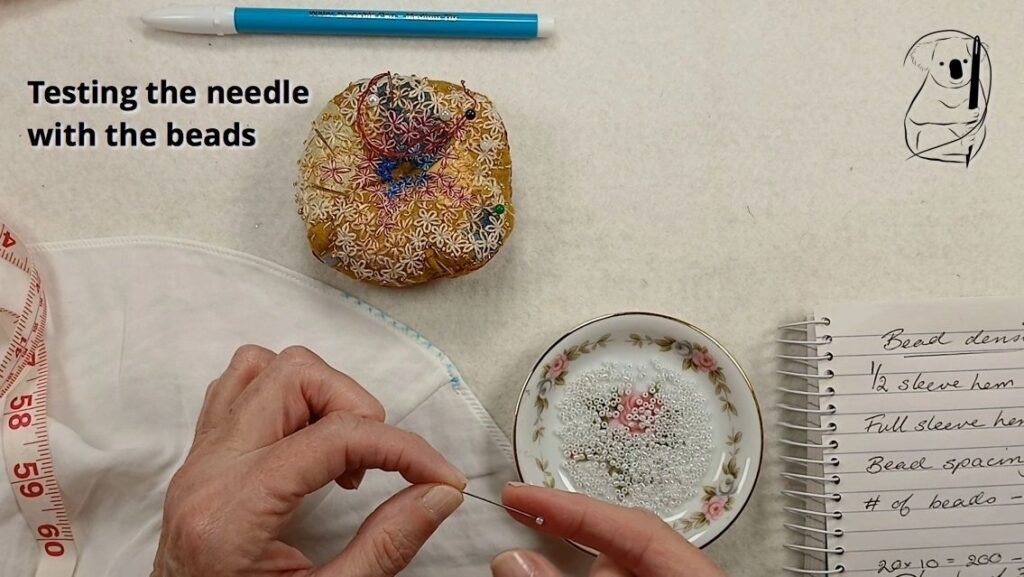
The next check before actually getting beads onto the top, was to make sure that the needle would go through the bead centres. It is important to choose a needle that is slim enough to go through your beads. There was the occasional bead that had a hole too narrow for the needle, but generally, this needle was a good fit for the job. I needed something that was fine enough to go through the needle, but strong enough to go through the layers of fabric.
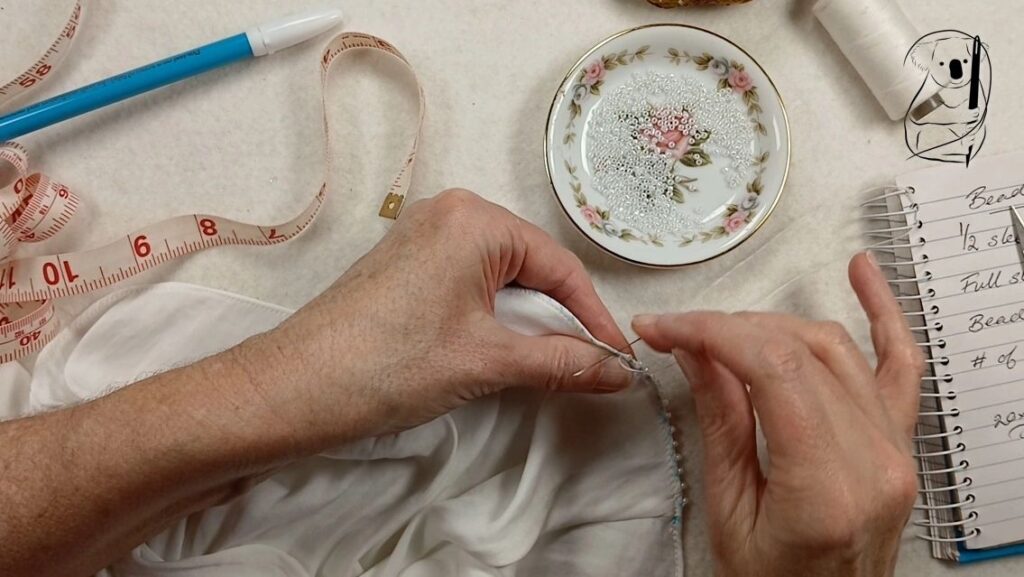
With all these steps completed, I could confidently start attaching my beads to the top using whip stitch.
Once all the preparation was complete, it was actually quite a quick process to attach the beads.
Each bead was sewn with an empty stitch in between them. This reduces the length of the stitch, meaning that the beads will be more snuggly stitched on, and the thread float from bead to bead is less likely to catch on something.
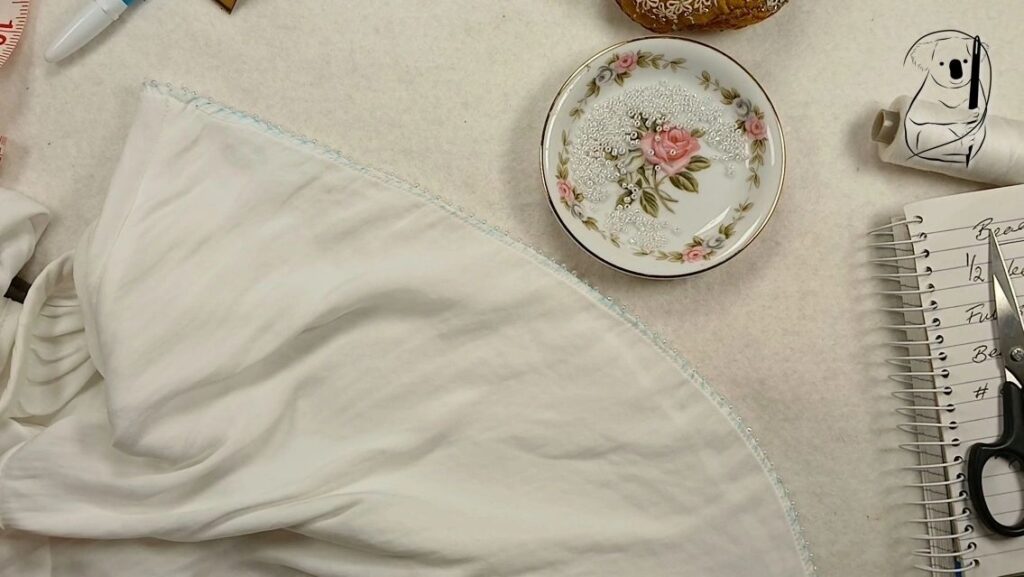
The finished sleeve hem has an even row of beads along the edge, which adds a little bit of weight to the flounce of the sleeve.
This was a straightforward project, and quite fast to complete.
Once all the preparation was complete, actually sewing time was less than two hours, which in hand stitching terms, isn't that long.
See how this project came together on YouTube.
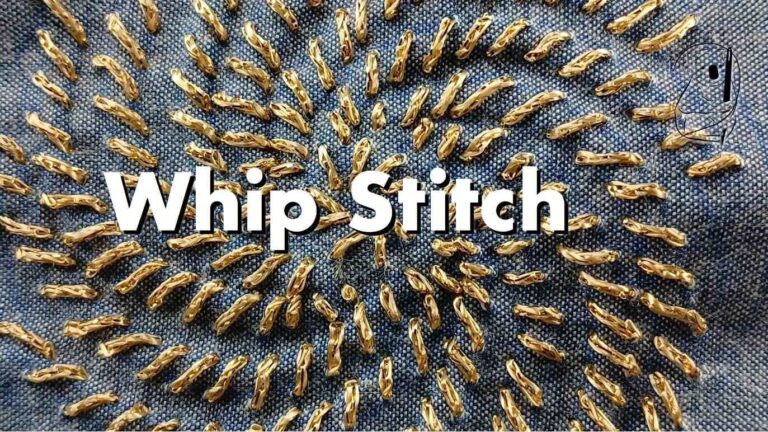
Watch our Whip Stitch video tutorial on YouTube.
Look at our Whip Stitch blog tutorial page.
See our other Whip Stitch project - Dylan Completed.