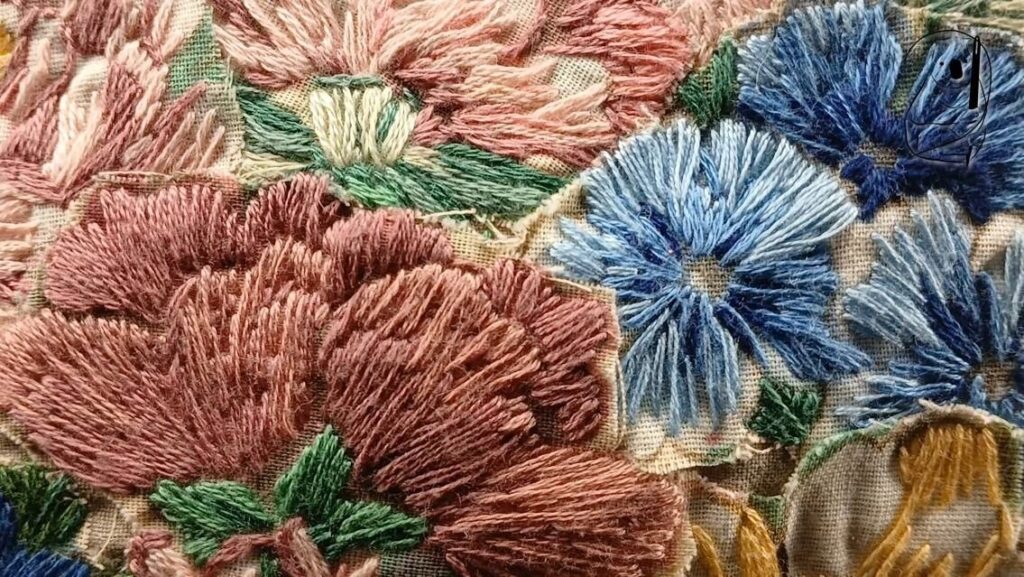
Satin stitch is a filling stitch that is made up of a series of straight stitches worked parallel and closely together to give a smooth, solid coverage of the fabric.
Satin stitch has been in use for centuries, throughout Europe and Asia, and there are many examples of lush garments and soft furnishings to attest to its popularity through the ages.
A close friend of satin stitch, long and short stitch is popular when doing thread painting, as it allows for subtle colour blending, to produce delightful results.
Steps to Create a Straight Stitch
Step 1: Preparation
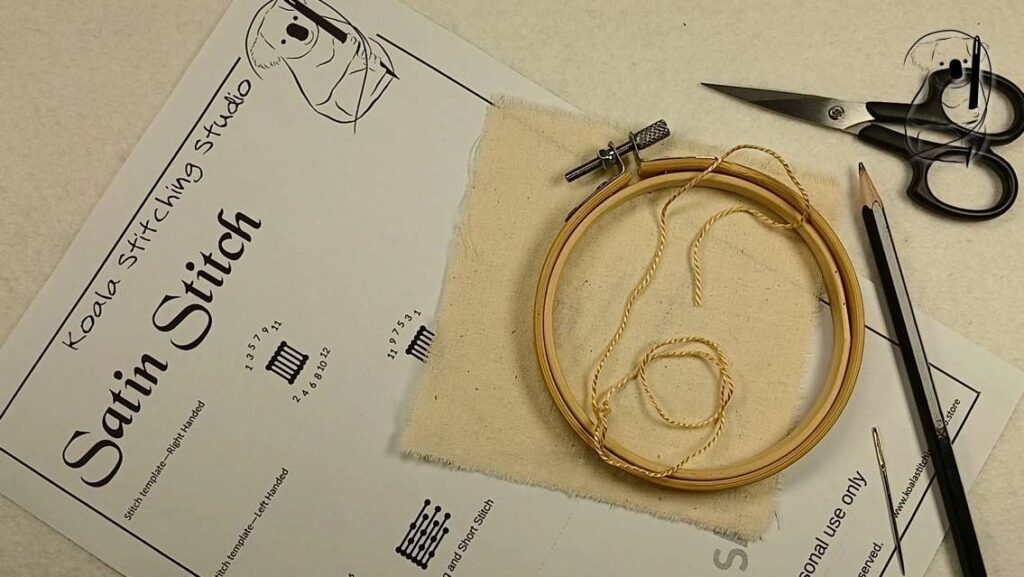
Cut a length of thread, approximately 12 to18 inches long, to ensure it is manageable and doesn't tangle easily. Thread the needle and knot the end of the thread to prevent it from pulling through the fabric. (see our video - Getting Started In Hand Stitching for a simple starting knot , or the Getting Started in Hand Stitching blog page for a description with photos.)
If you are using our stitch guide, mark your fabric. For practice stitching, pencil works well. I have used a 2B pencil here, which is soft enough to make clear marks.
Step 2: Starting the Stitch
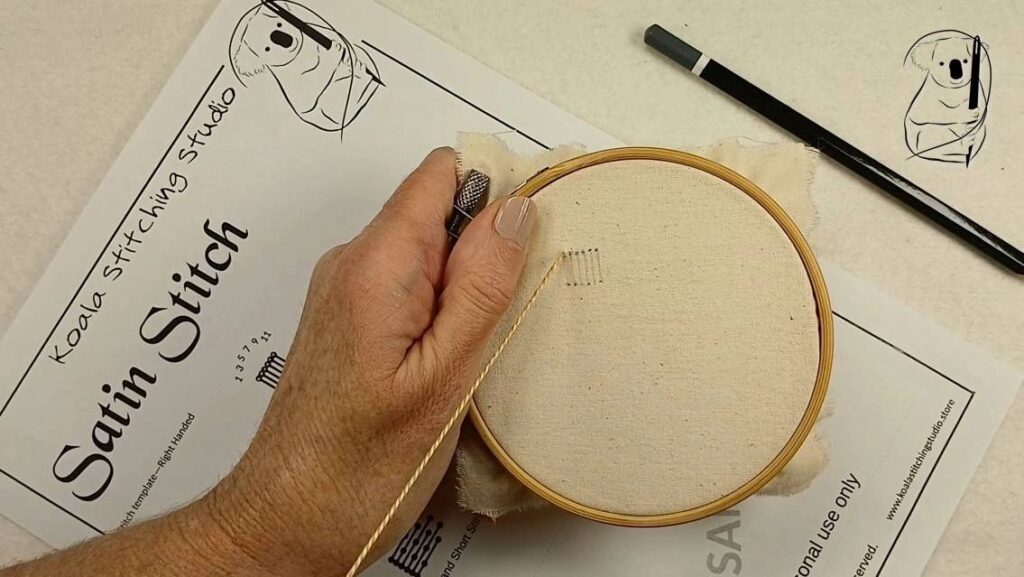
Insert the needle into the fabric from the underside at the point where you want to start your stitch. Pull the thread through until the knot rests against the fabric.
Step 3: Making the Stitches
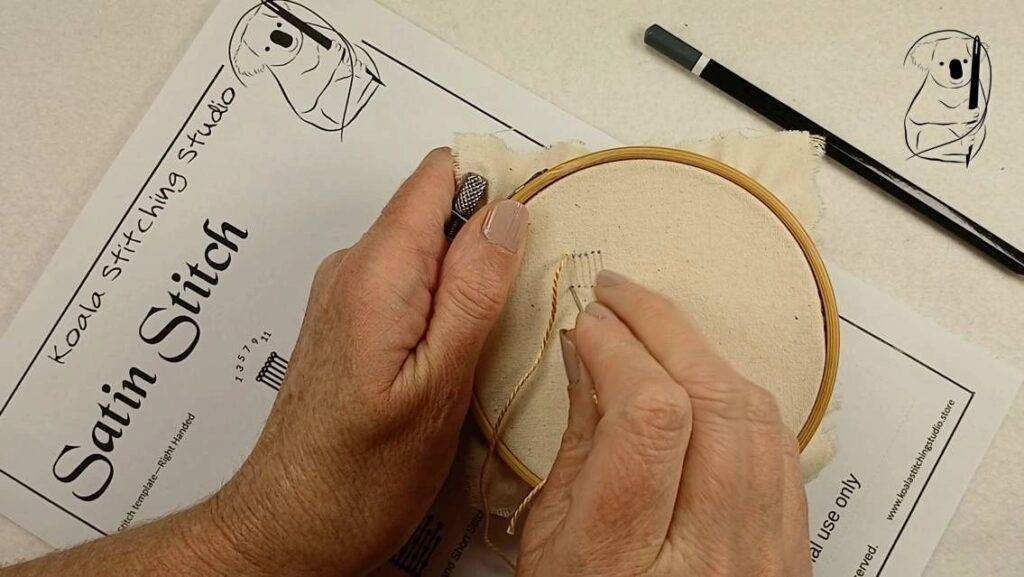
Push the needle back into and through the fabric a short distance away. This will be one stitch.
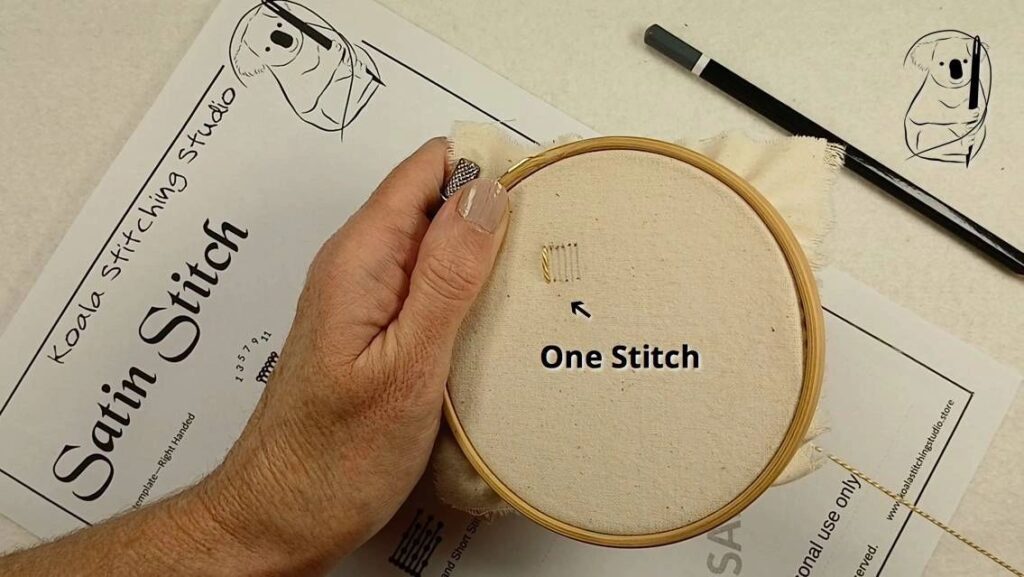
Each time the needle goes through the fabric, it should create a small visible stitch on the top or the bottom of the fabric. The length of each stitch will vary according the space you are filling with Satin stitch..
Step 4: Continuing the Pattern
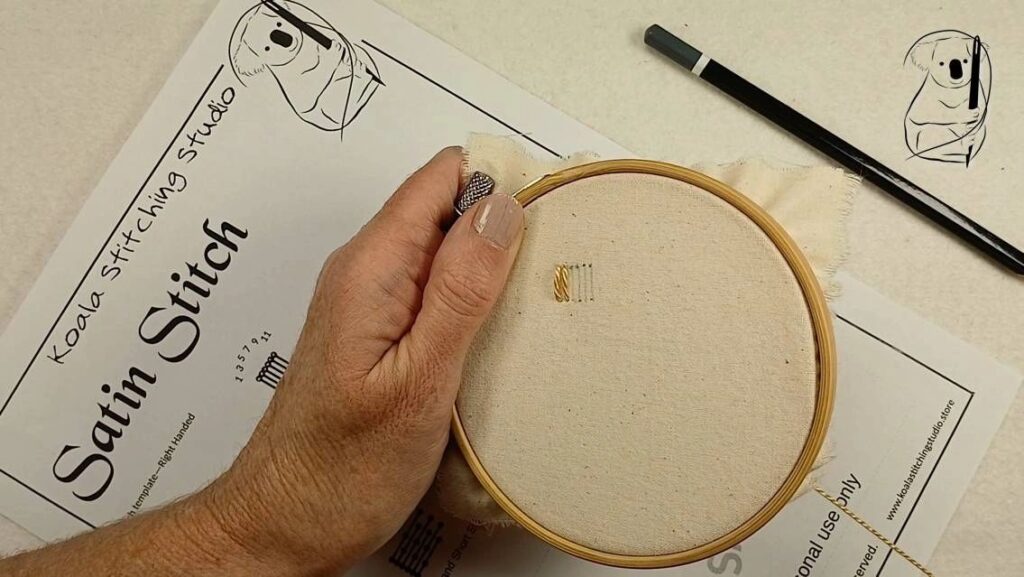
Continue the satin stitch by repeating the process. The evenness of the stitches and their close proximity to each other will contribute to the overall appearance of your stitching.
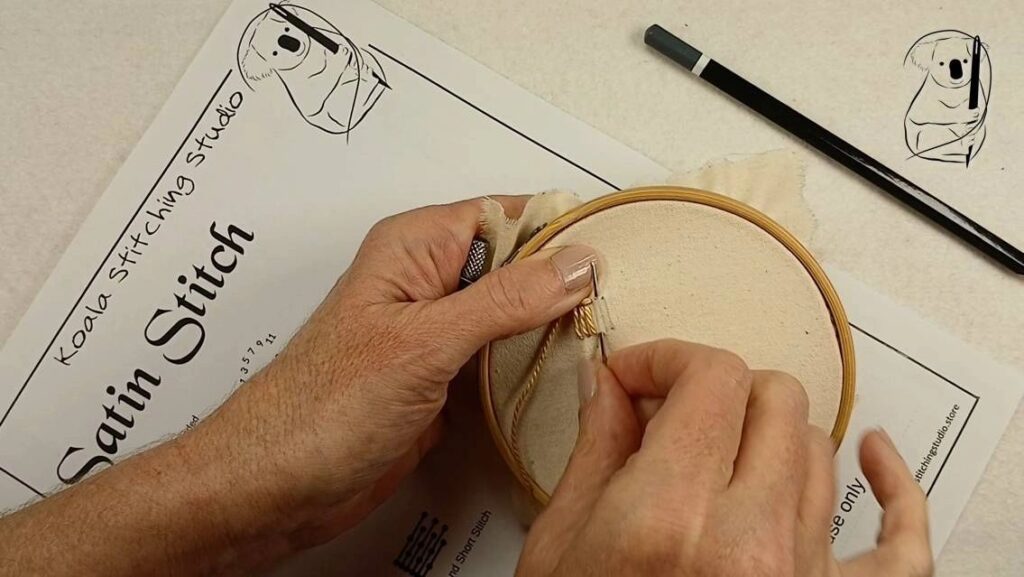
Using a sewing motion instead of pulling the thread all the way through the fabric for each stitch, can increase your stitching speed. Care needs to be taken when doing this, as it can be harder to be as precise with your needle placement.
Step 5: Finishing the Stitch
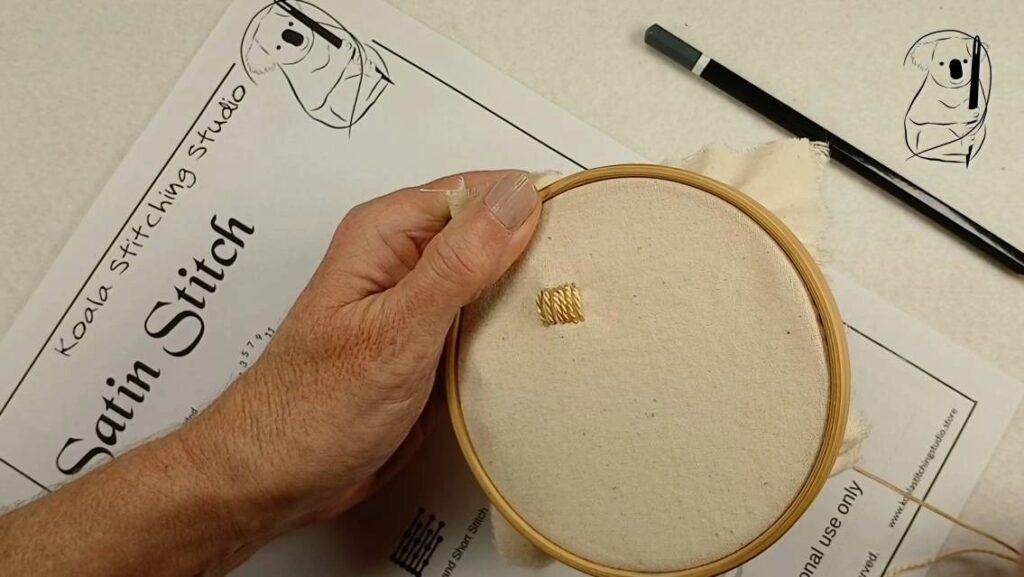
When you fill the space you are stitching, bring the needle to the under side of the fabric.
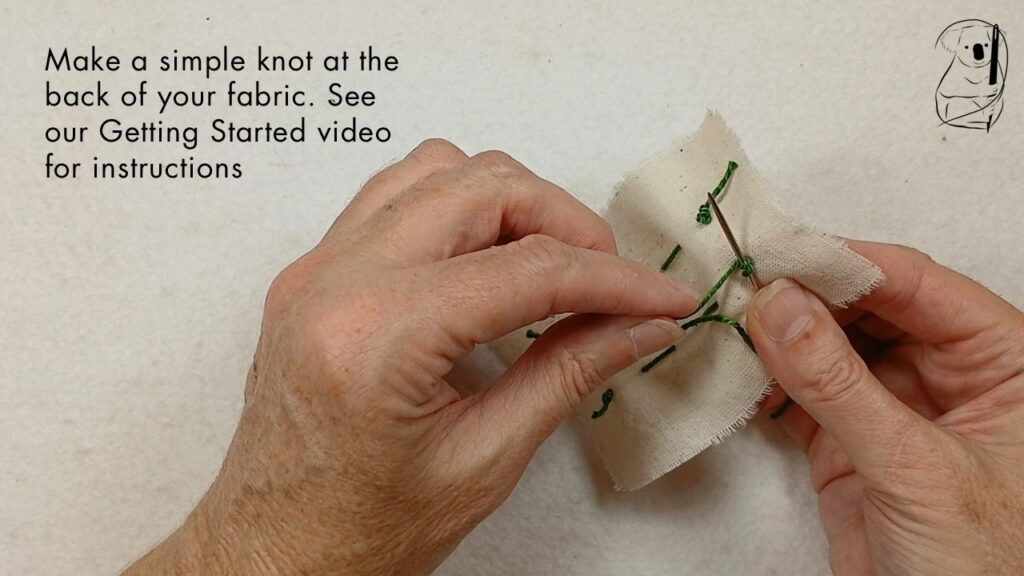
Make a small knot close to the fabric to secure the thread. Trim any excess thread with scissors. (see our video - Getting Started in Hand Stitching for a simple end knot, or the Getting Started in Hand Stitching blog page for a description with photos.)
Variations on Satin Stitch
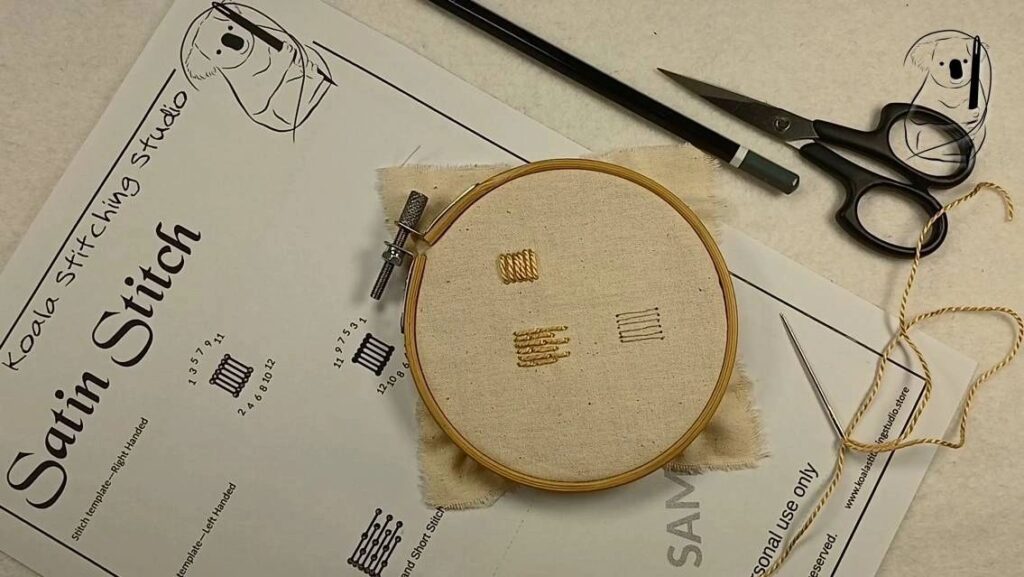
You can vary satin stitch by changing the stitch length, the space between stitches, and the angles of one stitch in relation to another.
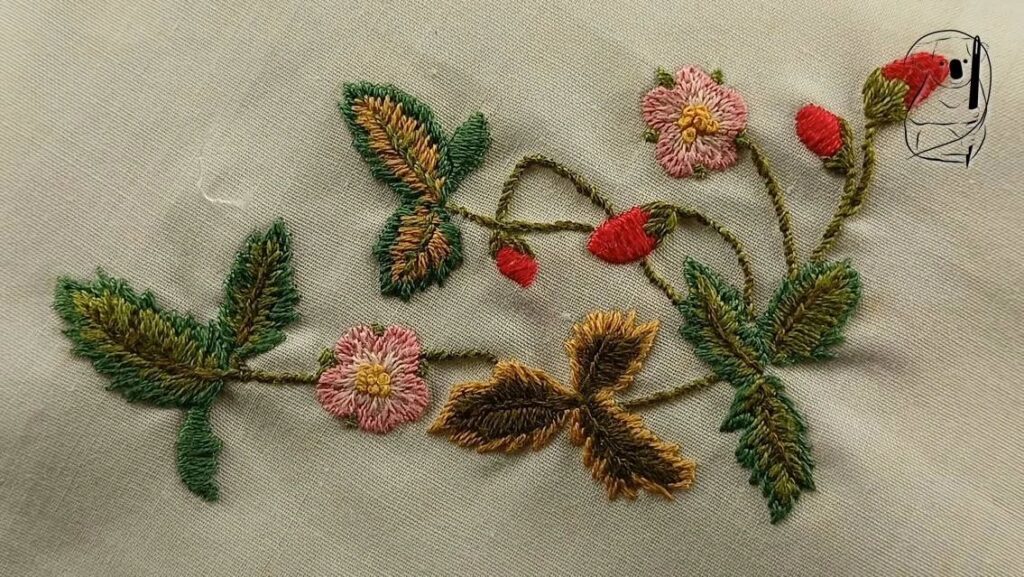
Long and short stitch is a popular stitch for thread painting, where variations in the stitch length and subtle changes in the angles of the stitches create a naturalistic appearance. See our examples below for how this can "paint" an image in threads.
Another advantage of using long and short stitch is that you can fill a large area without resorting to excessively long floats of thread on the surface of the fabric, which tend to catch and pull.
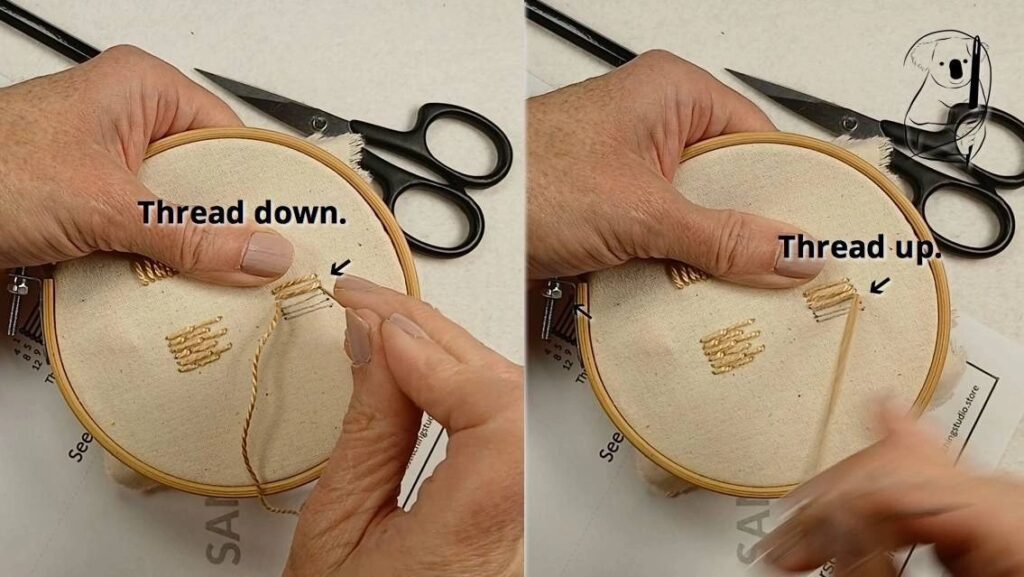
Thread saving satin stitch keeps most of the thread on the top surface of the fabric, by bring the thread back up next to where the needle last went down through the fabric. This means that instead of having the same amount of thread covering the back of the fabric as the front, only the front of the fabric is covered.
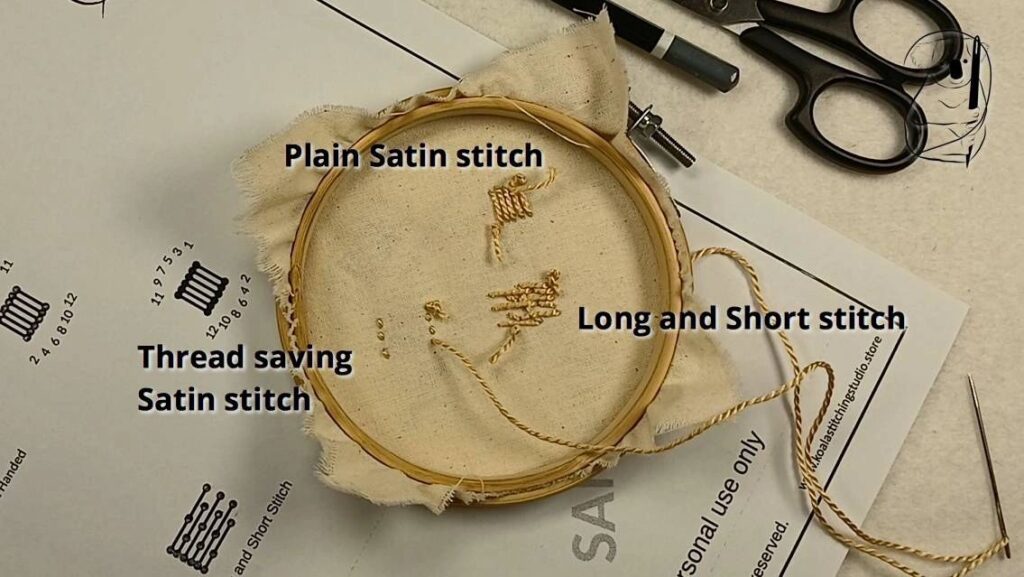
This is useful when covering large areas with satin stitch, as it reduces the amount of thread used.
Depending on the thread you are using, the change in direction of the thread under the fabric from directly back to sideways can change how the thread sits on the front of the fabric. This needs to be assessed before committing to large areas of thread saving satin stitch, as the final result may not be entirely satisfactory.
Further to this, as thread saving satin stitch is often used with long floats in laid work, where the stitches are couched or anchored to the fabric with small stitches over the threads . This also changes how the stitches sit on the fabric.
Examples of Straight Stitch
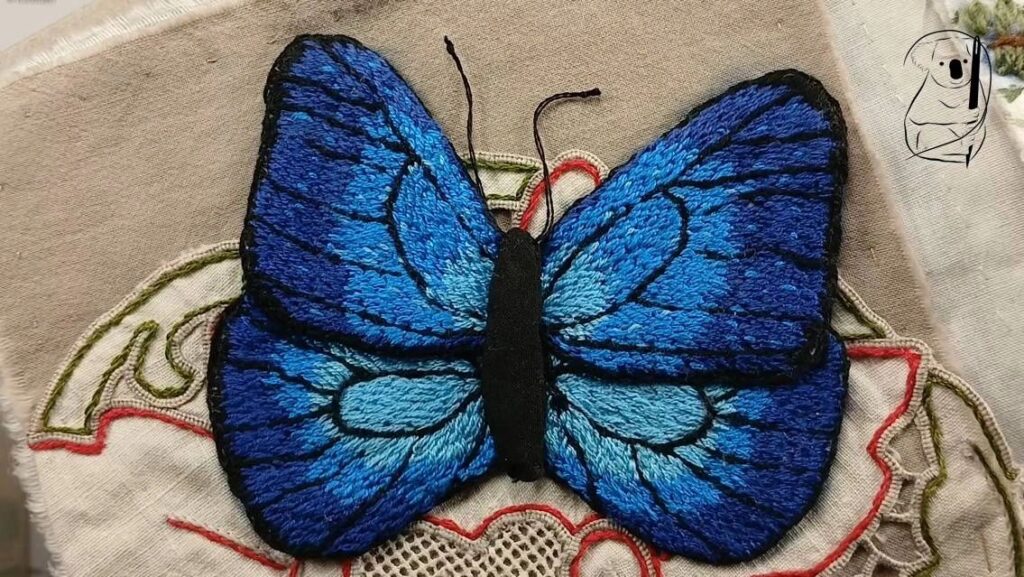
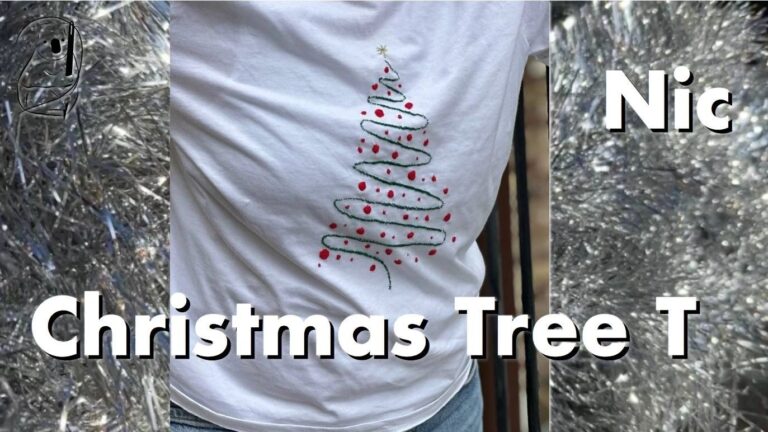
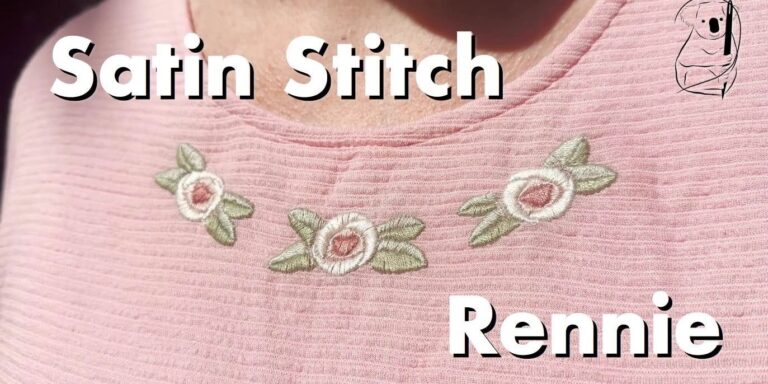
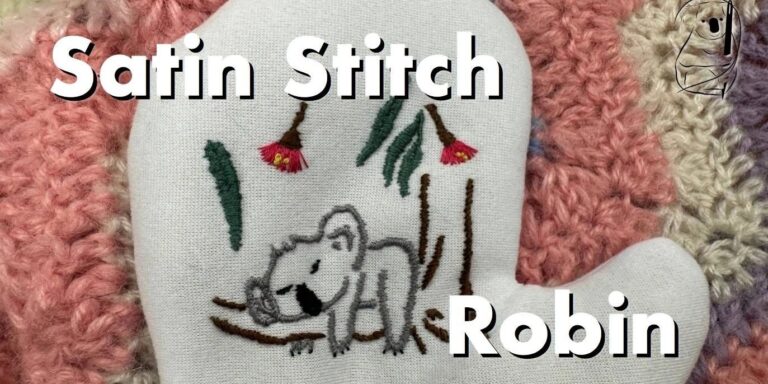
Satin stitch is very much a decorative stitch, where colours can mix and blend, or threads can create smooth blocks of a single colour.
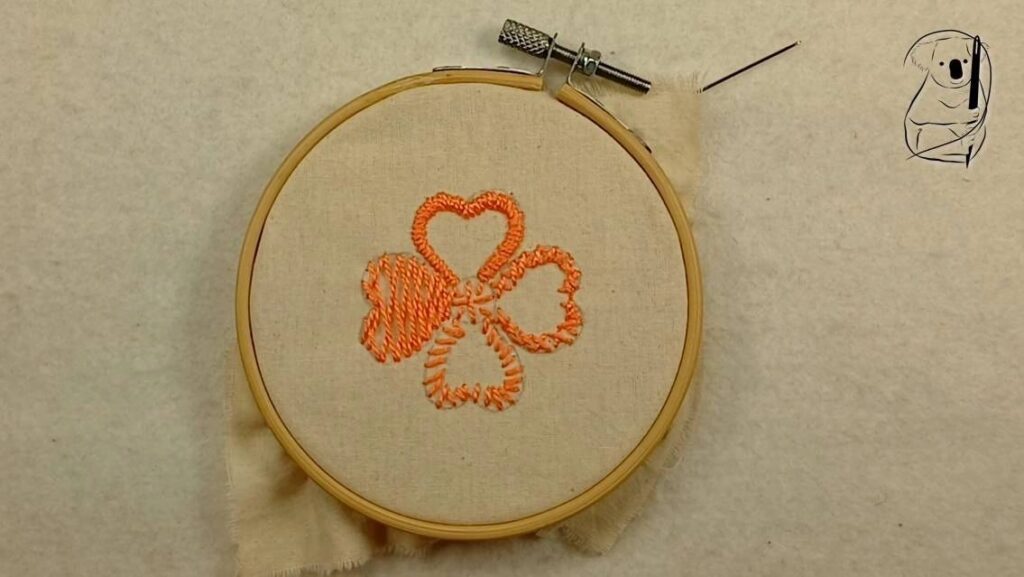
A practical use for satin stitch is the smooth covering of a raw edge when appliqueing a piece of fabric onto another. The idea of how this works can be seen in our sample flower, where a narrow band of satin stitch follows the petal outline.
Our sample flower with a petal outlined in satin stitch.