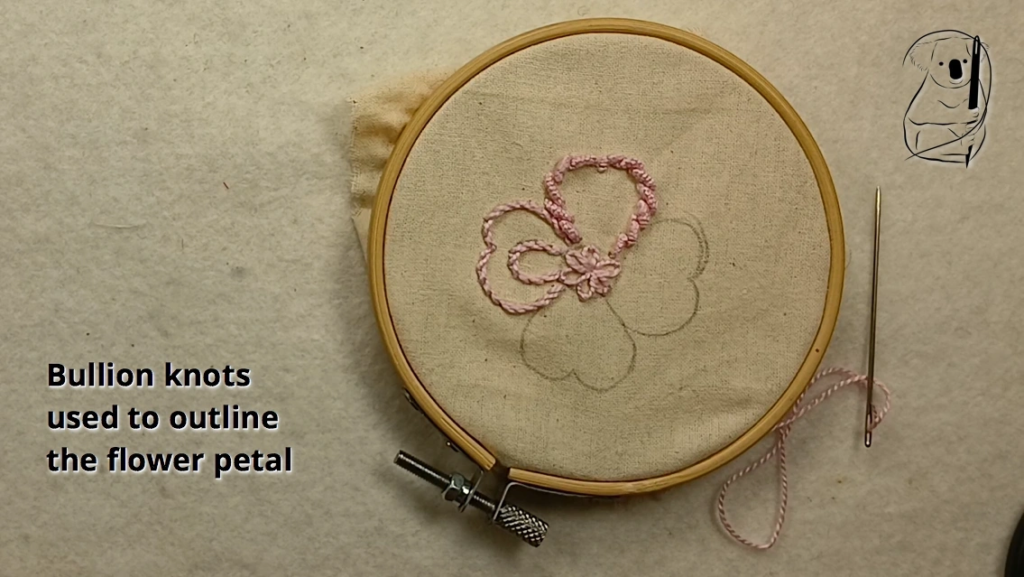
Bullion knot is an intricate embroidery technique that produces a coil of thread on the fabric. Also known as Grub stitch, this stitch creates a lovely textural effect, with applications to create floral designs, decorative borders and textured patterns. The time taken to master this stitch is well worth it.
Steps to Create a Bullion Knot
Step 1: Preparation
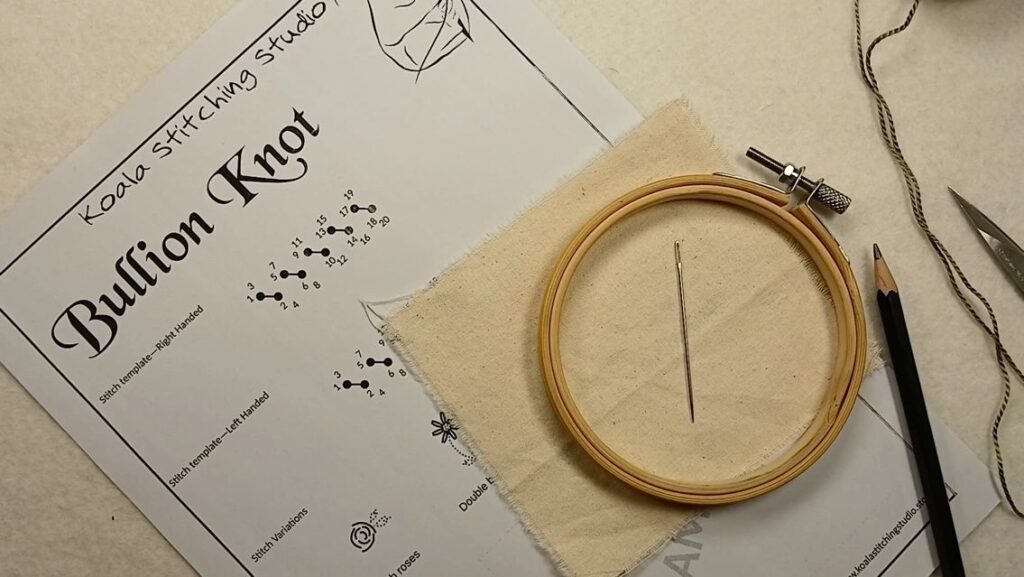
Cut a length of thread, usually about 12 to18 inches long, to ensure it is manageable and doesn't tangle easily. Thread the needle and knot the end of the thread to prevent it from pulling through the fabric. (see our video - Getting Started in Hand Stitching for a simple starting knot, or the Getting Started blog page for a description with photos.)
If you are using our stitch guide, mark your fabric. For practice stitching, pencil works well. I have used a 2B pencil here, which is soft enough to make clear marks.
Step 2: Starting the Stitch
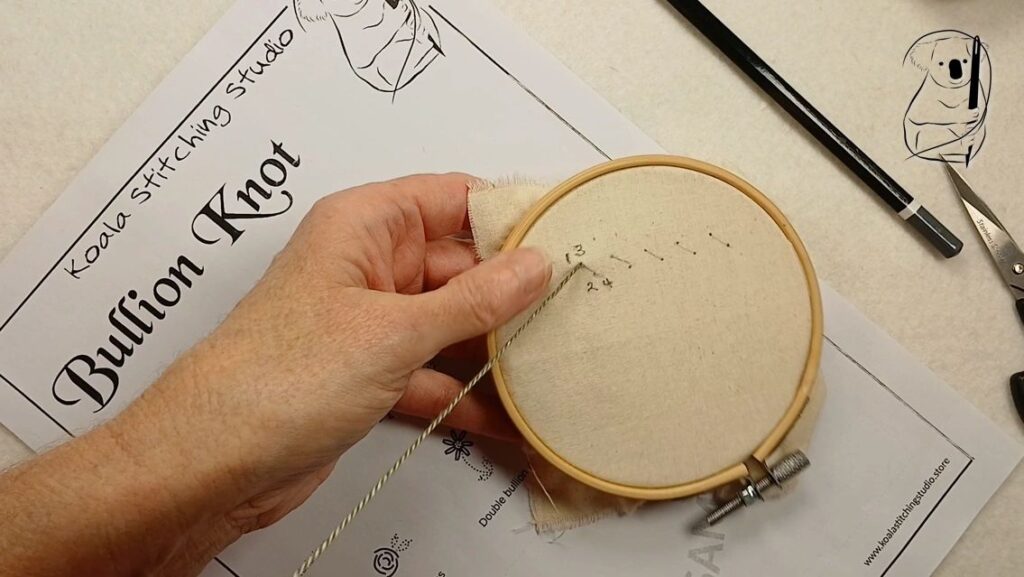
Insert the needle into the fabric from the underside at the point where you want to start your stitch. Pull the thread through until the knot rests against the fabric.
Step 3: Making the Stitches
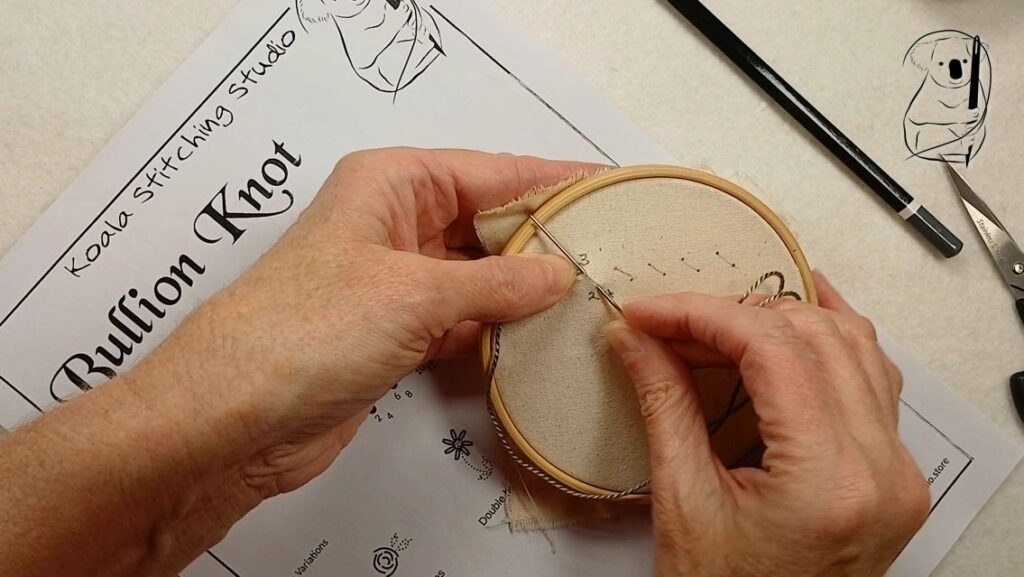
Insert the needle a short distance back away, and bring the point of the needle out where the stitch commenced. Leave the needle in the fabric.
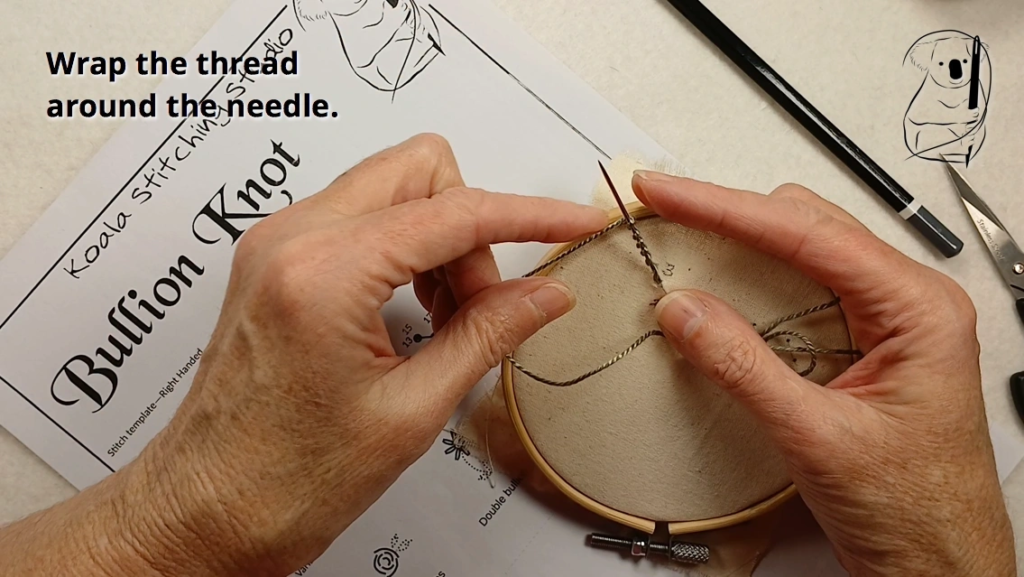
Wind the thread around the pointed end of the needle a number of times. How many times will depend on the thickness of your thread and the size of the bullion knot you wish to create.
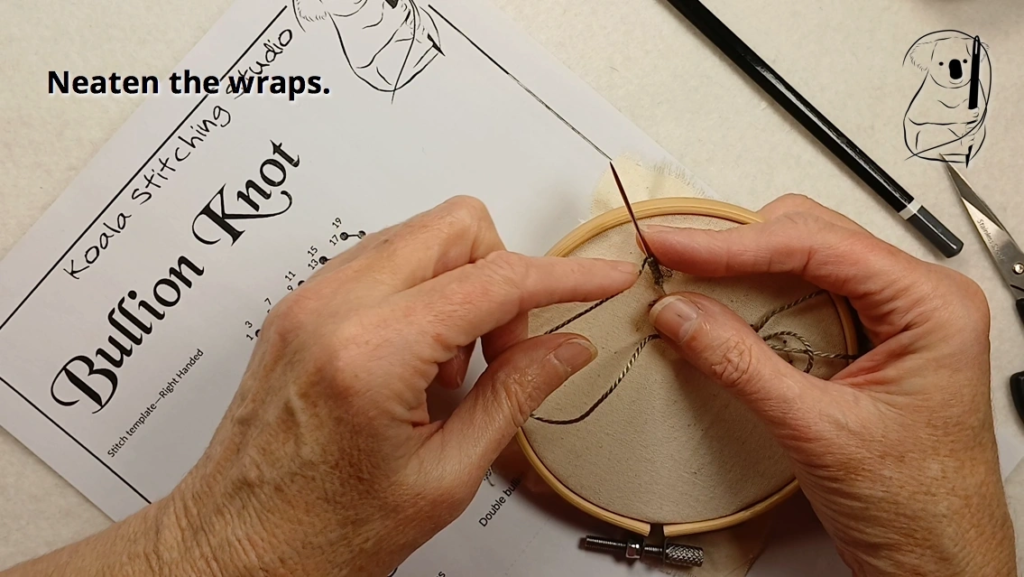
Neaten the wraps by pushing them toward the fabric. Leave the wraps a little loose so the needle will pass through them.
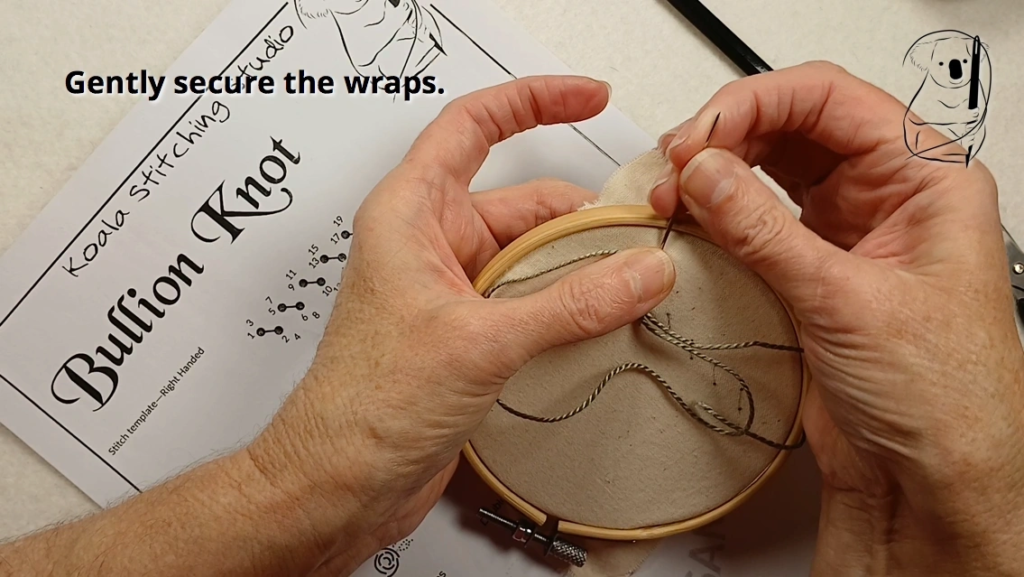
With your thumb, gently secure the wraps against the fabric as you prepare to pull the needle through. Keep the needle facing the same direction as it was while in the fabric.
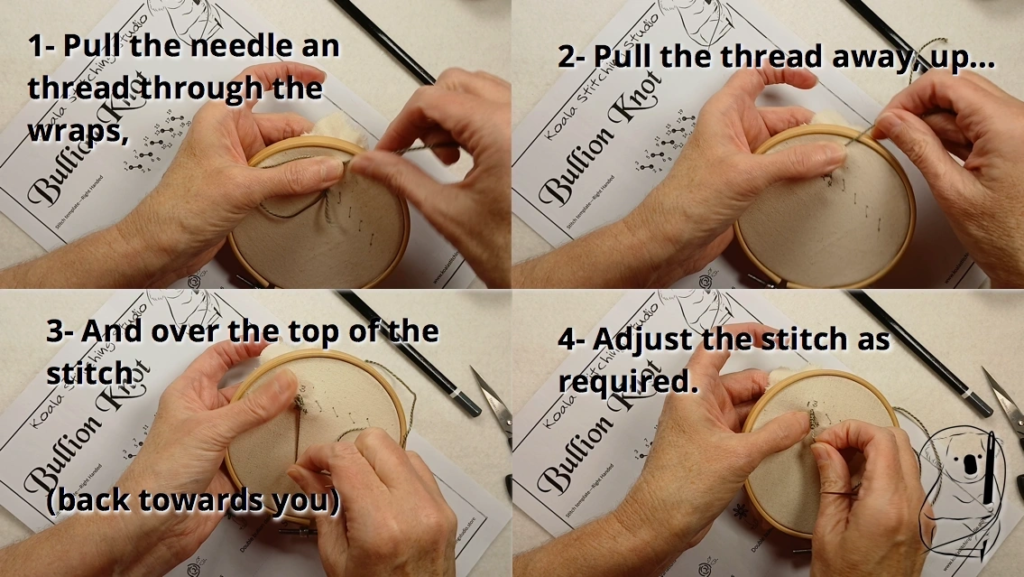
The next steps are best done in a flow, so the thread is steadily move through the wrap coil.
Pull the needle and thread through the coil of wraps held against the fabric. Holding it close to the coil, pull the thread away, up and over the top of the stitch, and back towards yourself to bring the coil to sit against the fabric. Adjust the stitch as required, to get the coil of wraps sitting neatly on the surface of the fabric.
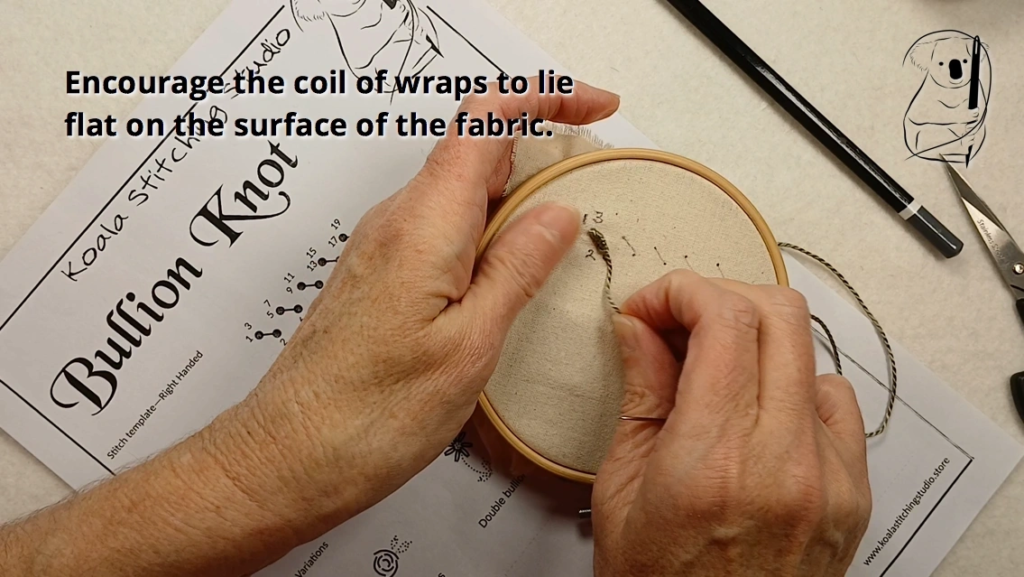
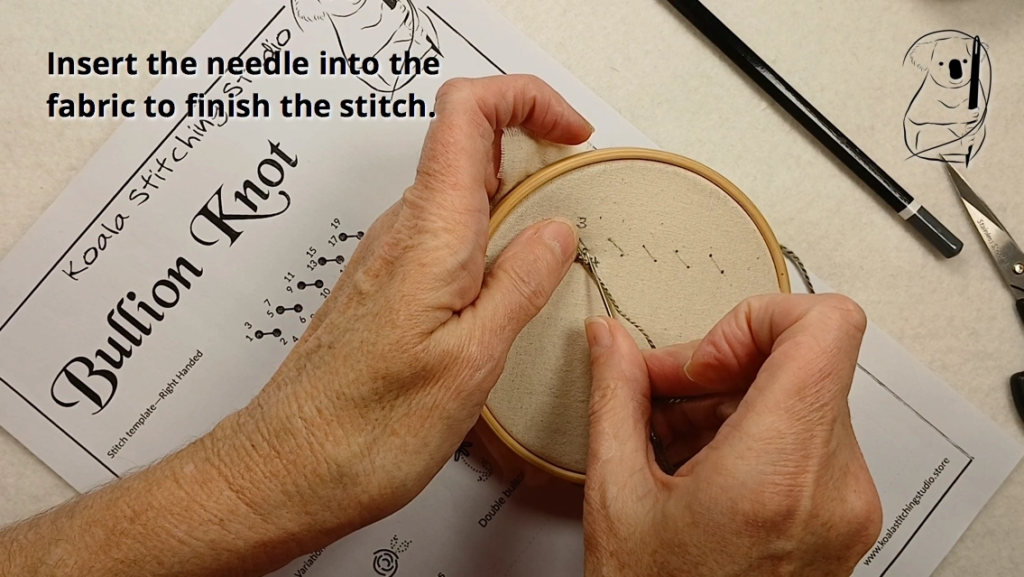
When you have the stitch sitting as you like, secure the stitch by inserting the needle back through the fabric.
You will have used two holes to make the stitch, passing through each hole twice.
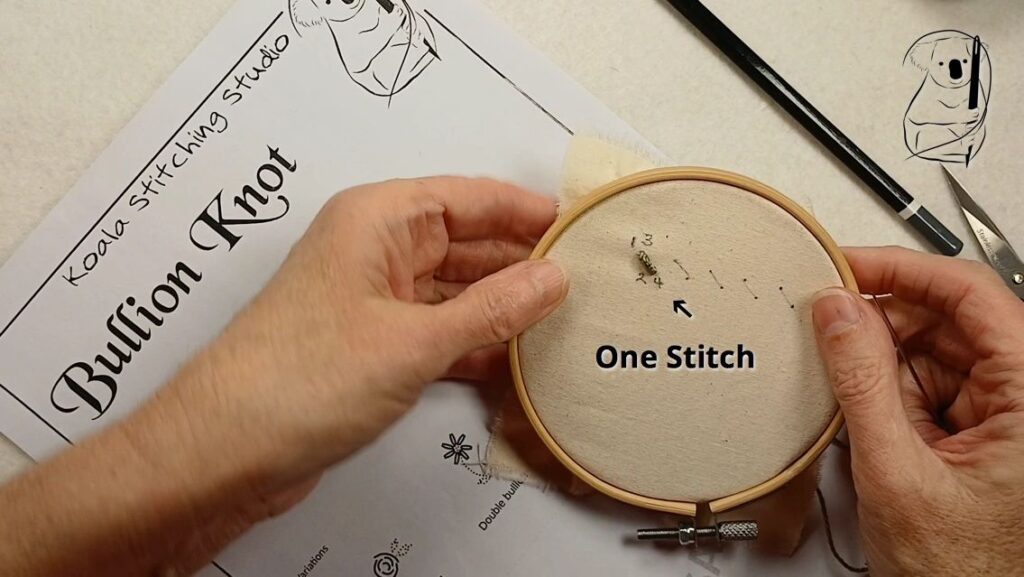
Step 4: Continuing the Pattern
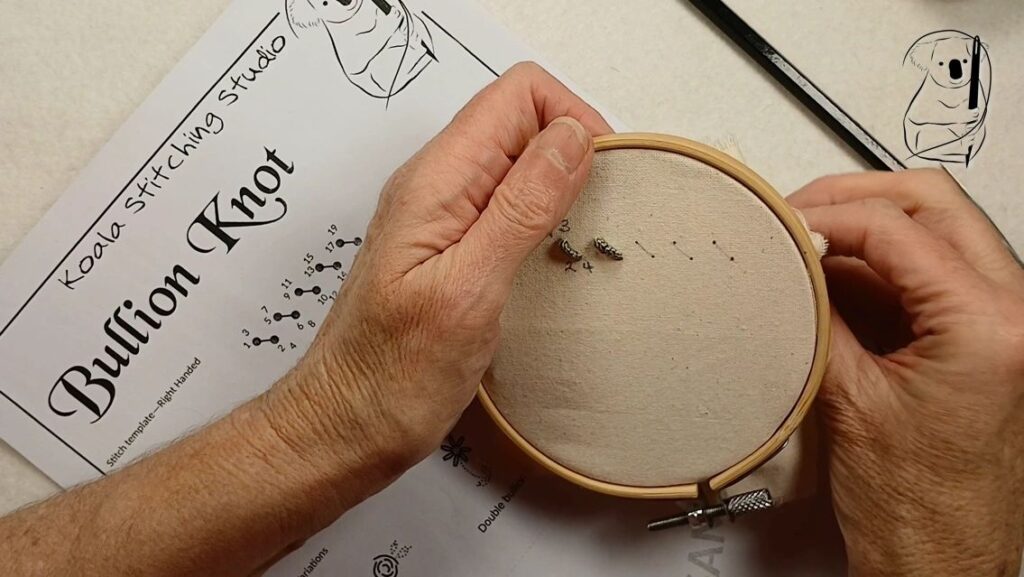
Continue making bullion knots as per your design. The number of coils of thread is often enough to make the knot just longer than the space it has to sit, giving it a soft curve.
Step 5: Finishing the Stitch
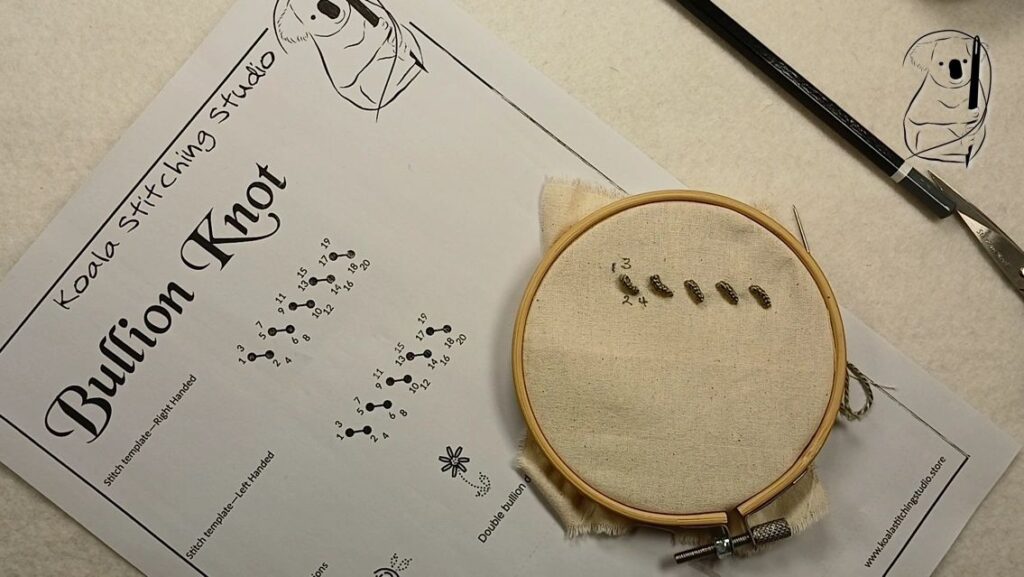
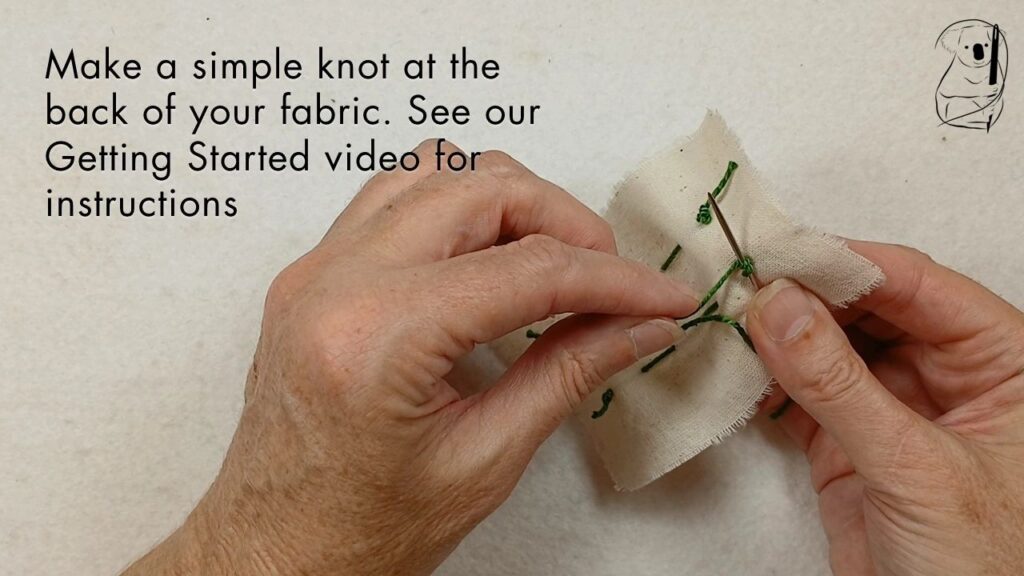
When you have finished creating your bullion knots, bring the needle to the rear of the fabric. Make a small knot close to the fabric to secure the thread. Trim any excess thread with scissors. (see our video - Getting Started in Hand Stitching for a simple end knot, or the Getting Started blog page for a description with photos.)
Top Tips for Successful Bullion Knots
There are a number of tricky parts to creating a beautiful Bullion knot.
Firstly, don’t wind the coil of threads too tightly around the needle. Most needles are not the same diametre along their shaft, and so a thread coiled tightly around the tip will not slide easily along the shaft and over the eye of the needle.
One way to ease this issue is to use Straws or Milliner’s needles, which are not only very thin, but also of an even thickness along their shaft and eye. Straws are particularly loved in embroidery circles for this characteristic.
The eye of straws do, however, tend to be small, and you may find that you wish to create bullion knots with threads other than would suit straws. Practice is required to find the right tension for your particular combination of coil, thread and needle.
I find that winding the thread slightly spaced along the needle, then letting that relax into a coil usually works for finding the right tension.
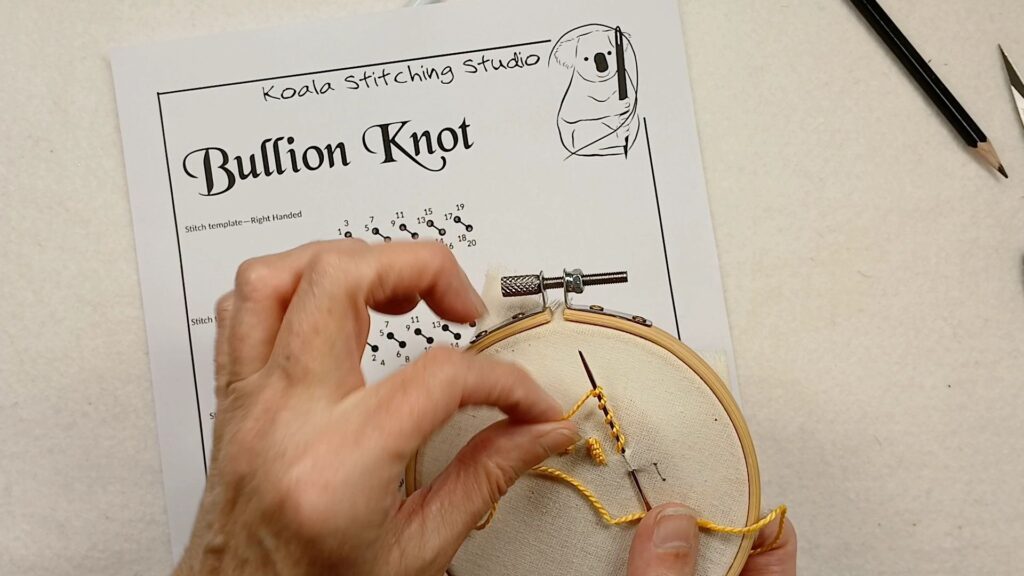
Another tricky part of this stitch is to hold the coil between finger and thumb with enough tension to keep the coil in shape, but not so much that the needle cannot pass through your fingers. Again, practice.
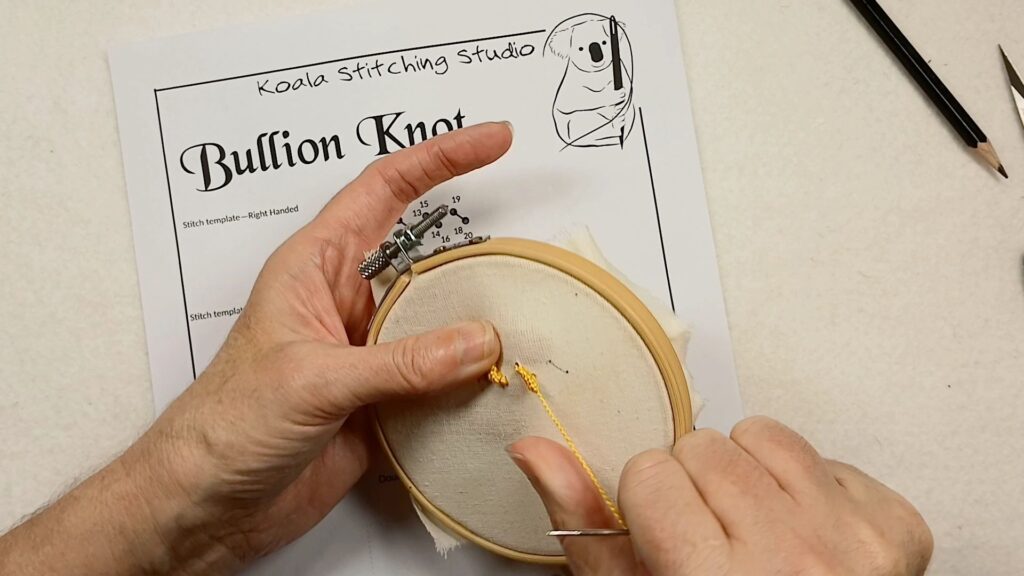
The final gate I find when creating this stitch is getting it to sit neatly on the fabric. Firstly, you need to pull the thread through, away from the site of the stitch. Then, by gently pulling the thread up and over where the stitch will sit, you can bring the end of the coil back the the surface of the fabric and pass the needle and thread back through the fabric to complete the stitch. Pulling in the wrong direction too soon can make the thread stick and the stitch tangle.
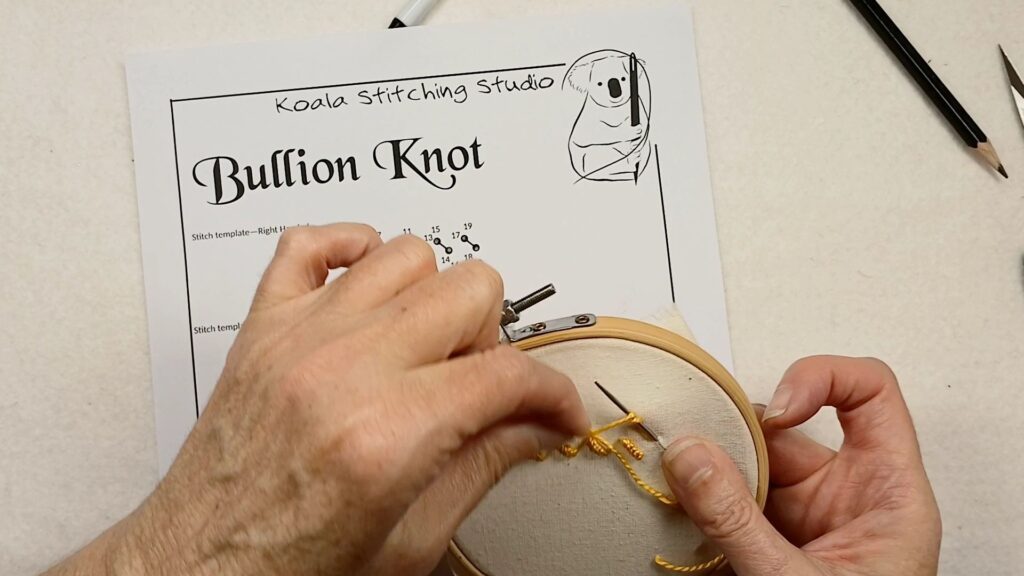
Clockwise or anti-clockwise? Which way do you wind your thread to make the coil? I think the difference this makes is mostly down to the thread you use.
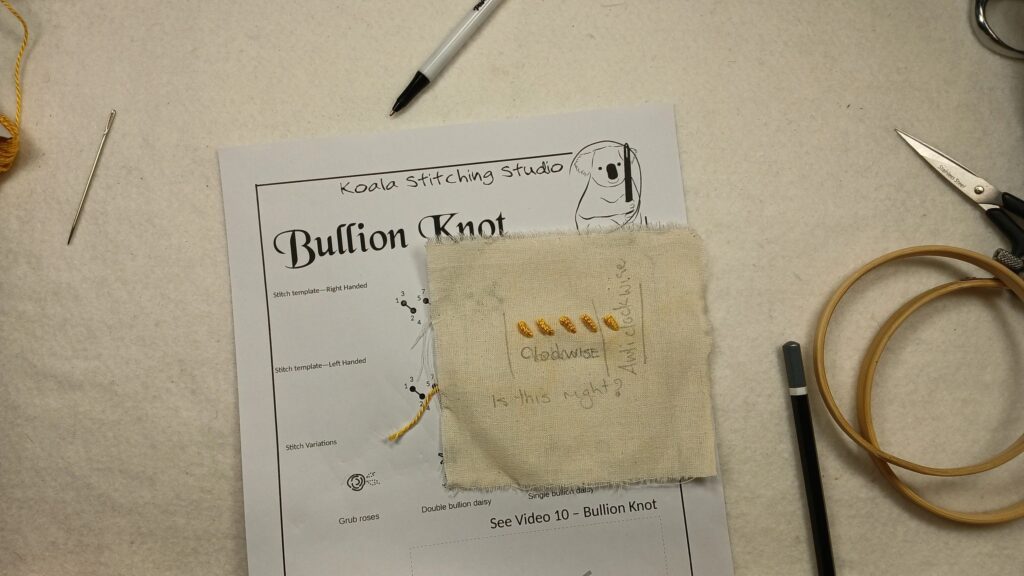
Due to the twist in the thread, it is likely that one direction will be smoother and the sections of the coil less distinct. If in doubt, test the thread you are using, and select the one that you prefer.
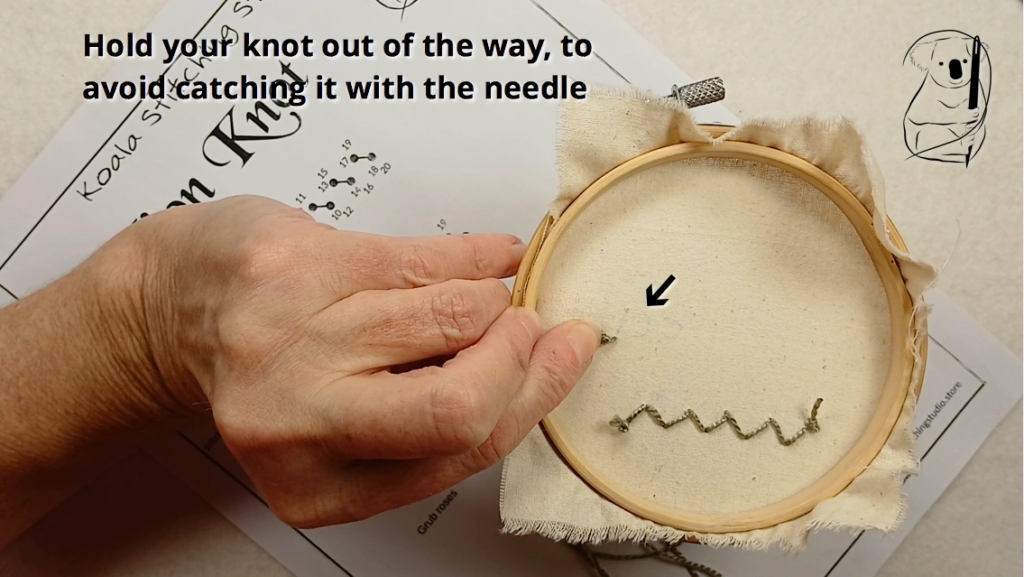
And one final thing to watch for. When you are starting your stitching, it is an easy trap to catch the knot with the needle, because you are going through the same hole. This will only happen on the first stitch, but it does happen more than you might think. Holding the knot to one side can help avoid this issue.
Variations on Bullion Knot
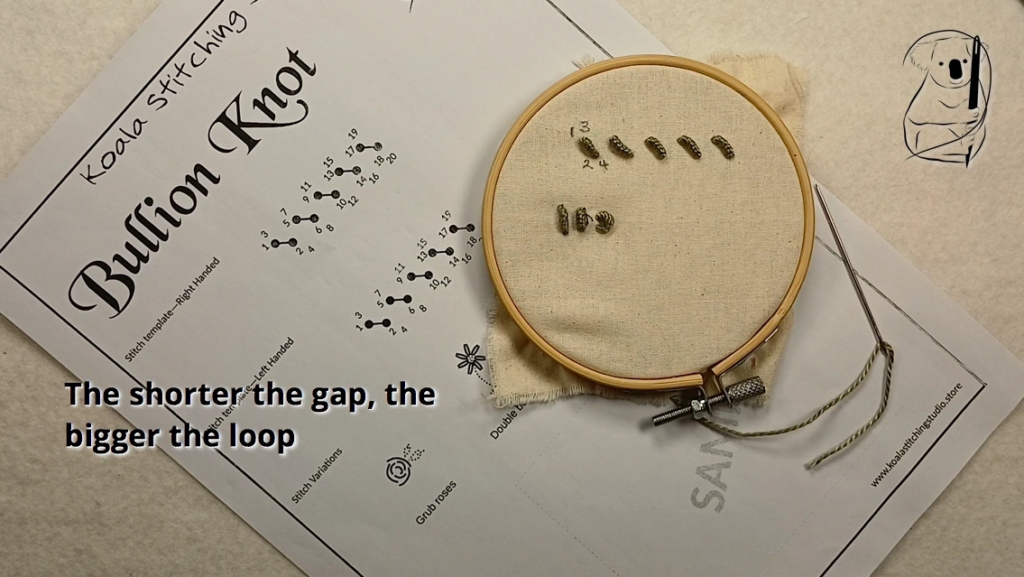
One of the easiest ways to vary a bullion knot is by changing the distance between the start and the end of the coils on the fabric.
You do this in the first stage of making the knot, when you take the back though the fabric before wrapping. By decreasing the distance between the start and the end, you increase the loop of the stitch, even with the same number of wraps.
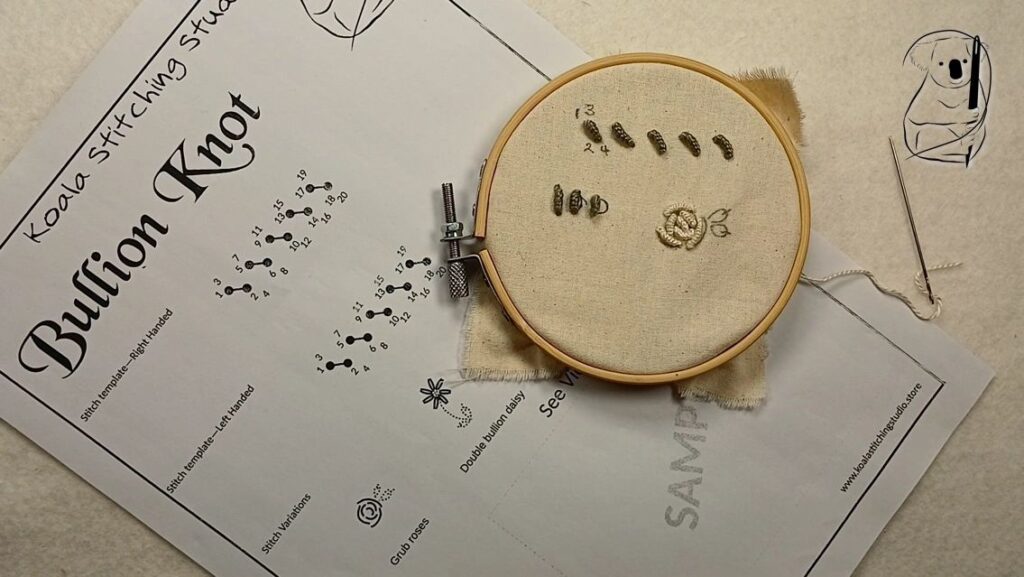
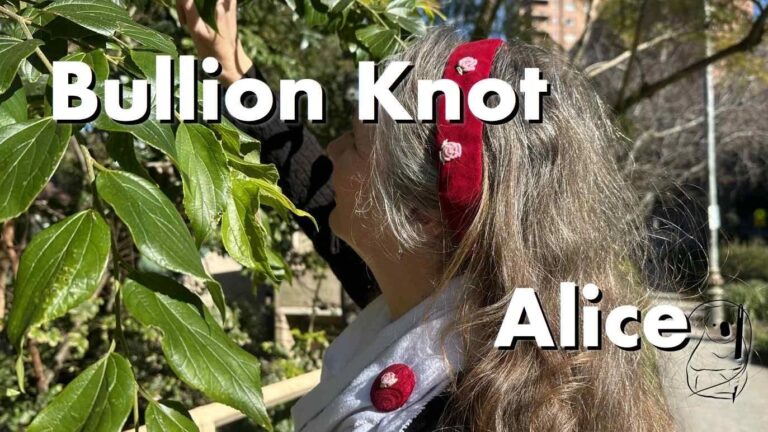
Probably the best known use of Bullion stitch is the little roses that you can create by stitching the knot in several layers around a central point. Also known as grub roses, these are a favourite and traditional way of using this stitch.
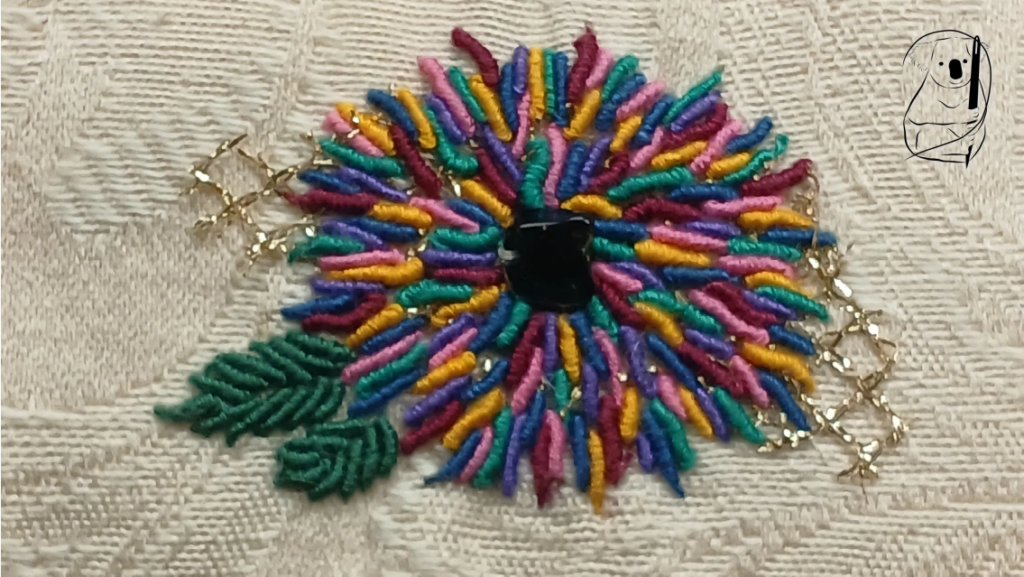
Other flowers such as “daisies” and even chrysanthemums can be created using bullion knots that are stitched out from a central point.
Ears of wheat and small animals can also be described using bullion knots. See our project Darby, below for an example.
By making the coil of thread longer than the available space for the stitch, a loop is made that sits away from the fabric surface. This variation increases our creative opportunities even more.
Applications of Bullion Knot
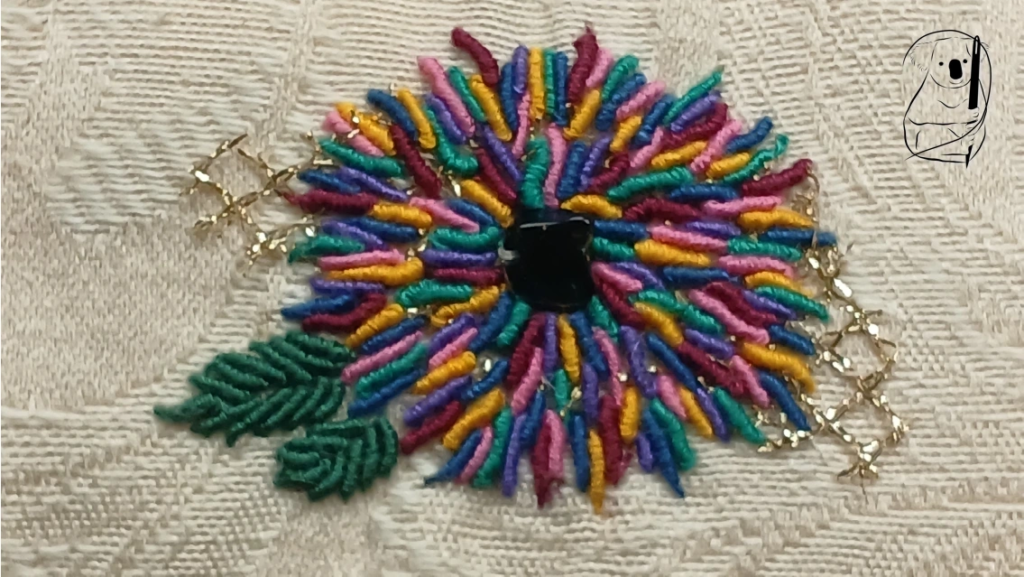
Well known for creating detailed floral motifs, the coiled textured of the stitch is an excellent choice for embroidered blooms.
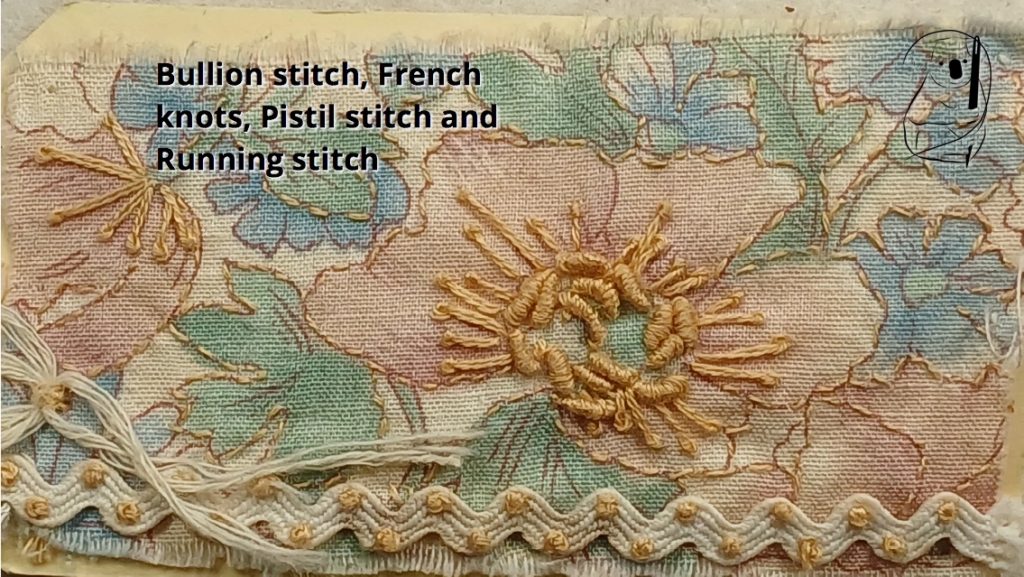
Beyond that, bullion stitch can be used to create textural borders, the raised texture of the stitch adding a tactile element.
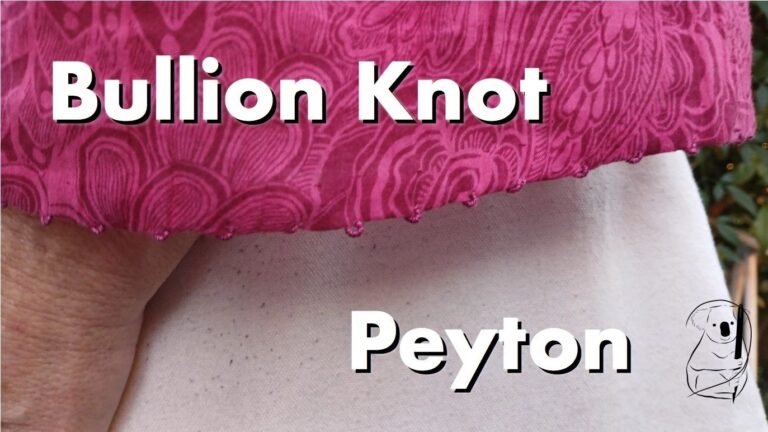
Bullion knots do not need to be restricted to just the top surface of the fabric either.
In our project Peyton, we use bullion knots to decorate the re-hemmed edged of a sleeve, adding a subtle personal touch to the garment.