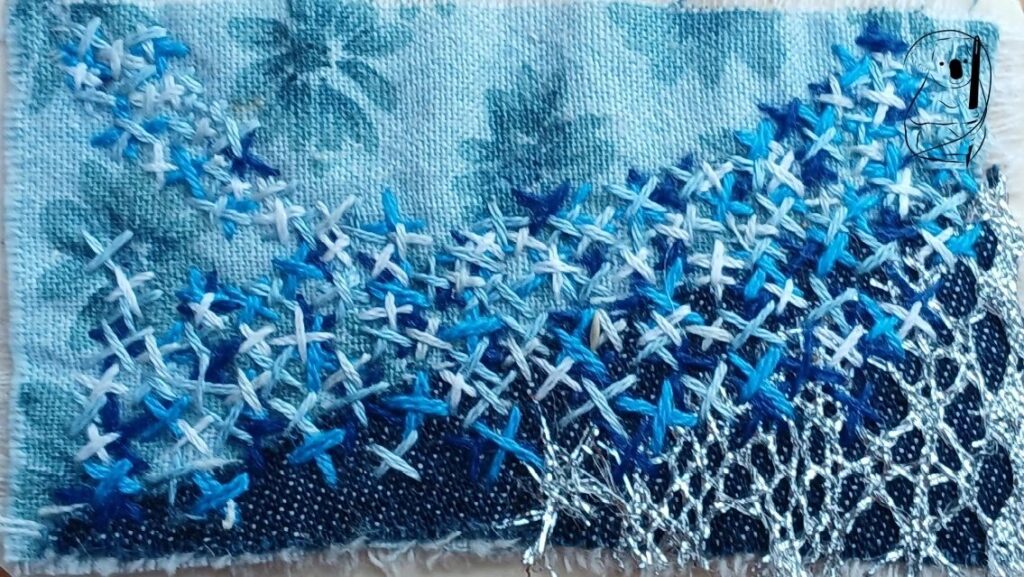
Cross stitch is a very popular embroidery stitch. Indeed, it has its category of embroidery named after it. Made up of two small stitches crossing each other in a X-shape, the stitch can be completed individually (English cross stitch), or in patches, where one leg is sewn, then the the other (Danish cross stitch).
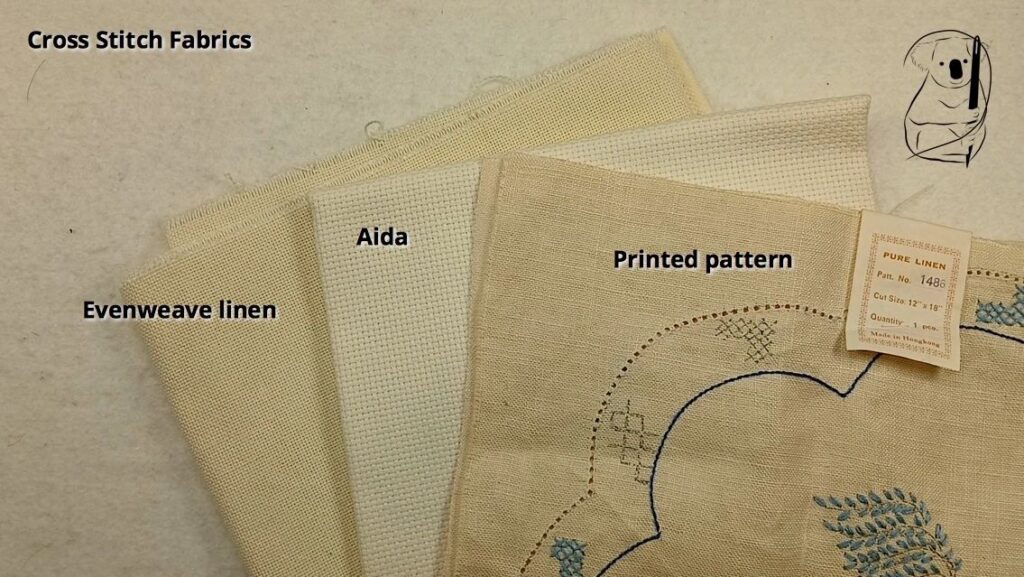
One of the most popular uses of cross stitch is Counted cross stitch, where the stitches are made over a specific count of thread to ensure they are of an even size. The fabric used for this is called even weave, because the weft and warp have an even number of threads per inch. Linen is one choice of fabric. Another is Aida, where the weave of the fabric creates holes for the needle to pass through. Another type of cross stitch is stamped cross stitch, where the pattern of crosses is printed on fabric, eliminating the need to count fabric threads.
Steps to Create Cross Stitch
Step 1: Preparation
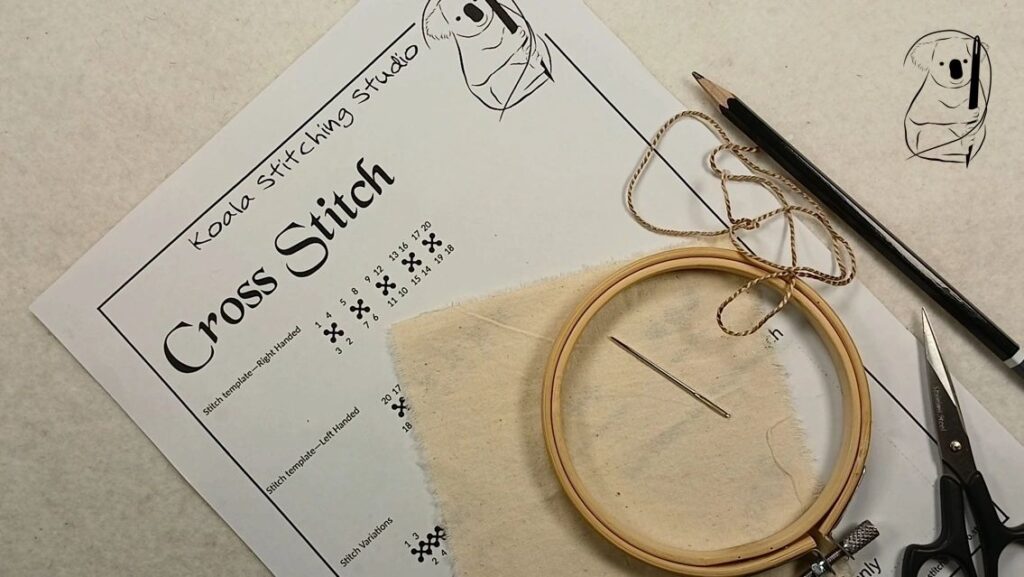
Cut a length of thread, approximately 12 to18 inches long, to ensure it is manageable and doesn't tangle easily. Thread the needle and knot the end of the thread to prevent it from pulling through the fabric. (see our video - Getting Started In Hand Stitching for a simple starting knot , or the Getting Started in Hand Stitching blog page for a description with photos.)
If you are using our stitch guide, mark your fabric. For practice stitching, pencil works well. I have used a 2B pencil here, which is soft enough to make clear marks.
Step 2: Starting the Stitch
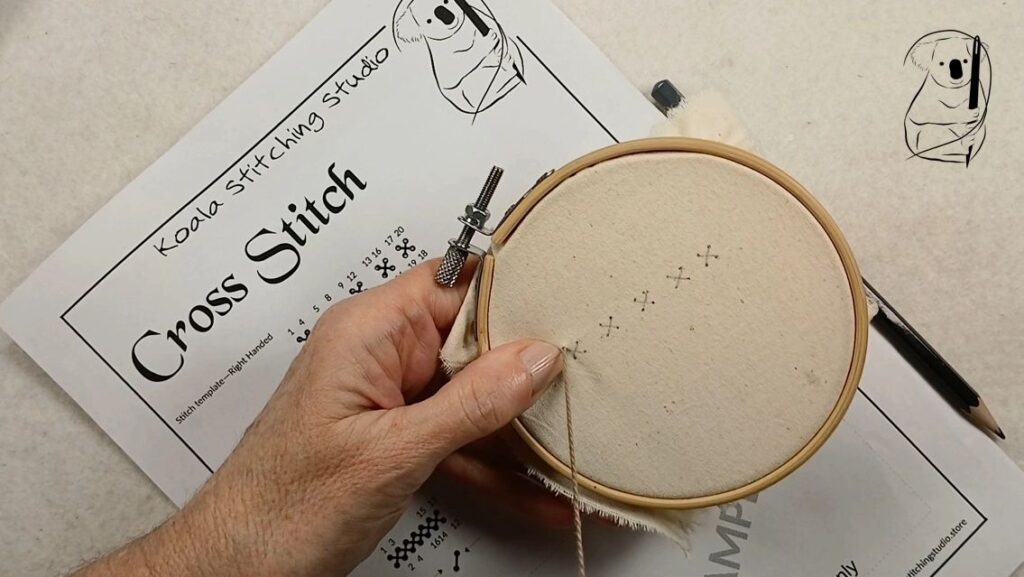
Imagine a square on the surface of the fabric. Our stitch guide marks this space with two short lines that cross in the centre, with their ends in each corner of the square. Insert the needle into the fabric from the underside at one corner of the square, at the point where you want to start your stitching. Pull the thread through until the knot rests against the fabric.
Step 3: Making the Stitches
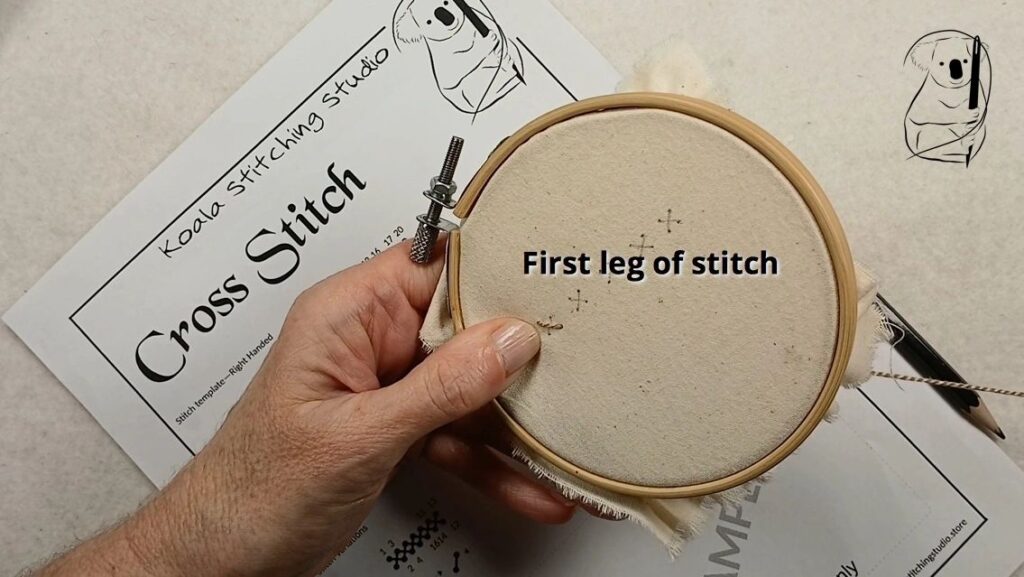
Push the needle back into and through the fabric a short distance away in the diagonal corner of the square. On evenweave fabric, this will be the same distance across and down, counting threads to ensure they are equal. On printed fabric, a line will be drawn, similar to our stitch guide. This makes the first diagonal leg of the stitch.
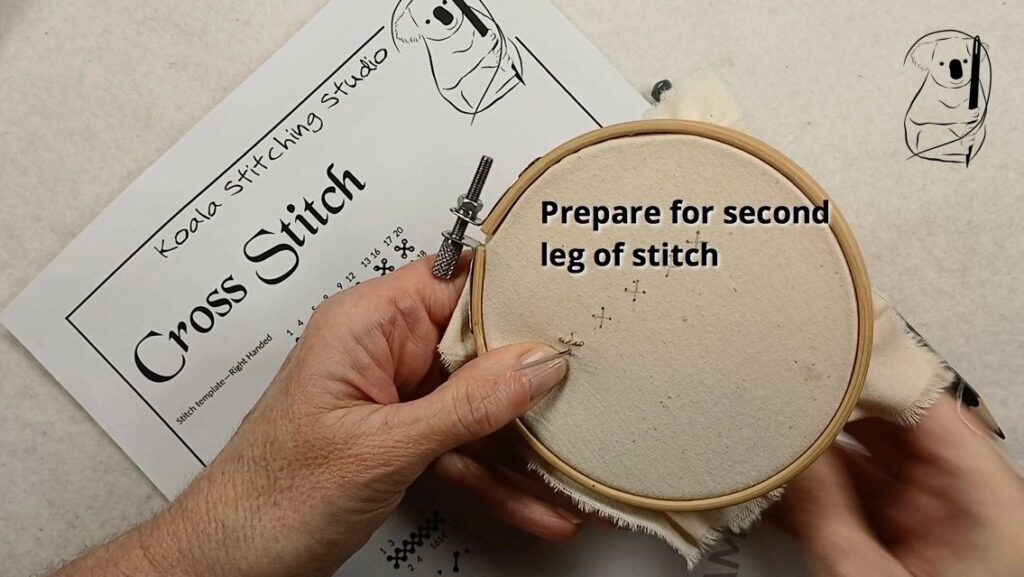
Bring the needle back up to the front of the fabric in a corner of the square that is still empty, and will be at one end of the second leg of the stitch. Pull the thread all the way through and then back down in the final corner of the square.
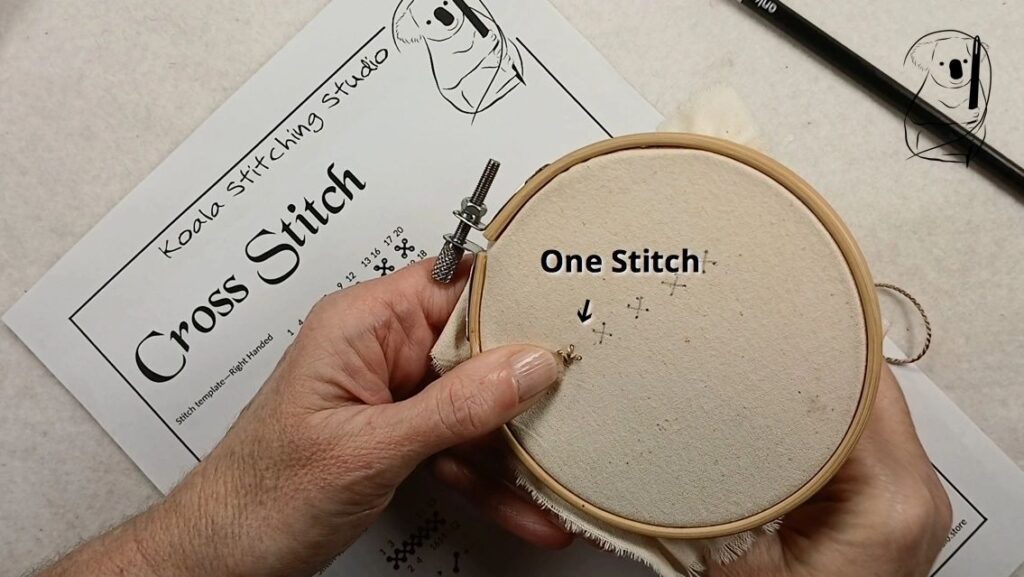
This creates one stitch. The size of the stitch will vary, depending on the fabric or the printed design you are using. Evenweave fabrics are described by count, being the number of threads per inch. The higher the number, the tighter the weave, the smaller the final stitches will be.
Step 4: Continuing the Pattern
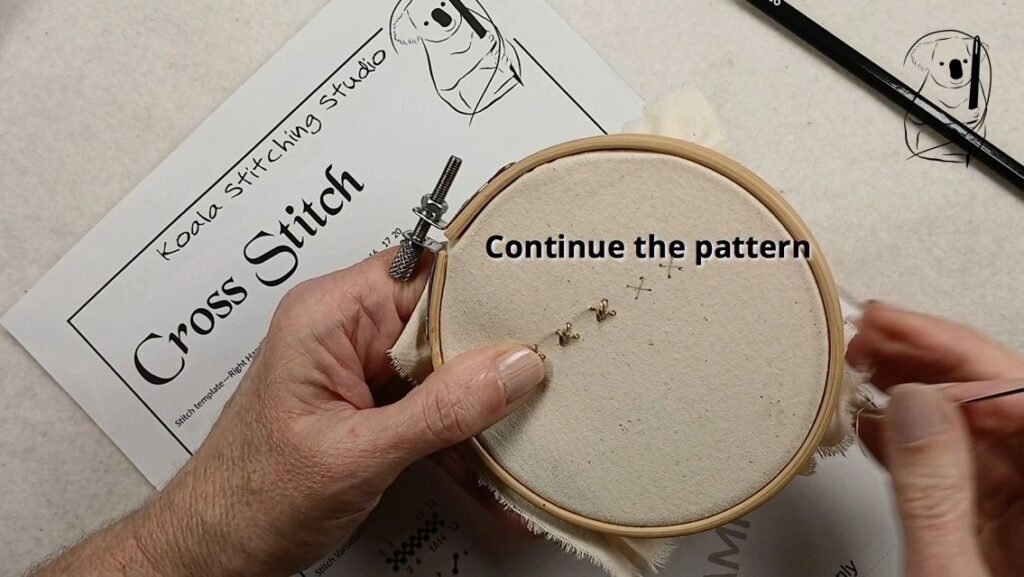
Continue the cross stitch by repeating the process, ensuring that your stitches are consistent in length and spacing. The evenness of the stitches will contribute to the overall appearance of the stitching.
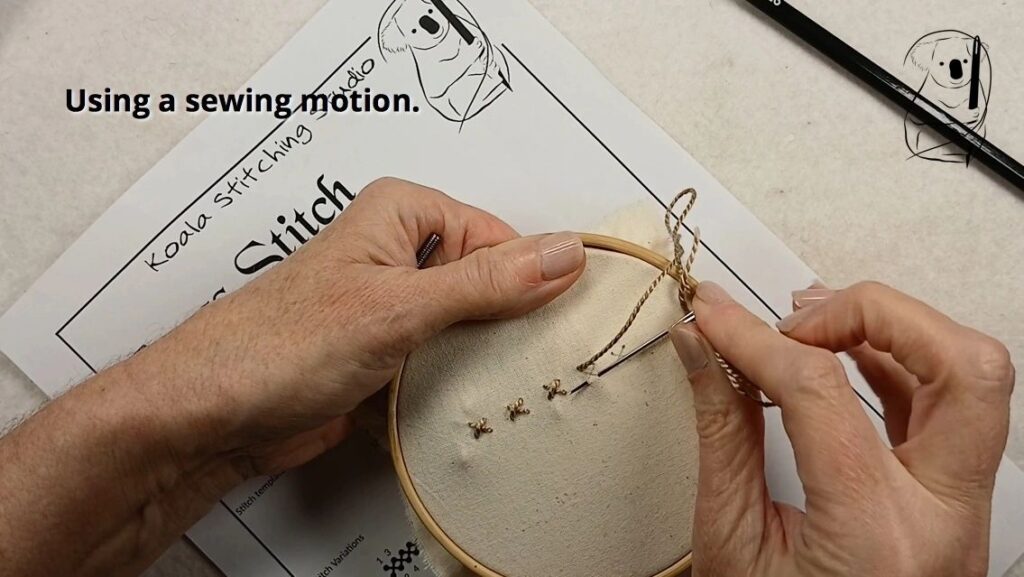
To speed up the process, instead of pulling the thread all the way through the fabric for each stitch, inserting the needle and drawing it back to the front can be done in one movement. Care needs to be taken when doing this as it is harder to find the exact point of the square when using a sewing motion than it is making one part of the stitch at a time.
Step 5: Finishing the Stitch
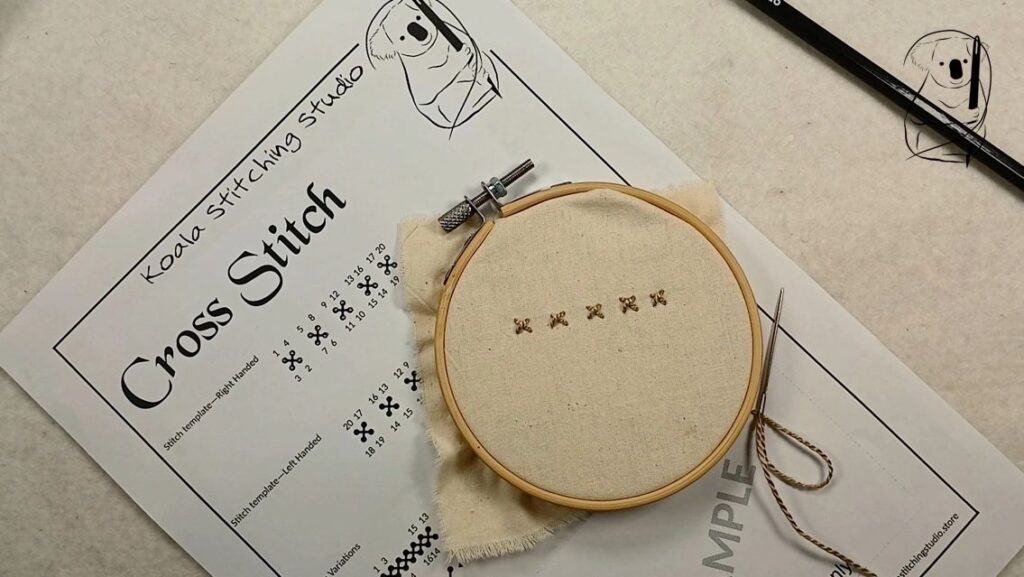
When you reach the end of your line of stitching, bring the needle to the under side of the fabric.
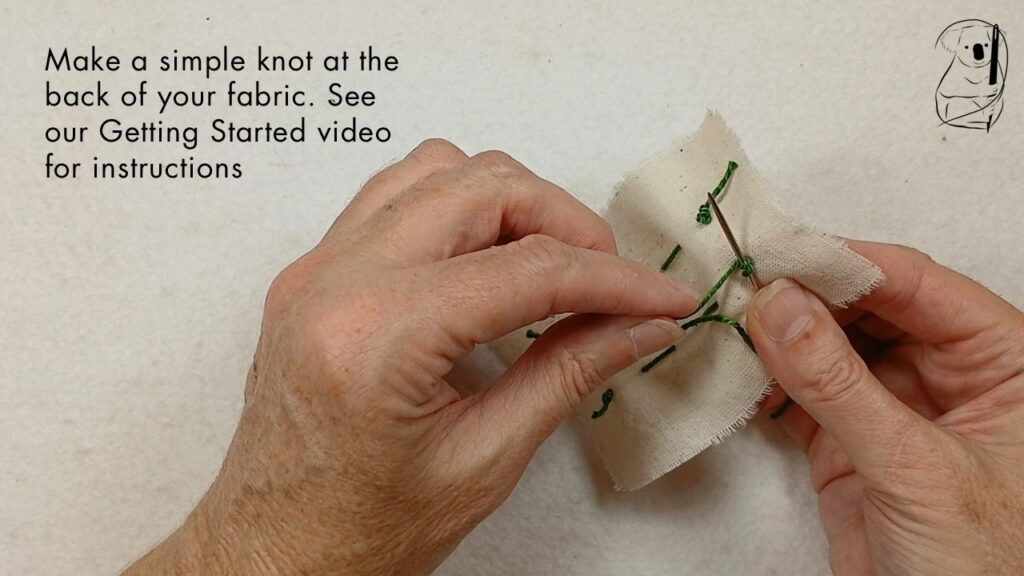
Make a small knot close to the fabric to secure the thread. Trim any excess thread with scissors. (see our video - Getting Started in Hand Stitching for a simple end knot, or the Getting Started in Hand Stitching blog page for a description with photos.)
Variations on Running Stitch
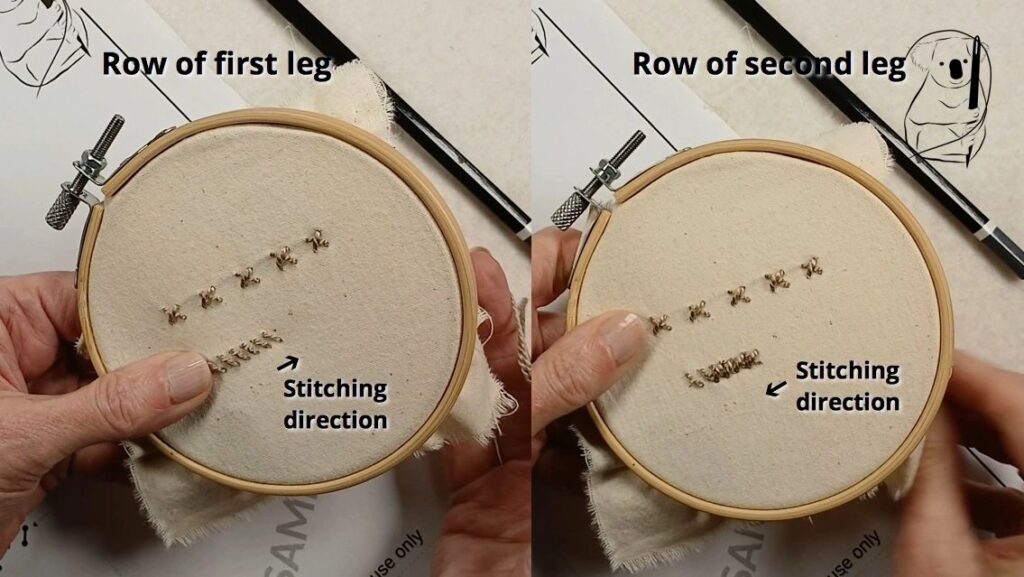
The first variation of cross stitch is called Danish cross stitch, where all the first legs of the stitches in a row are completed, and then on the return direction the second leg is stitched.
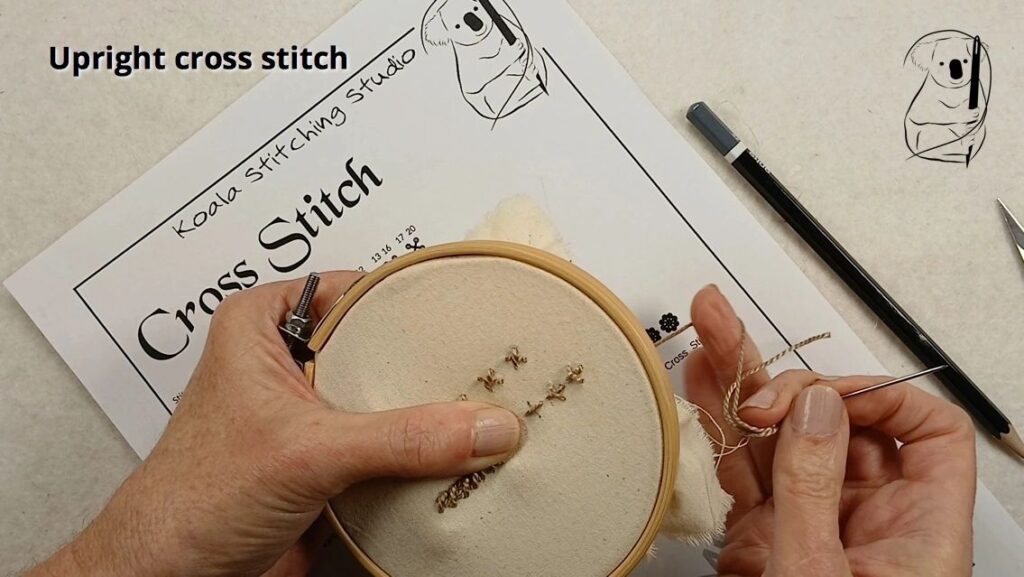
A popular variant of cross stitch is upright cross stitch. In this variation of cross stitch, the stitches are made still within a square, but from the centre of each side of the square. This is a popular filling stitch.
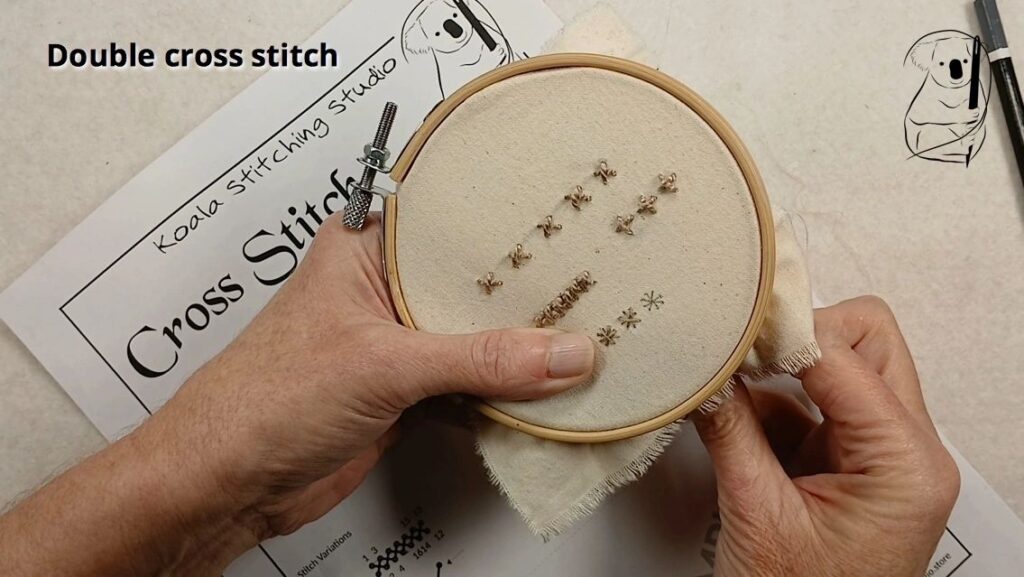
Another variant of cross stitch that is used as a filling stitch is double cross stitch, where both the x and the + shapes are sewn in the same square space.
Top Tips for Good Looking Cross Stitch
The appearance of cross stitch piece is improved when all the legs of the stitches are completed in the same order. That is, for example all the left to right legs are made first, which means all the right to left legs will be on top, regardless of whether the stitches are being completed one at a time or in rows. When the light falls on the stitches the surface looks even and smooth.
Examples of Cross Stitch
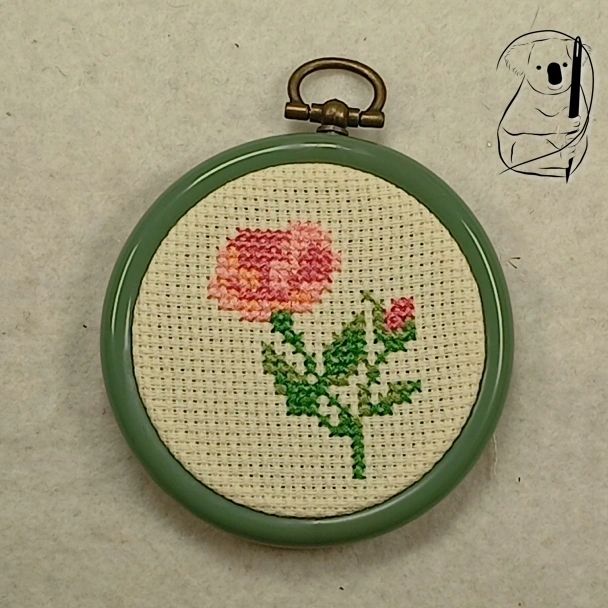
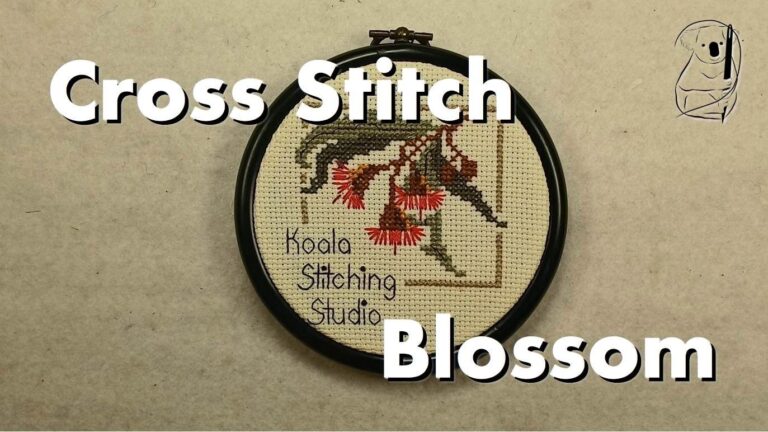
Cross stitch is a highly decorative stitch, and counted cross stitch, completed on evenweave fabrics, is a very popular branch of embroidery. When people hear the name cross stitch, their first thought is usually of some counted cross stitch piece.
This was a very popular style for samplers stitched on linen, as a way for young girls to learn how to sew.
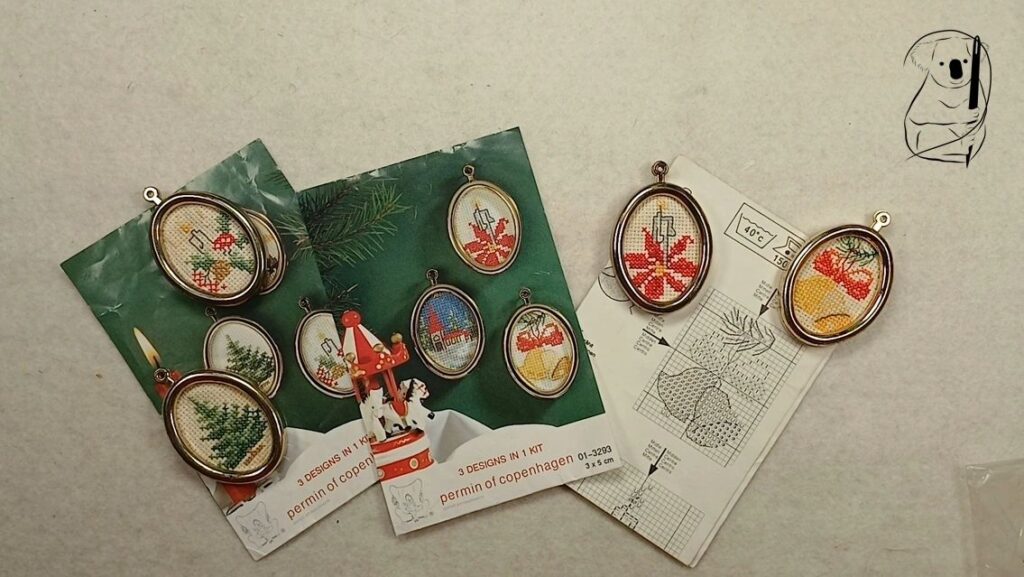
These days, there are many kits and patterns available in counted cross stitch, covering almost every subject imaginable.
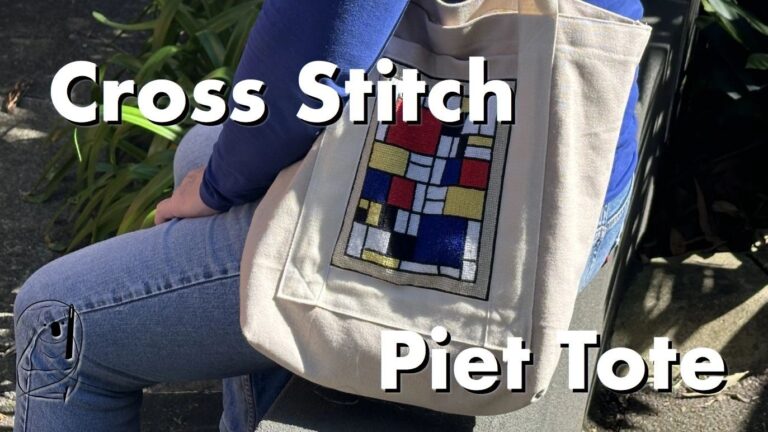
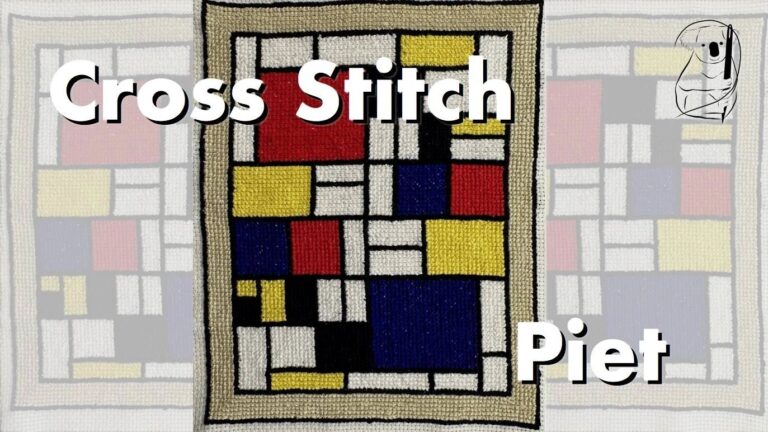
Of course, if your fancy doesn't run to counting the number of threads, there are easier ways to complete a cross stitch project. See our project Piet (below) for uncounted cross stitch, still completed on an evenweave fabric, but without the constant checking.
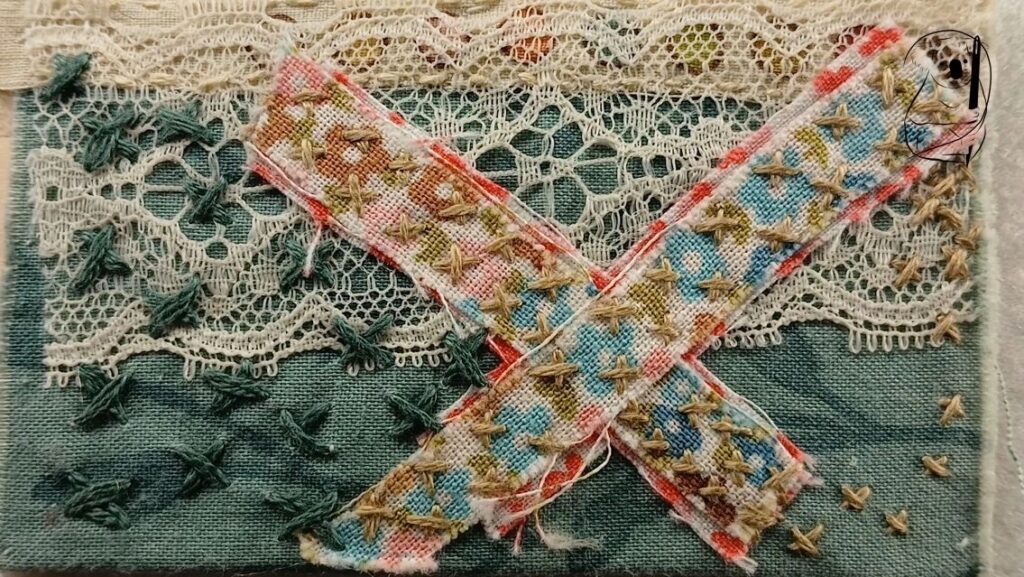
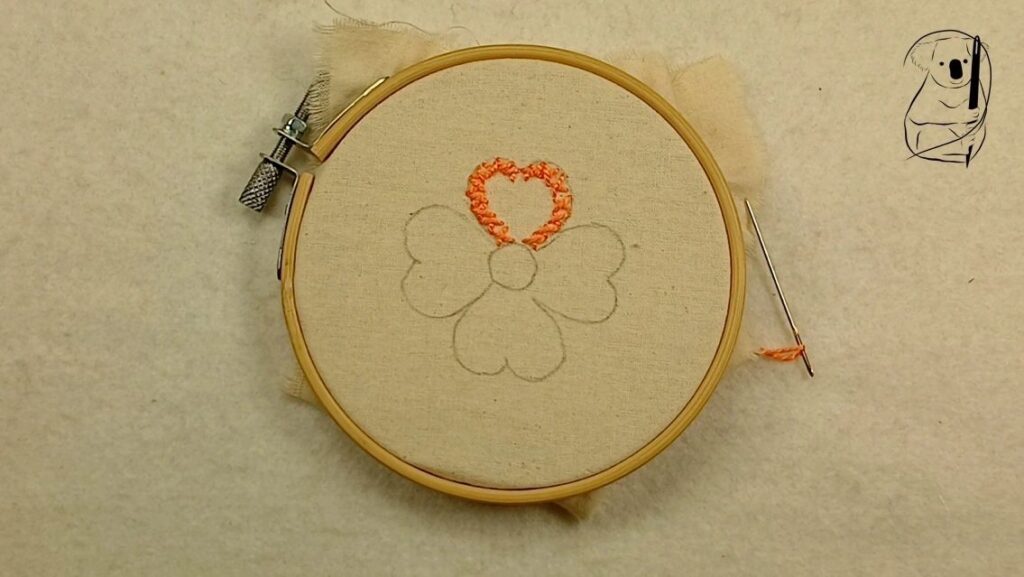
It is also possible to use cross stitch in freeform embroidery, where it doesn't matter a) if your squares are the same size, b) your squares are really squares, and c) if you stitch the same diagonal first for each stitch. This is popular in slow stitching, and has been referred to as kisses, rather than cross stitch.
Cross stitch can be used to cover blocks of colour in a pattern, fill a space with evenly or randomly spaced stitches, or outline a shape.