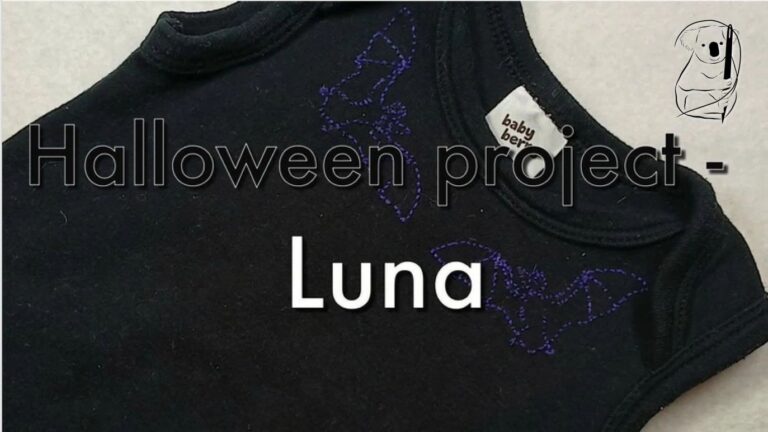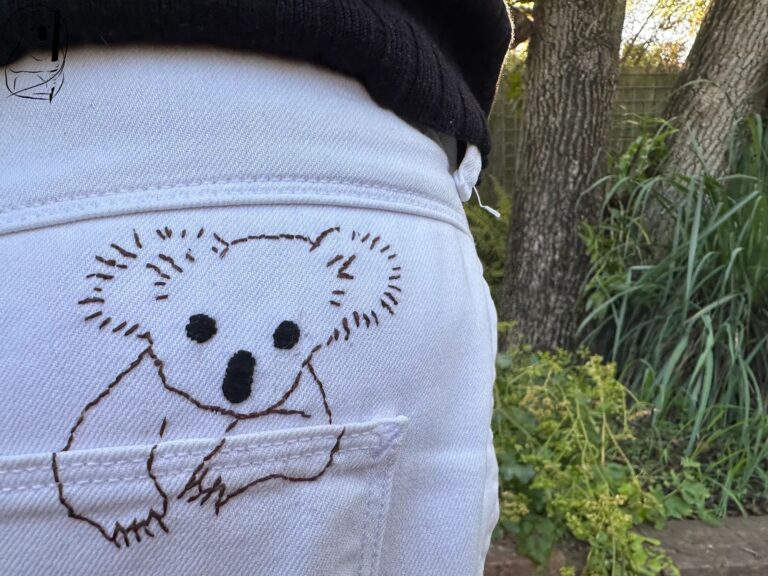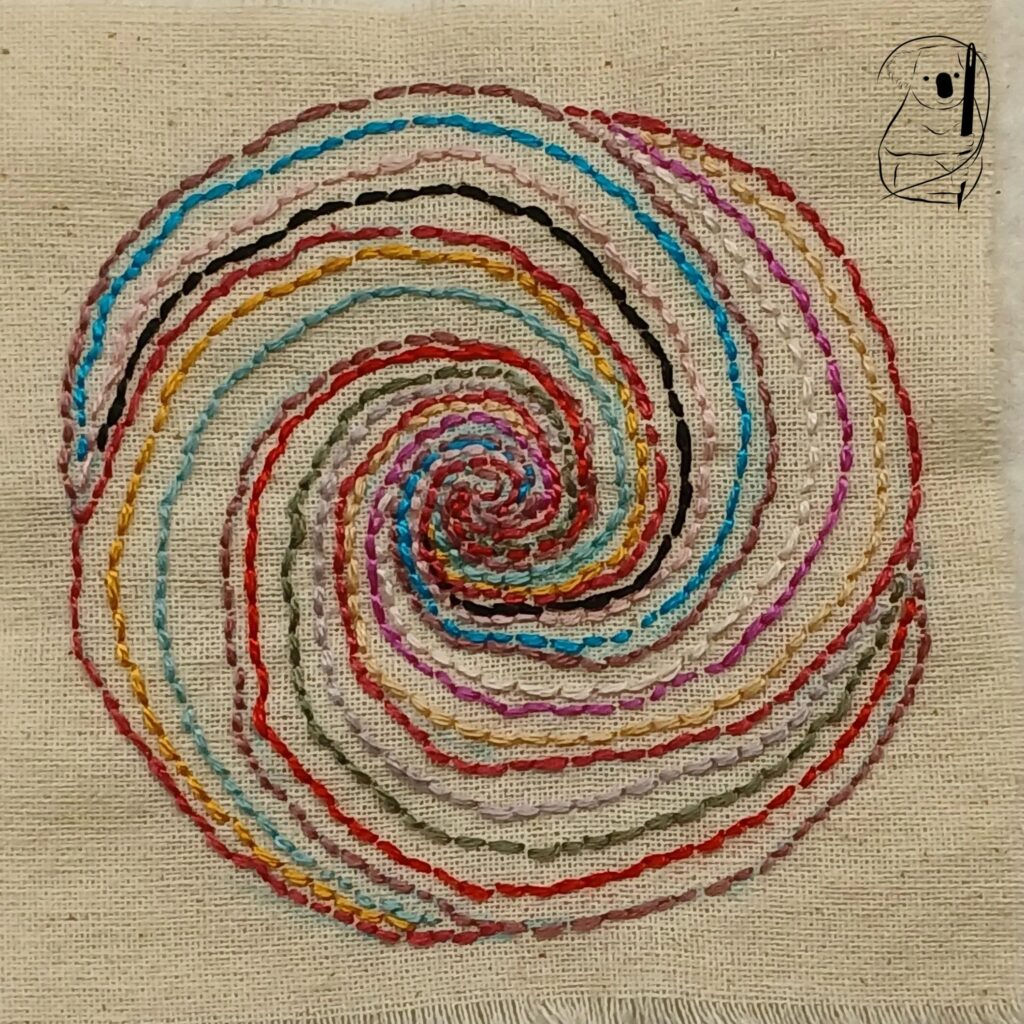
Back stitch is a fundamental hand-sewing technique that is essential for creating strong and durable seams. This stitch is often used when a sewing machine is not available, or for detailed work that requires precision. The back stitch is named for its method of stitching backward then forward, which produces a continuous and secure line of stitches.
Decoratively, back stitch provides a fine outline stitch, useful in many different styles of embroidery, or simply on its own.
Steps to Create Back Stitch
Step 1: Preparation
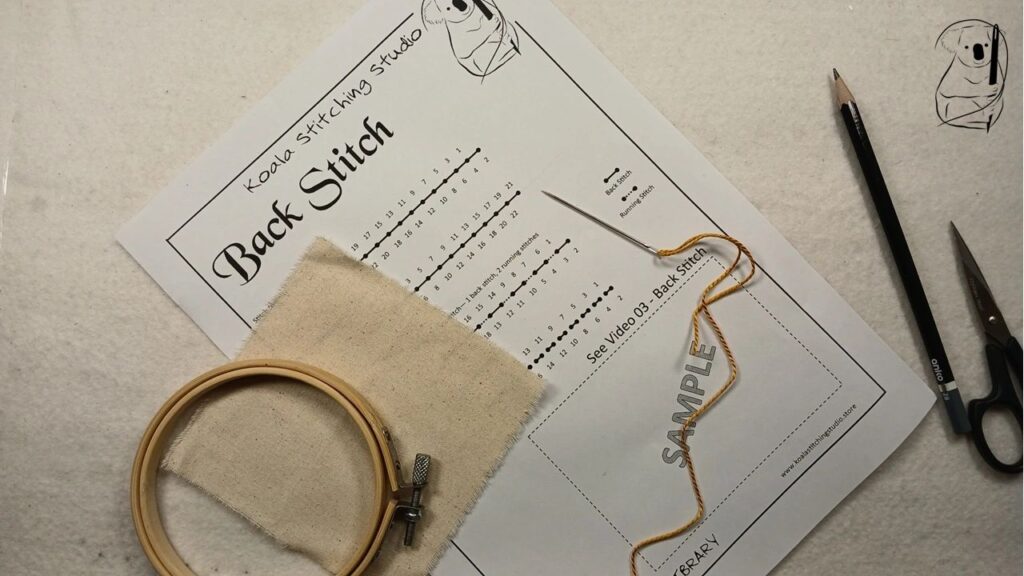
Cut a length of thread, approximately 12 to18 inches long, to ensure it is manageable and doesn't tangle easily. Thread the needle and knot the end of the thread to prevent it from pulling through the fabric. (see our video Getting Started in Hand Stitching for a simple starting knot or the Getting Started in Hand Stitching blog page for a description with photos.)
If you are using our stitch guide, mark your fabric. For practice stitching, pencil works well. I have used a 2B pencil here, which is soft enough to make clear marks.
Step 2: Starting the Stitch
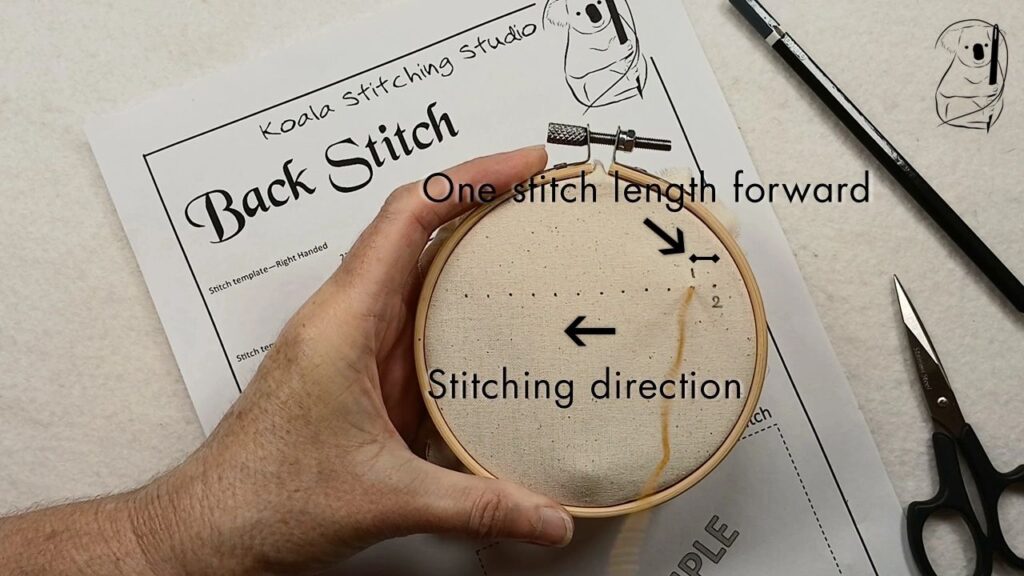
Insert the needle into the fabric from the underside of the fabric, one stitch length forward of your starting point. Pull the thread through until the knot rests against the fabric.
Step 3: Making the First Stitch - Backwards
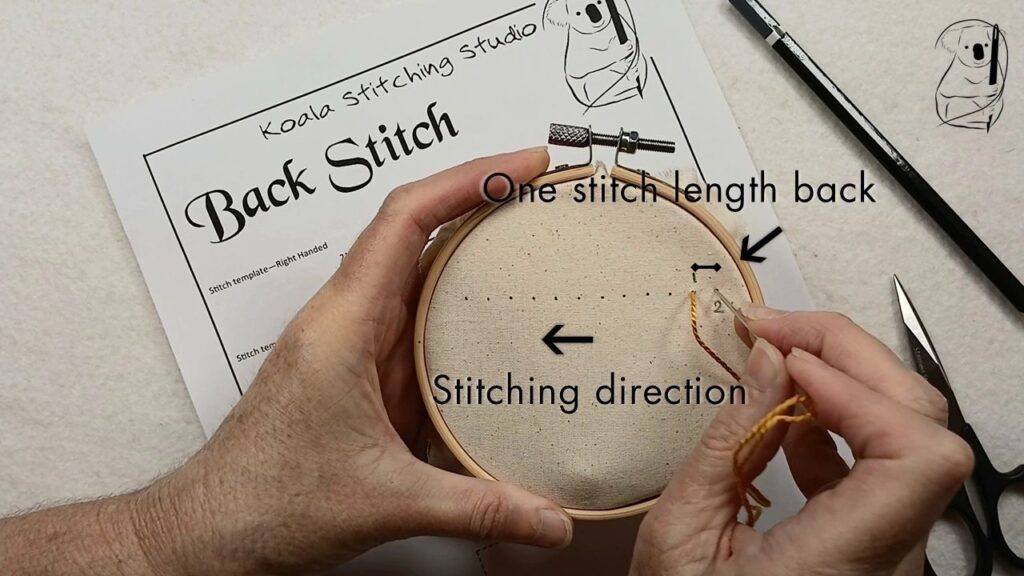
Move the needle back along the stitching line, one stitch length toward the beginning of the stitching line, (typically between 1/16 and 1/8 of an inch). Insert the needle back into the fabric and pull the thread through to the underside until the stitch lies flat against the fabric surface.
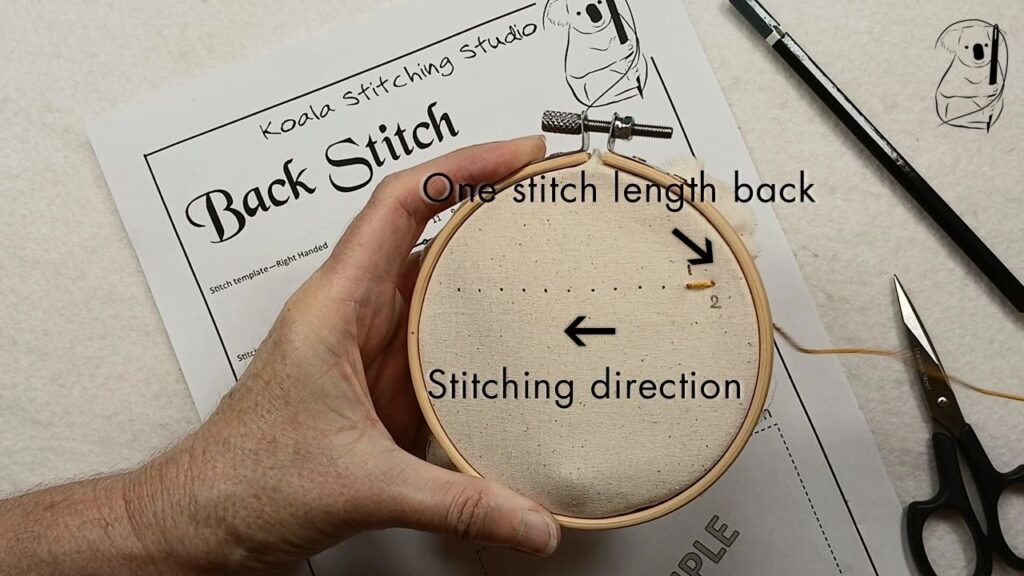
Then Stitching Forwards
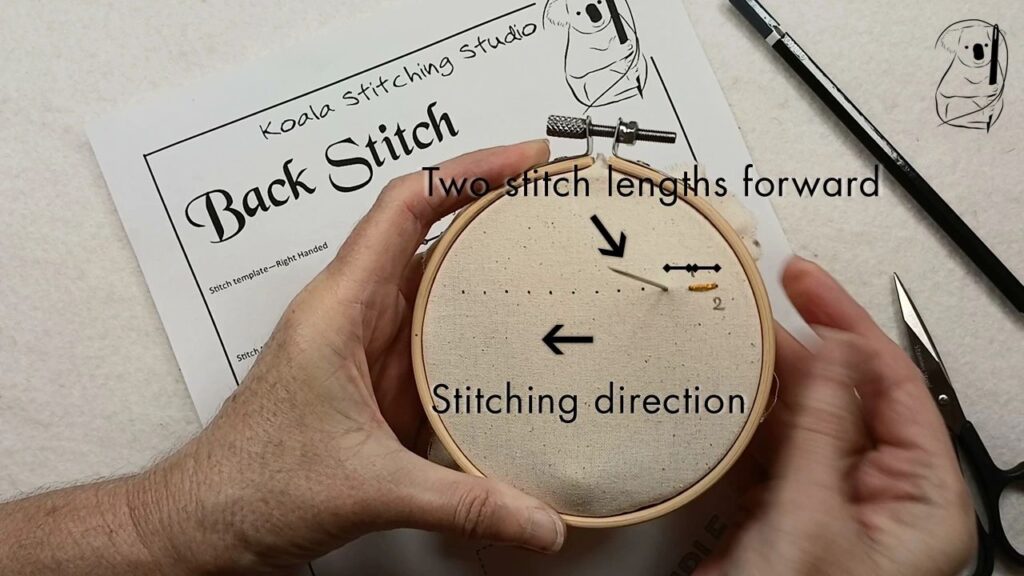
Bring the needle up through the fabric two stitch lengths forward of the beginning of the stitch line. Pull the thread through until the thread lies flat against the underside of the fabric.
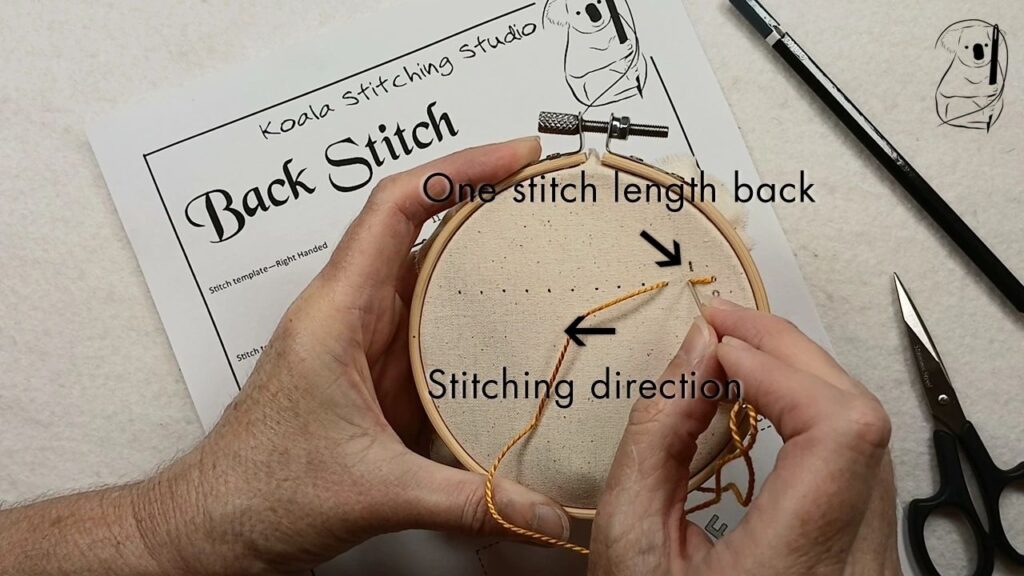
Then, insert the needle back into the end of the previous stitch. This backward motion creates the characteristic continuous line of the back stitch. Pull the thread through to complete the stitch.
Step 4: Continue Stitching
Repeat the process, moving ahead and stitching backward each time, ensuring that the stitches are uniform in length and spacing. The back stitch should form a solid line on the front side of the fabric, with longer stitches visible on the reverse side.
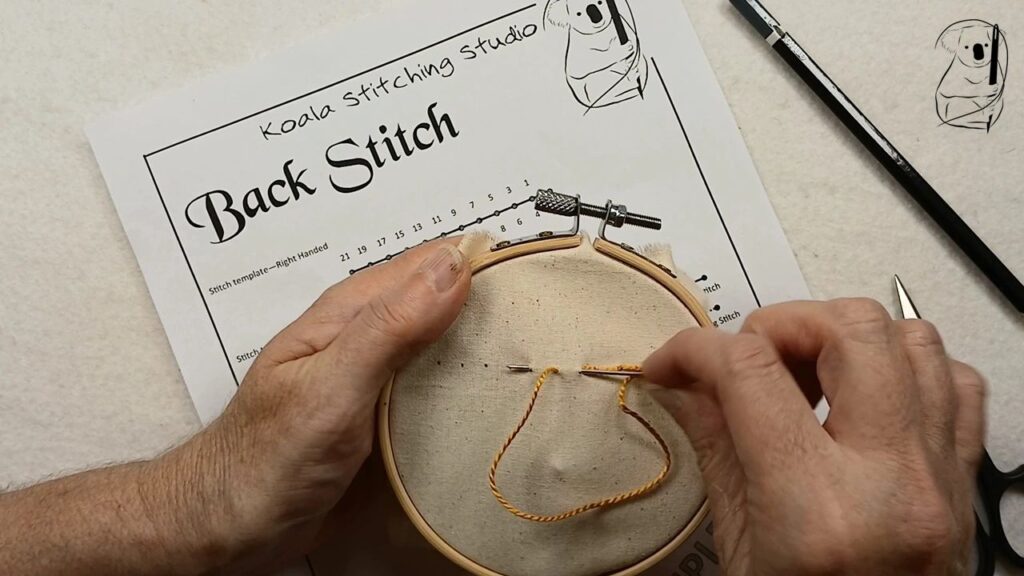
To speed up the process, once you are comfortable with the stitch, you can combine the needle to the back and to the front in one movement.
Step 5: Finishing the Stitch
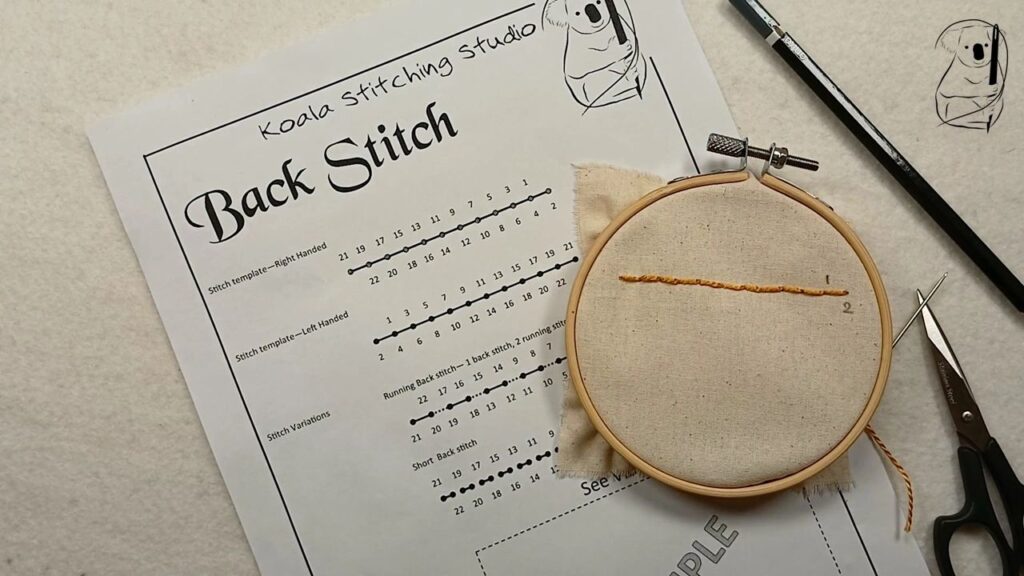
When you reach the end of your line of stitching or your thread, bring the needle to the rear of the fabric.
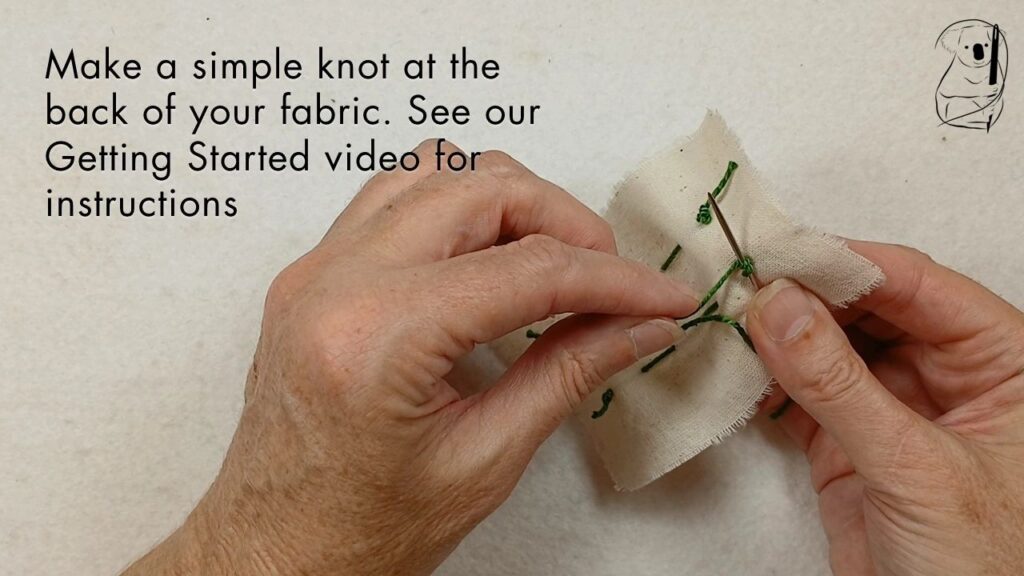
Make a small knot close to the fabric to secure the thread. Trim any excess thread with scissors. (see our video - Getting Started in Hand Stitching for a simple end knot or the Getting Started in Hand Stitching blog page for a description with photos.)
Variations of Back Stitch
While Back stitch creates a strong seam, a slightly faster result with almost as much strength can be achieved by using a Running Back Stitch, which combines the backward movement of back stitch to anchor the thread in the stitch line with the faster running stitch. This may be used on seams that are not required to take strain, such as side seams in skirts.
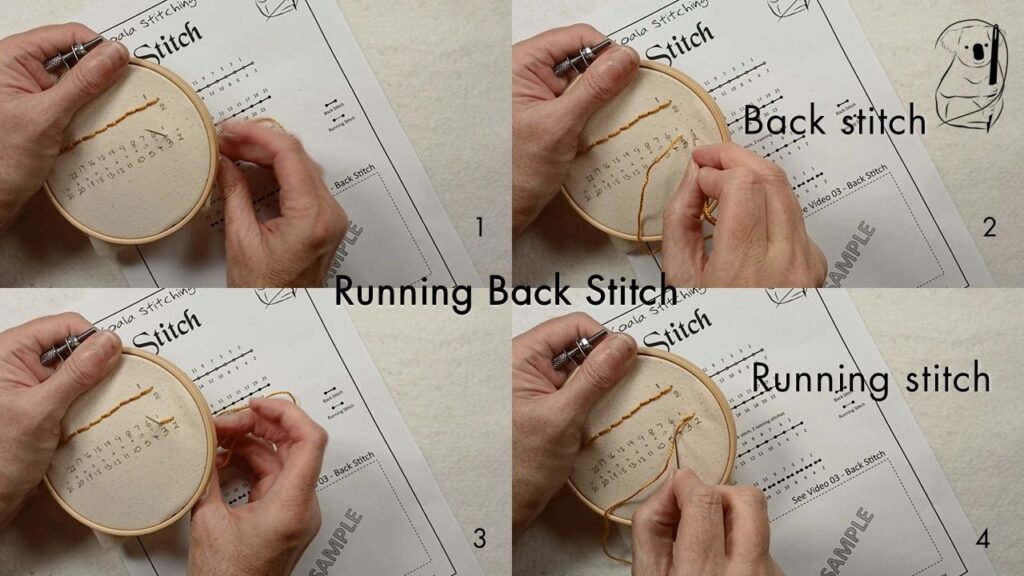
While initially it may look a little more complex than back stitch alone, once you get into the rhythm of running back stitch, it is quite straight forward.
1. Start the line of stitching as you would for normal back stitch, one stitch length along the line of stitching.
2. Complete the first stitch by going back one stitch length.
3. Bring the needle to the front of the fabric at the end of the first stitch, rather than two stitch lengths from the beginning
4. Insert the needle again, one stitch length forward along the line of stitching.
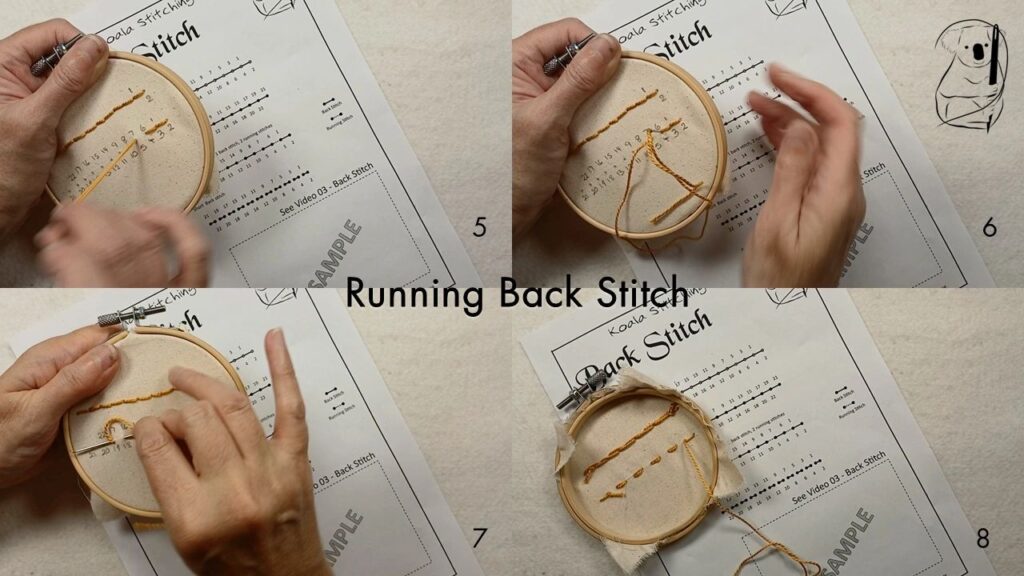
5. Bring the needle back to the front of the fabric, one stitch length forward along the line of stitching.
6. Complete this stitch by going back one stitch length. Continue from step 3.
7. The process may be sped up by weaving the needle through the fabric to complete the forward portion of the stitch creation.
8. Regular Back stitch (top) and Running Back stitch (bottom) on the reverse side of the fabric.
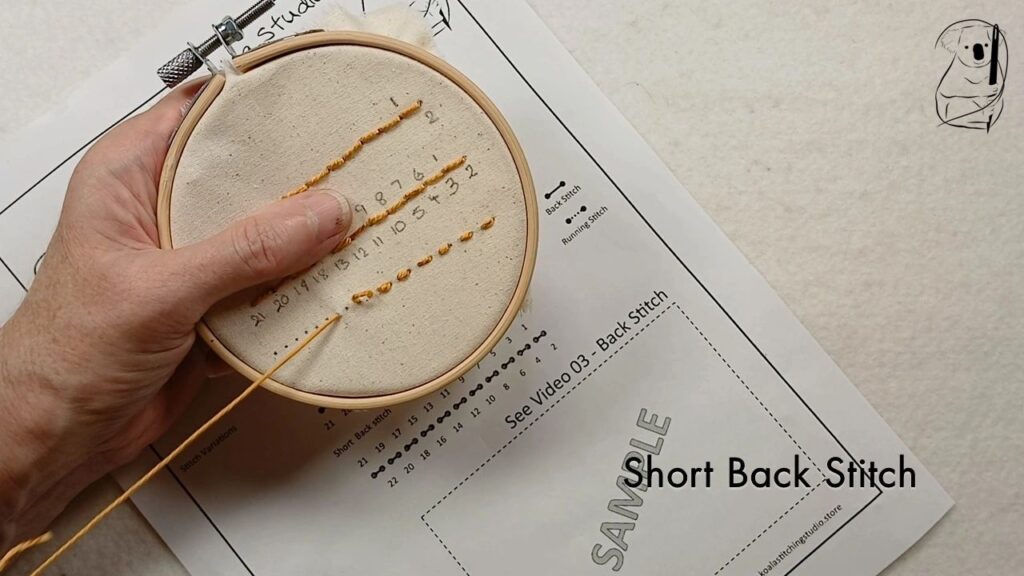
Another variation of Back stitch is the Short Back stitch, which gives the appearance of running stitch on the front of the fabric, with the strength of back stitch.
Applications of Back Stitch
Back stitch can be both functional and decorative.
In construction, back stitch may be used for seaming, creating a stronger join of fabrics than running stitch.
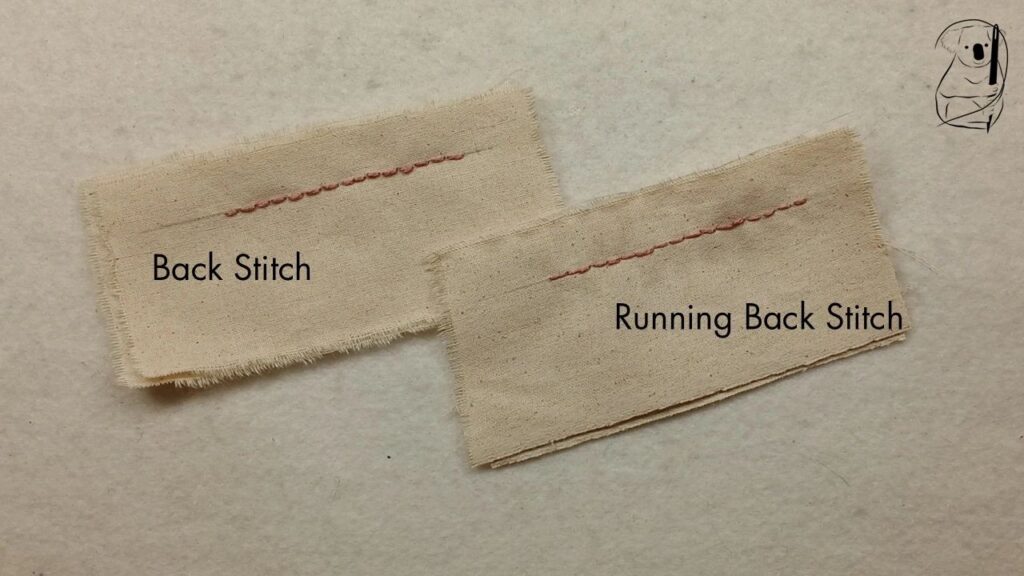
Comparing Back stitch and running stitch, from the front of the work, they look very similar. In this example,a running stitch is made between each back stitch.
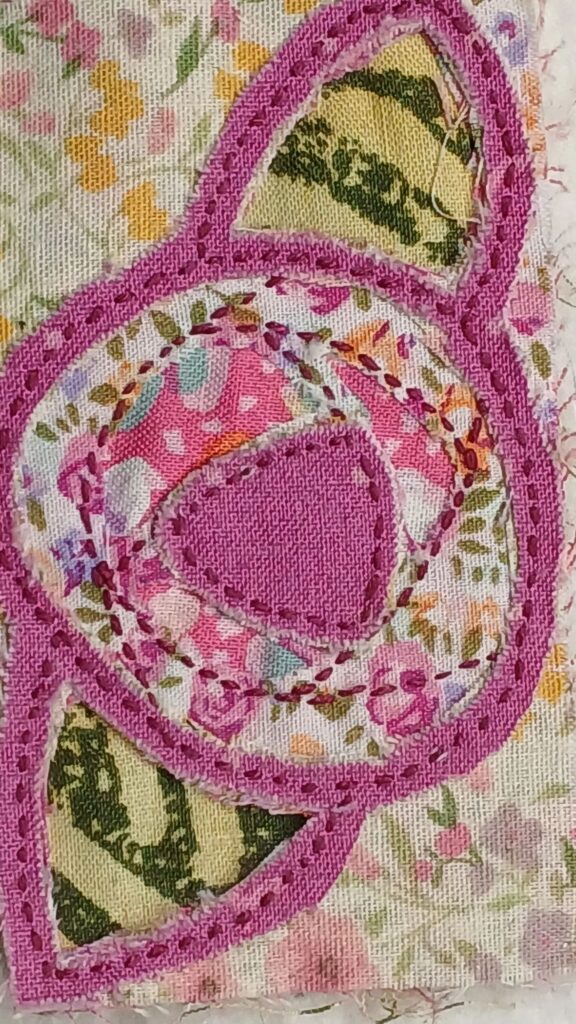
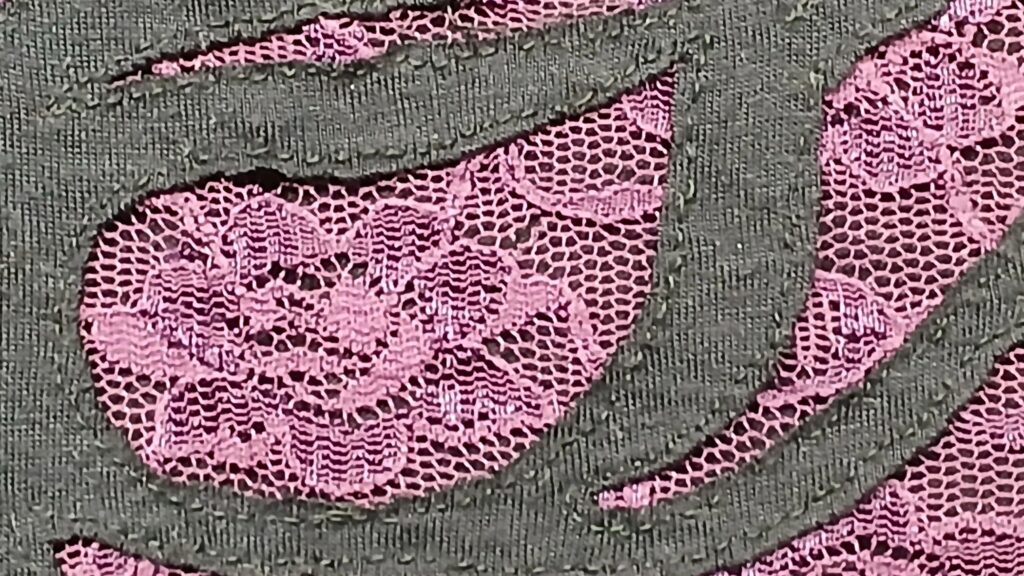
In these examples, back stitch has been used to secure two reverse applique pieces.
In the first, the stitching is both functional and highly decorative, being in a colour and tone to highlight the stitching. Pattern of the stitching describes a flower after the style of the MacIntosh rose.
In the second example, while still being used to secure reverse applique, this stitching is done to tone with the foundation fabric, making it a more functional use of the stitch.
When starting a line of stitching, functional or decorative, one or two small back stitches at the back of the fabric, next to the knot, can make a more secure start or finish to your sewing. If these are made along the stitching line, they will be virtually invisible from the front of the sewing.
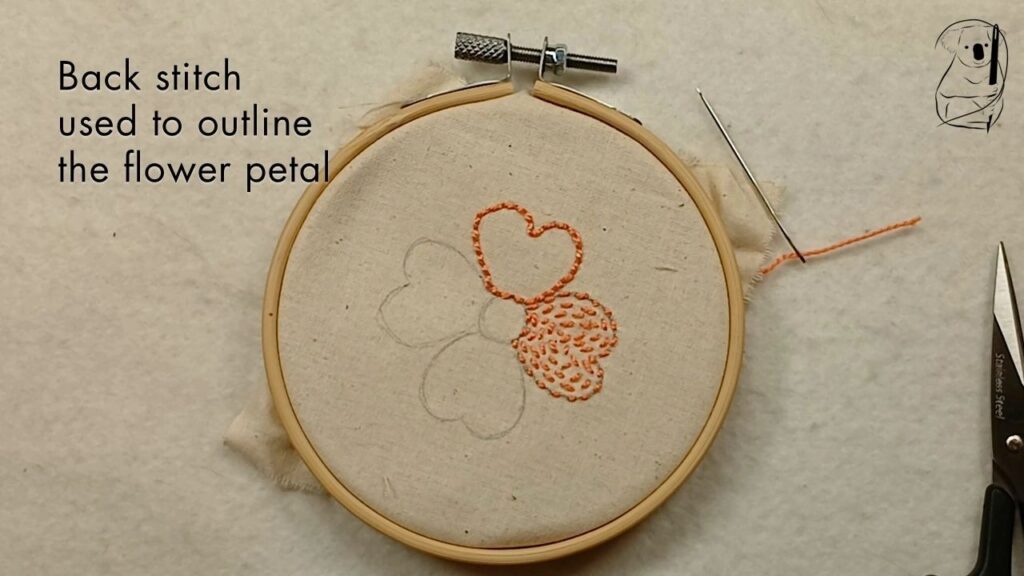
Decoratively, back stitch is widely used for outlines. In embroidery back stitch is used to outline designs and create detailed lines. It provides a clean, continuous line in the work.
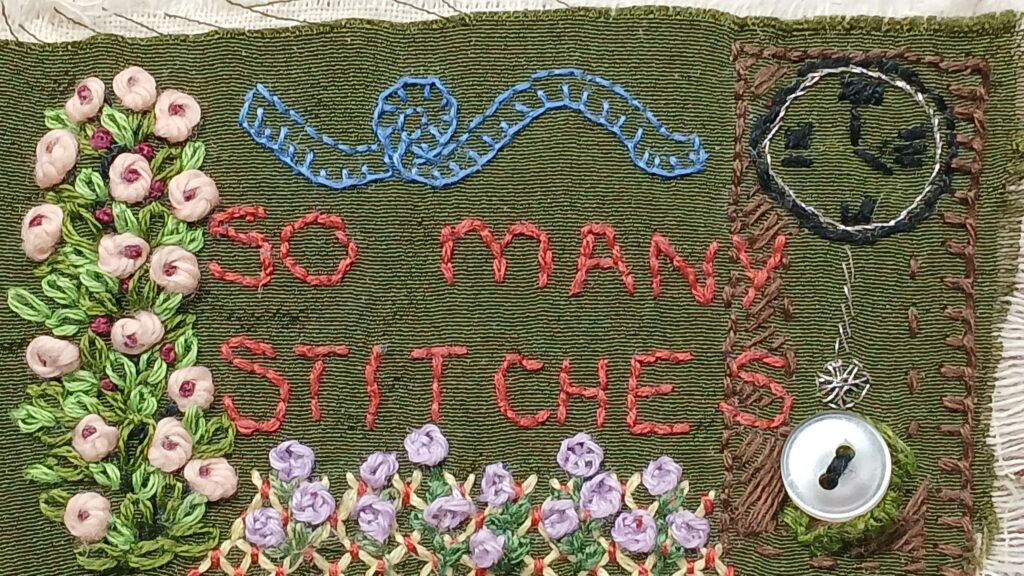
Back stitch is often used to create writing
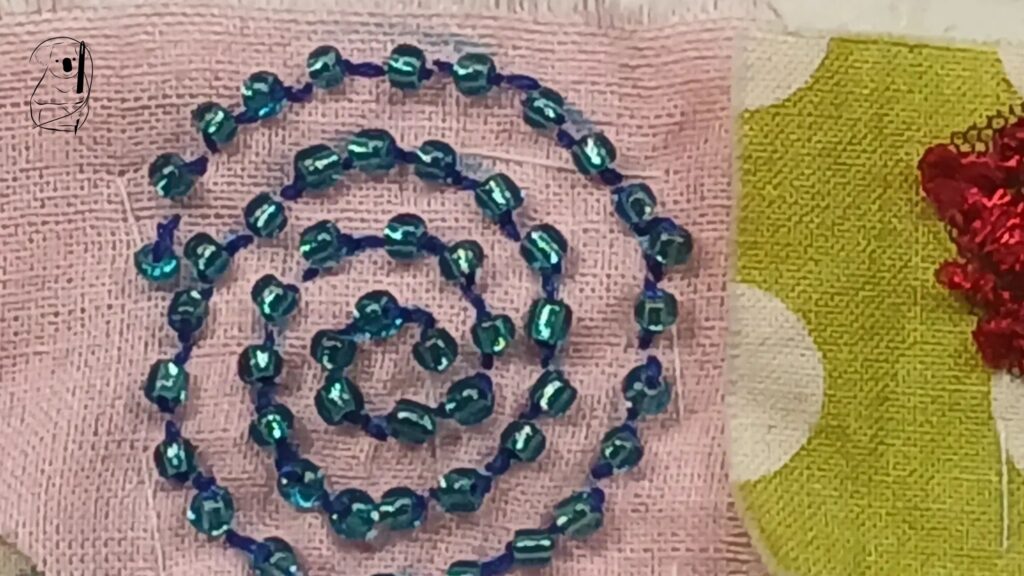
Back stitch may also be used to securely attach beads and sequins to fabric.