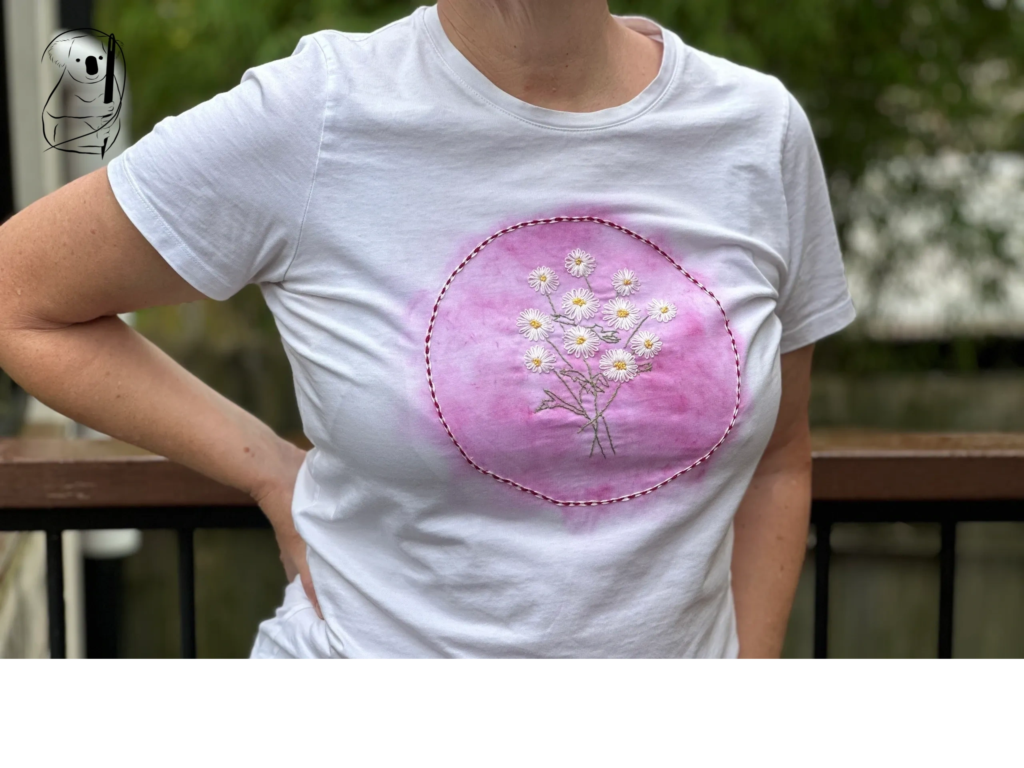
Cora is a delightful project made using the Lazy Daisy Stitch or Detached Chain Stitch plus some other stitches we have looked at recently. Whoever coined the phrase "Fresh as a Daisy" was absolutely correct. The daisy shape and colours really pop and look bright and cheerful.
The design is a bunch of flowers within a circular border. How to highlight white flowers on a white background - Paint the background of course. There is actually quite a bit going on with this project however it is still simple and a beginner can create something beautiful and well crafted.
The first consideration I made was regarding the placement of the circular border. Using a tape measure I marked a centre line down the front of the T shirt. I measured the distance between the underarms at the sleeve, across the chest at mid sleeves and across the chest below the sleeves and pinned the halfway points. With a ruler I was able to ensure that all the pins were accurately aligned.
Then I placed a round fruit bowl on the line keeping the bowl centred on the line. The distance from the collar of the garment to the fruit bowl was not as critical as keeping it on my centre line, I just made sure it wasn't too close to the collar or too low down the chest.
After drawing a circle around the bowl with a water erasable pen, I then basted the circle with cotton to mark the boundaries of the circle. This basting was removed after the fabric was painted.
To achieve a water colour effect, I used Inktense fabric paints in Fuschia. These paints come in an artists palette and after applying water to the fabric to make it wet, colour is then painted on. To prevent the colour from marking the back of the shirt, I put a towel into a plastic bag and inserted that into the shirt before painting. Being a water colour, there is a certain amount of lack of control over how the paint behaves and runs into the fabric. I decided to not try and achieve sharp edges to my colour circle but to have the colour fade out into the white background . The unevenness of the edges of the coloured circle matches the unevenness of the water colour effect inside the circle.
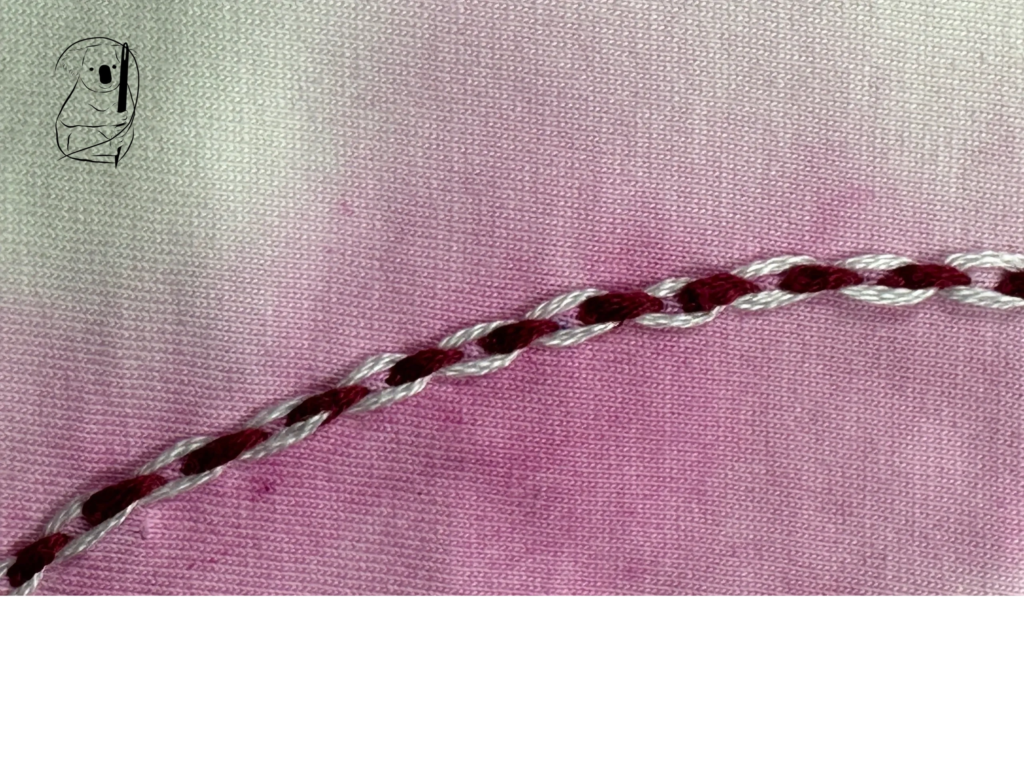
With the painted circle dry, I removed the basting thread and replaced that it with water erasable marks . The water erasable marks were made every 8mm to act as a guide for a single line of detached chain stitch to form the border. The stitches themselves were about 5-6mm long and a small gap between the stitches was allowed for. Without these markings I'm sure that the consistency of the stitch size and spacing would not have been as good and evenness in the border improves the overall look tremendously.
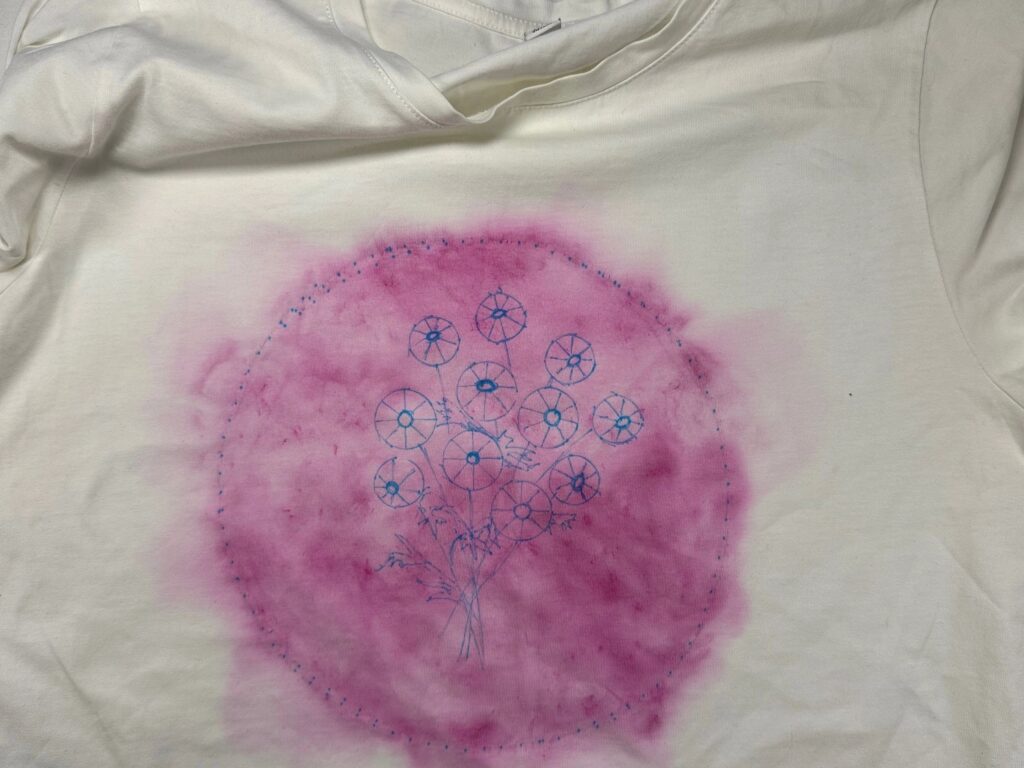
To position the flowers in the posy, I used coins and moved them around until I was satisfied with an overall density of objects. After tracing around the coins to mark the flower positions, I drew in flower centres and lines across the flowers to guide the placement of the petals. You will see that these "centres" are not always in the centre of the circles. I was hoping to convey the impression that the flowers would not all be directly facing the front and that some would be looking to the side or downwards. The stem and leaf lines serve to add some depth and texture to the grouping.
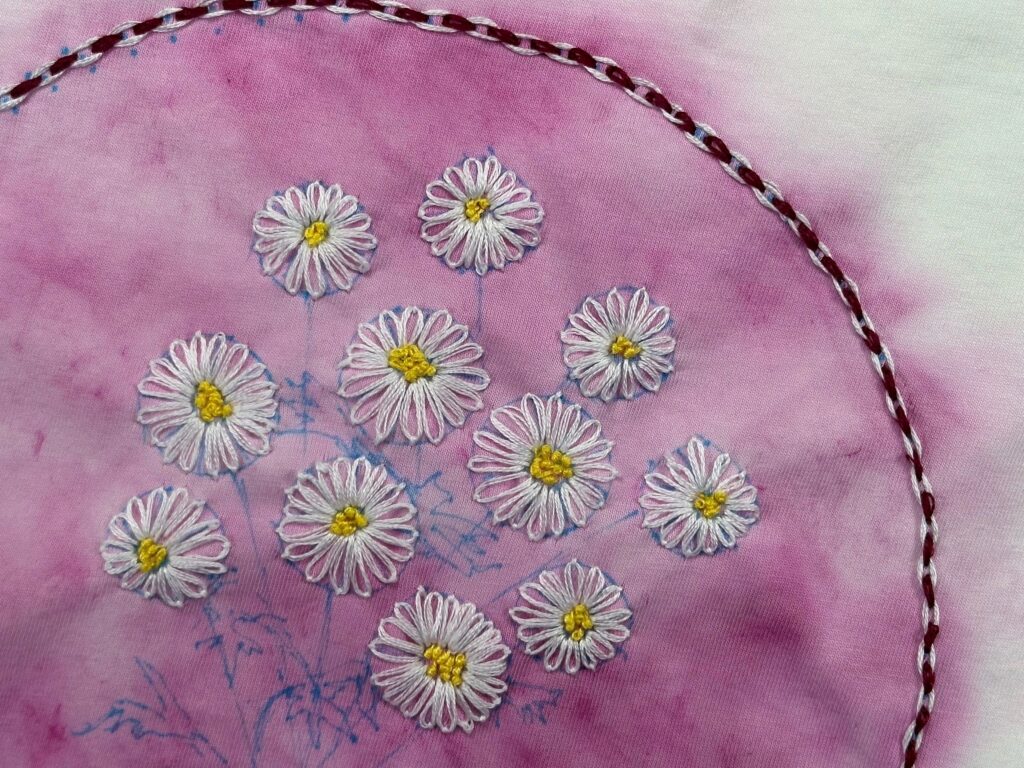
Initially I tried to start stitching the white petals of the posy with 3 threads of DMC Blanc cotton. This really tested the limits of the fabric itself. It was prone to pulling and was at risk of tearing threads in the fabric. So I supported the fabric with some iron-on stabiliser. This was a fairly light stabiliser and allows the fabric of the shirt to still fold and bend as expected without looking stiff around the motif. With the stabiliser now supporting the painted circle on the front of the shirt I decided to firstly stitch the ring of detached chain to form the border of the image. This was partly to anchor the stabiliser in place and make sure it didn't start to lift off the fabric as I worked the piece. After the border was completed I then went back to the flowers and stitched up all the flower petals.
You will note that some of the petals are quite long and while they do sit flat there is a risk that when worn, these threads may get caught on things and get pulled.
My first flower had lots of petals bunched up to provide a thick density of white colour. However the shape of the individual oval petals were lost so the remainder of the flowers allowed enough space for each petal to sit with its oval shape mostly intact. I much preferred this look and think the flowers are clearer and more relaxed.
The centres of the flowers were stitched in 2 strands of yellow thread DMC Colour No 726 using French Knots. This was my first attempt at this stitch and by following the instructions in our French Knot video, it was surprisingly easy to do. I did find however that when making the French Knots, the end of my needle would catch in the white petals. In hindsight I should have stitched the flower centres first to avoid this problem.
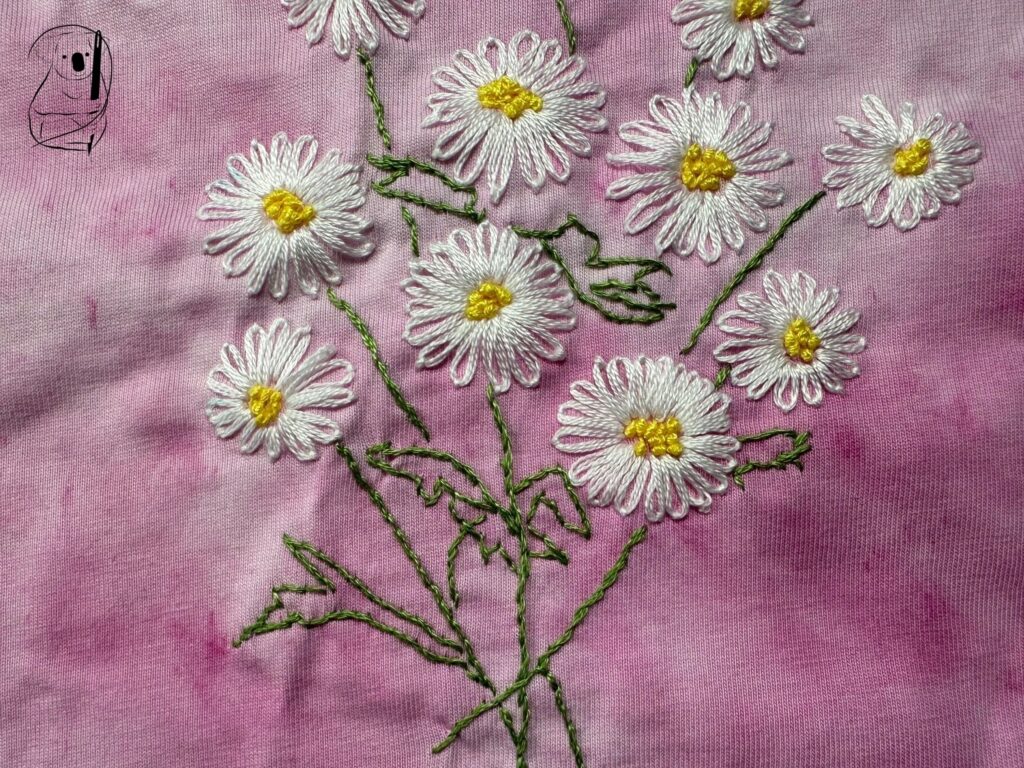
The stems and leaves were drawn by freehand using some images of daisy leaves from the internet as a guide. These were then stitched using Stem Stitch to fill background and provide some contrast.
The Fuschia background seemed quite bright when first painted however after drying the colour faded somewhat. The Inktense paints should hold their colour despite washing and exposure to sunlight.
Despite the number of elements going on here, the result is a delightful image that was quick and easy to make. The stitching of the image took about 4 hours. I used some iron on stabiliser already on hand and 4 colours of DMC thread which cost about AUS $1.65 each. The inktense paint set was not cheap at AUS $91.95 for the palette. This is a large palette and smaller ones are available, but it should last a long time as a little goes a long way. The T shirt itself was an old T shirt needing a lift. Unfortunately this contributed to the tendency of the fabric to tear when more than 3 threads were used at once. A new T shirt would probably have greater elasticity and be more forgiving in that regard.
If you are interested in adding colour to your fabrics, we will be looking at alternatives to this watercolour paint in future videos.
See a short video of the making of Cora on YouTube.
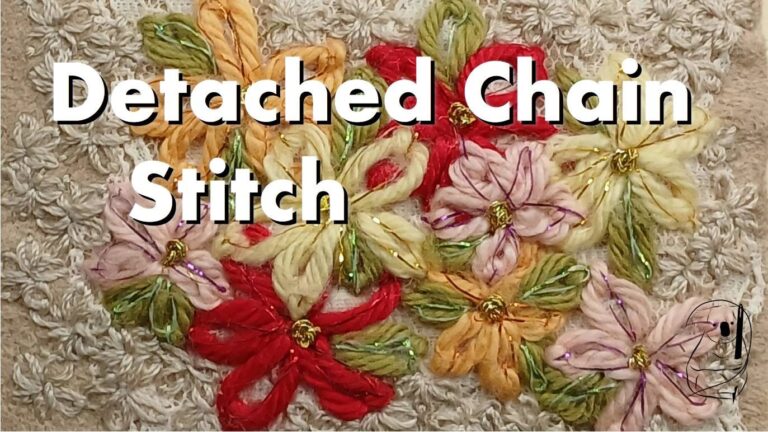
See our Detached chain stitch blog tutorial for a refresher on how to do Detached chain stitch.
Or watch our Detached chain stitch tutorial video on YouTube.
See our other Detached chain stitch project, Daisy on our website.