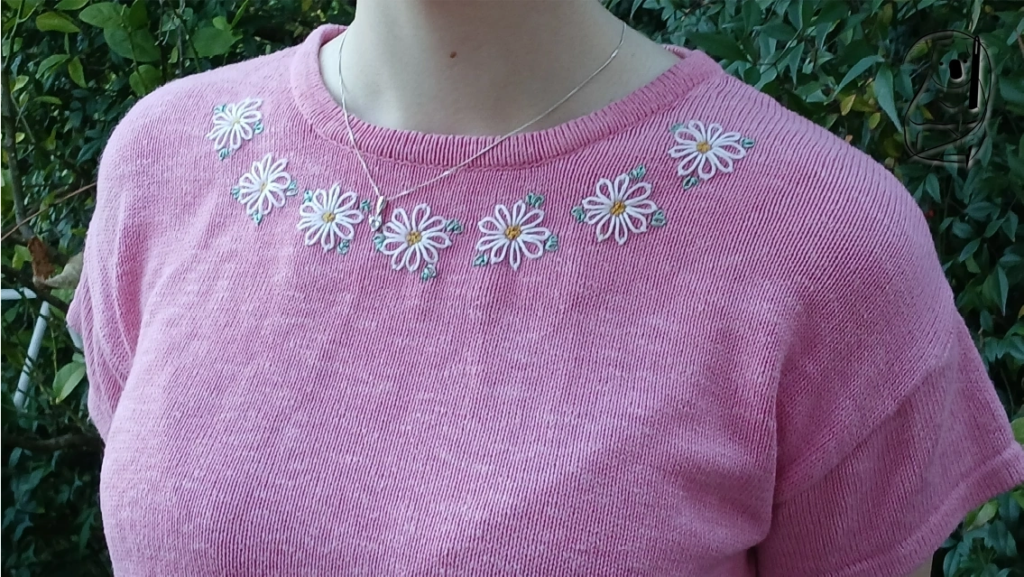
From the moment I saw this top in the thrift shop, I knew what I wanted to do with it.
The knit is not too fine, so it will carry larger-scale embroidery well. The colour is bright and cheery, and the style is young and fresh.
Daisies it is!
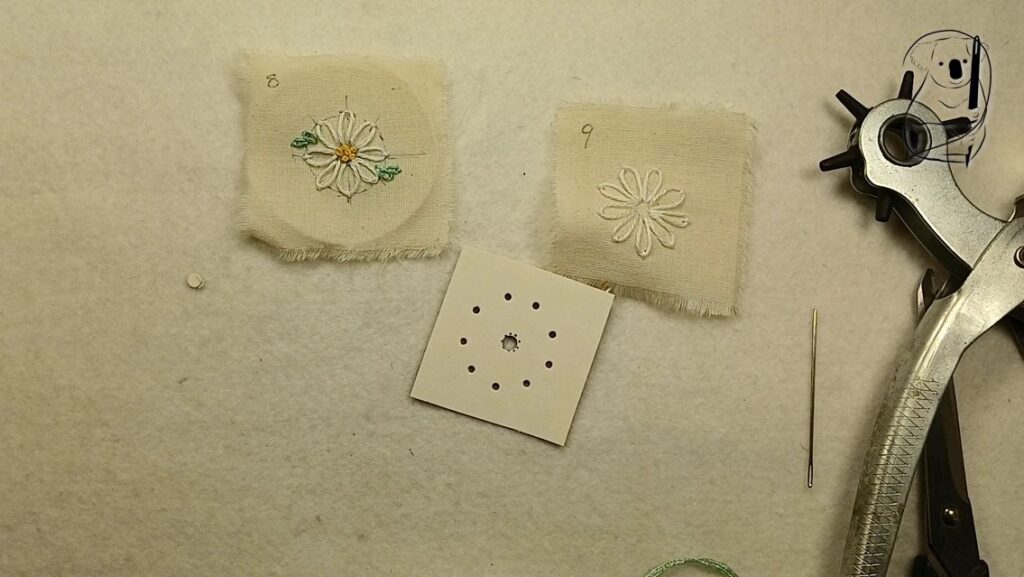
The first thing to do was determine the size and number of petals for the flowers.
This would be influenced by the thread used, so I dug around in the thread box, and came up with a crochet cotton that was thick, but not too stiff.
The cotton was from another 2nd hand store, and was a little grubby, so I separated some to wash before putting it on the top.
While that dried, I tested flower sizes and petal numbers. I tried both an 8-petal and 9-petal flowers, and decided on the 9 petals.
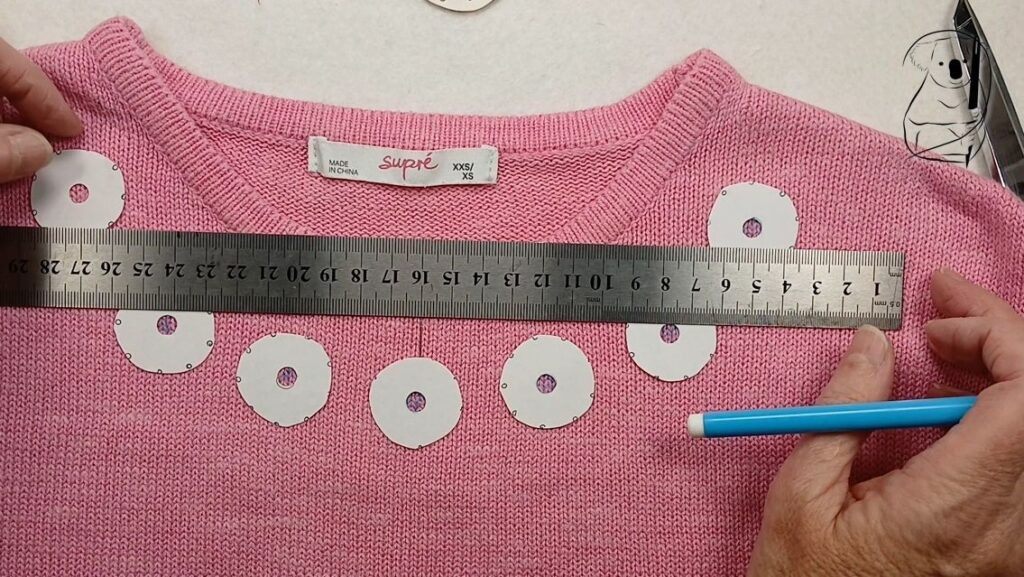
With my flower size decided, I cut out a number of circles to test flower placement.
I created a template which allowed to mark the centre and the edge of each petal, and used a water disappearing marker to mark out the flower positions.
Before starting the embroidery, I backed around the neckline of the top with lightweight fusable interfacing to support the stitching.
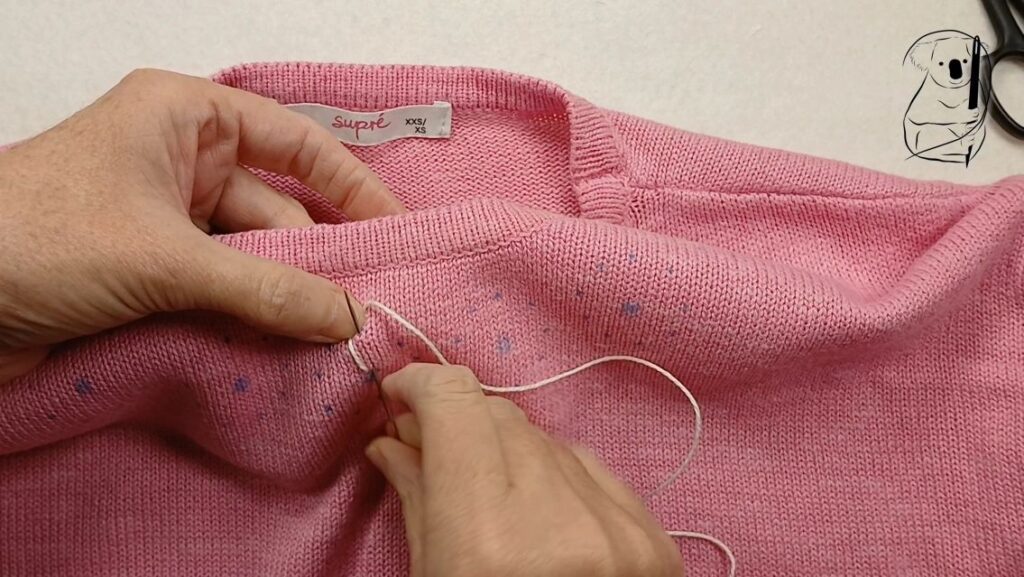
The flowers were completed in stages, detached chain petals first in the crochet cotton.
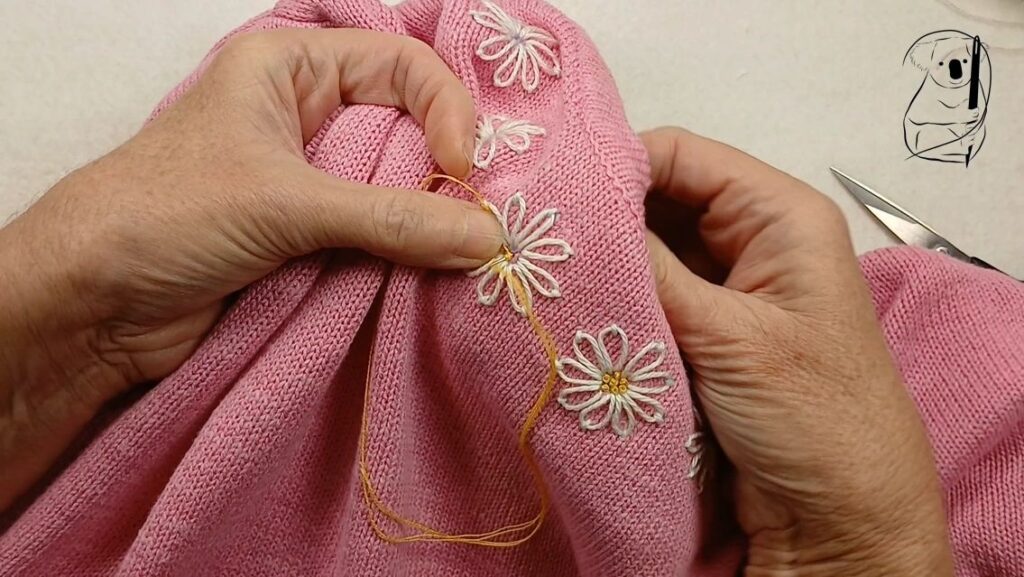
The French knot centres werer stitched in yellow stranded cotton.
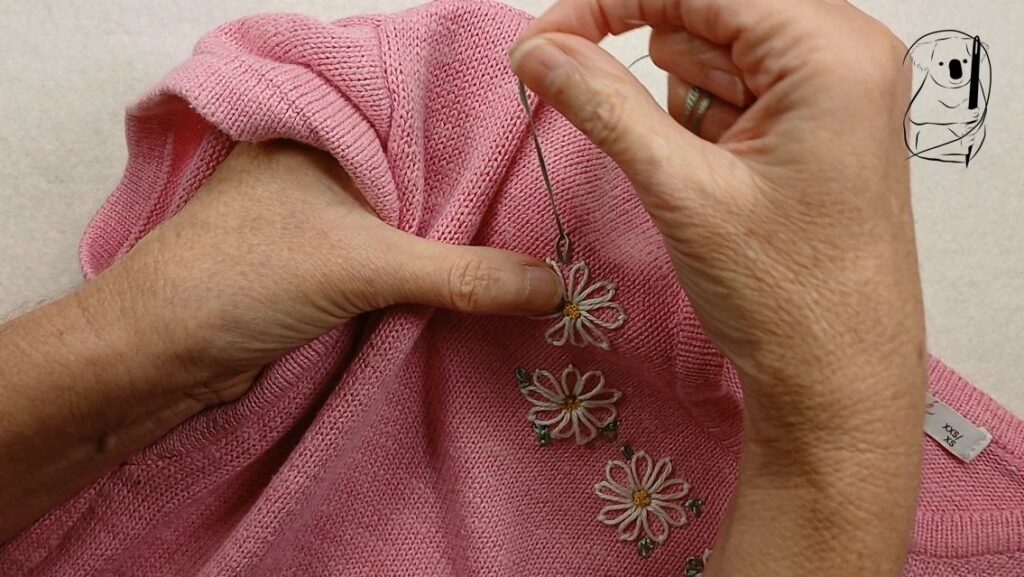
For the leaves, I used Ribbon Floss, which is a soft, braided rayon with a lovely sheen. I felt this added a nice contrast to the matt cotton of the petals. (Another find from an Op Shop, and some other colours gifted to me by a crafting friend.)
Randomly placed detached chain stitches in the ribbon floss on the edge of the petal line gave the flowers a finishing touch.
This was a straightforward project, and I think beginner friendly. Before stitching on the garment, I would recommend practicing the daisies on a scrap of fabric. With both the inside and outer edge of the petals marked, they should come out evenly, but this may not always be the case. I unpicked at least one flower that was becoming uneven. One way to encourage even petals is to work them alternately across the flower, instead of around it. And marking where each petal will go takes away the guesswork.
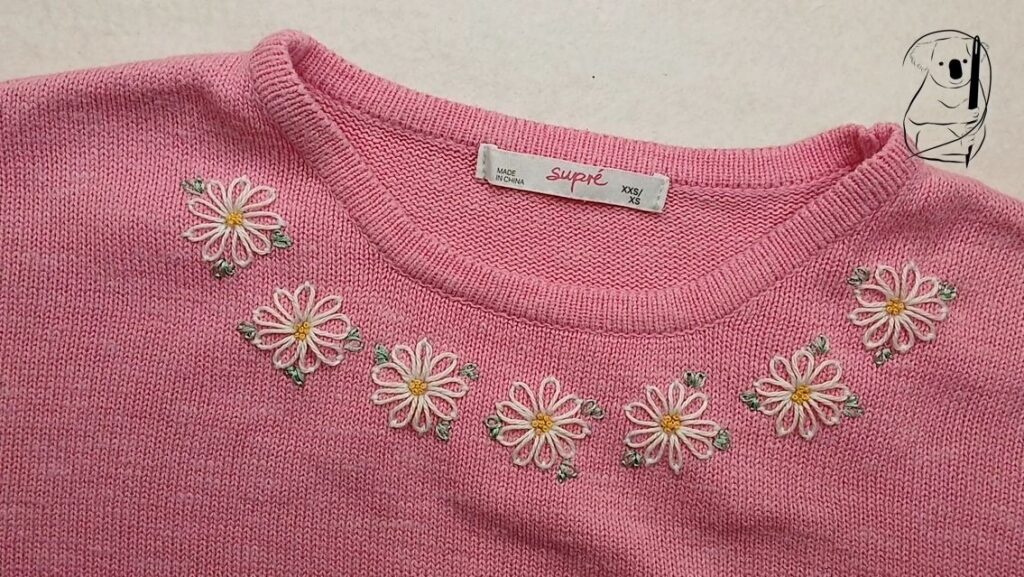
If you don't have similar threads, substitutions are more than acceptable. The important thing is the general proportions remain the same.
Now that you see how easy it is to add a daisy, I expect to see flowers everywhere!
Find the template used for Daisy on our Resources page.
Watch a short video of the making of Daisy on YouTube.
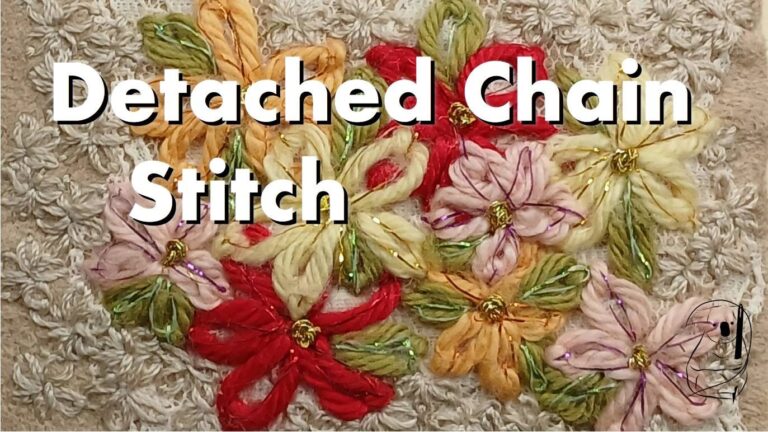
See our Detached chain stitch blog tutorial for a refresher on how to do Detached chain stitch.
Or watch our Detached chain stitch tutorial video on YouTube.
Have a look at our other Detached chain stitch project, Cora on our website.