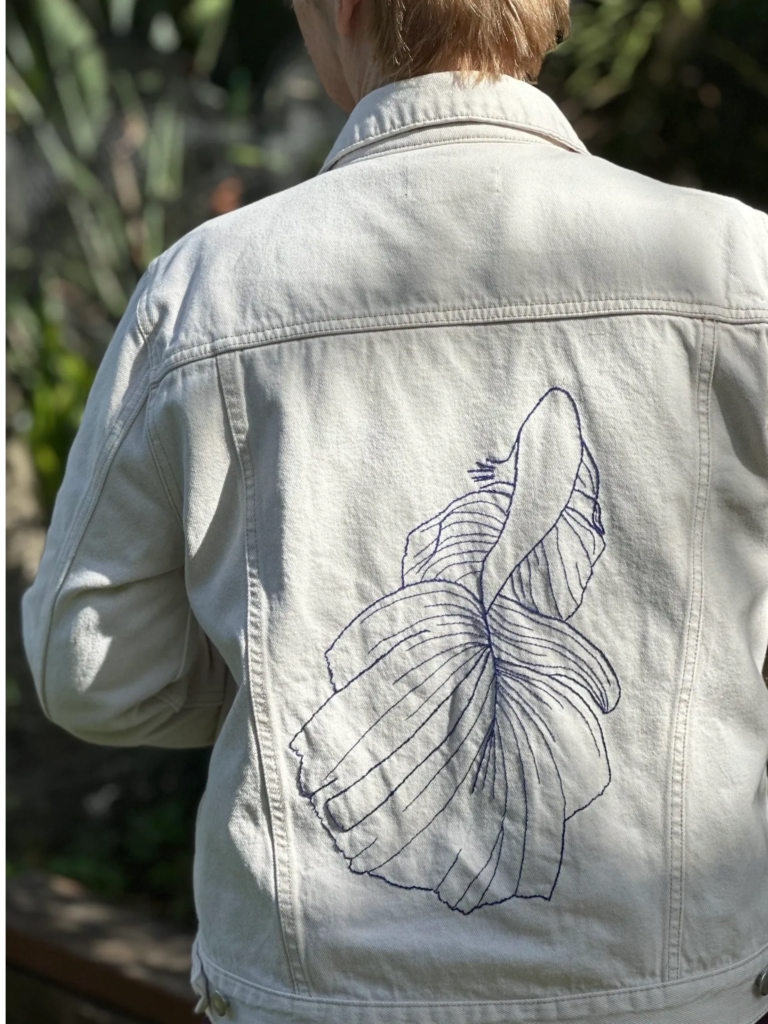
This is a great project with big impact using simple stem stitch. I am really pleased with the result. The concept of placing a large animal on the back of a denim jacket has been on my mind for some time.
Using stem stitch here worked very well and it has become my favourite stitch as it is very versatile for both straight lines and curves. It also forms a nice solid line with no fabric showing through between stitches which I sometimes find happens with Back Stitch. This is a simple outline design, using only stem stitch and it is a matter of simply following the lines of the pattern.
The main outline of the fish was stitched using 3 strands of DMC thread (colour 791) and the fin detail was stitched with a single strand of the same thread. Even the single strand has produced lines which are clearly defined and stand out from the background.
I kept this project simple for several reasons, mostly that it should be suitable for beginners but also to not detract from the flowing lines which give the impression of movement and depth. The outcome here really shows that a beginner can make a simple piece with high impact that is a real talking point.
I love the way in which the large fin appears to take on a 3 dimensional look. Further, this image is bold enough that I can keep on adding to the design which I intend to do. I plan to add scales to the body using fly stitch which you will see in a future video and I may also add a few bubbles keeping in step with the 3 dimensional style.
Click here to watch a video on the making of Dylan.
Despite the way in which this project turned out, it was not without its issues.
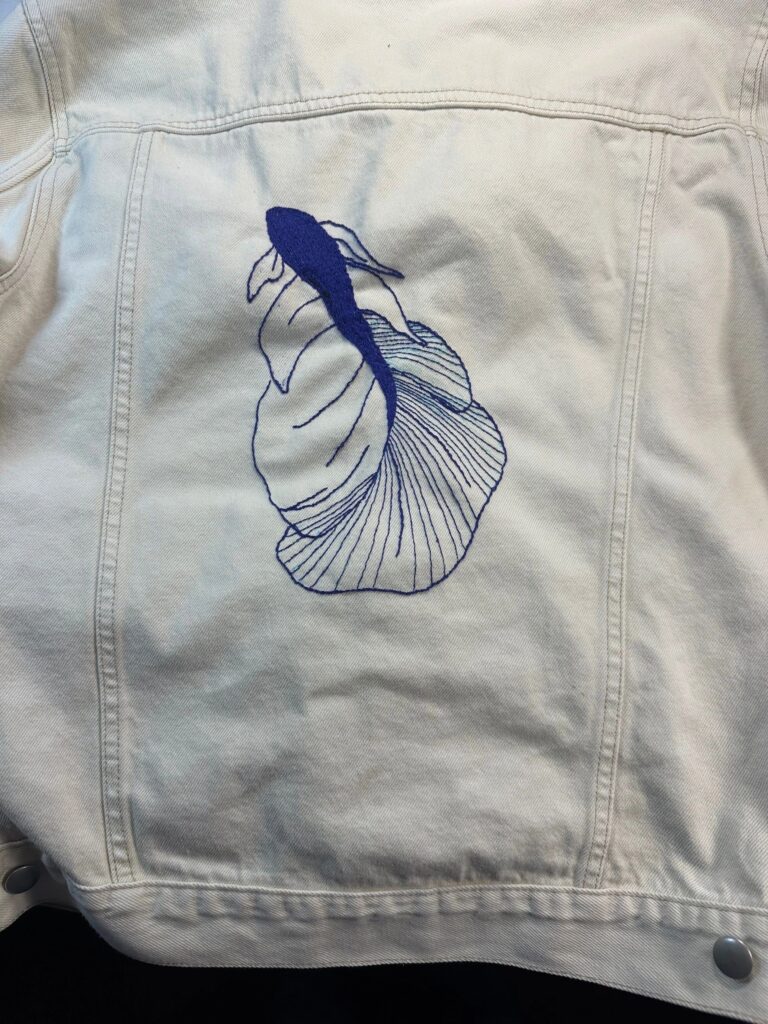
My original design was similar to the final outcome, however there were substantial problems with it.
Firstly the image was too small for the size of the fabric panel where it would sit. You can see in the image to the right that the image looks fine however being small, it doesn't have the same impact that the larger fish has.
The second major issue with this design was in the body of the fish. Using Stem stitch to fill the area of the body was simple and consisted of rows of closely packed stem stitch going from the tail of the fish, around the nose then down the other side of the back to the tail. The stem stitch made a very nice filling stitch and the pattern of the individual stitches was reminiscent of fish scales.
However without some stabiliser at the back of the fabric or the use of a hoop, the denim fabric puckered noticeably. The denim, though a heavy fabric, was not enough to resist the pull of thickly laid stitches.
I had also tried to incorporate some shading into the body of the fish to provide an idea of light shining from above. Instead of using 3 strands of blue thread for the whole body I used 2 strands of blue and one of black for part of the underside of the body and 2 strands of blue and one of a lighter shade of blue for part of the upper side of the body.
The black thread in the underside of the fish was noticeable however the pale blue could not be seen at all. After reaching the point of completion as seen in the image to the right, I decided that the compromises here were too great and it was time to start over.
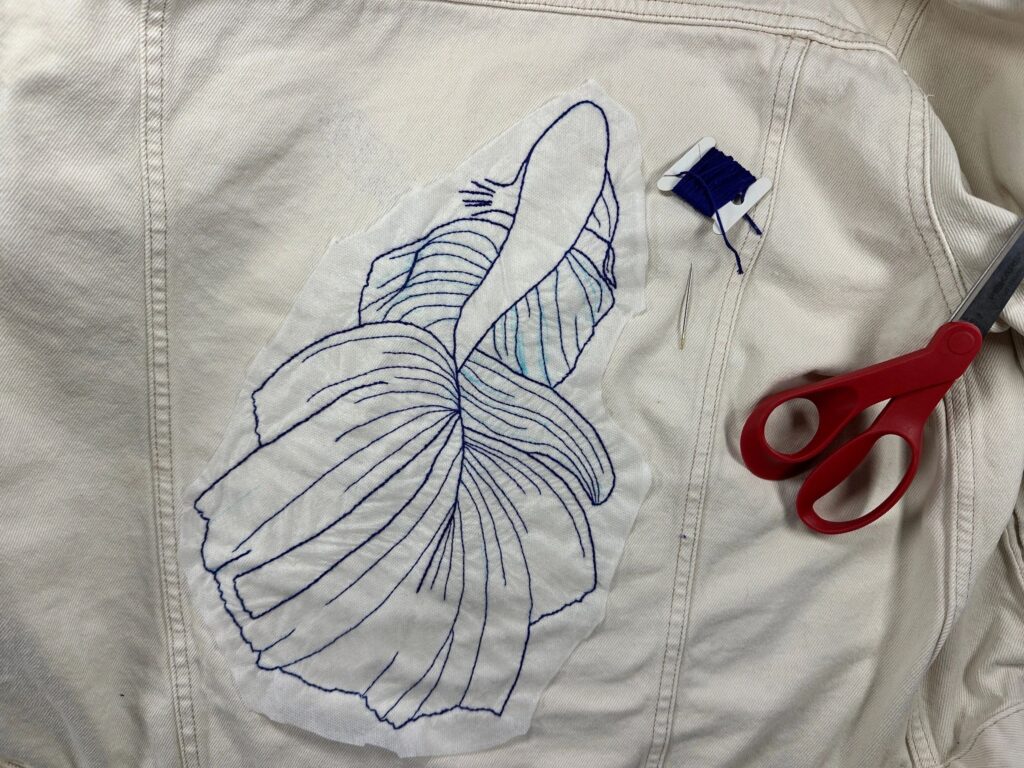
While the image sits nicely in the fabric panel centre of the back, the shoulder yoke pushes the image further down the back than I realised. I think that adding a few bubbles in the top right corner of the fabric panel may draw the overall image further up the back. After taking apart and removing my original fish I know that, disappointing as it is to undo a piece of work, you can fix just about anything when it comes to stitching. This image can be a moveable feast when it comes to adding on further points of interest. If you want to try this project, you can keep it very simple such as the outline only or enhance that look to include scales, bubbles. eyes, even seaweed. My original concept of a gold fish on a blue denim jacket is on hold but only for the moment.....
The materials used in this project were the thrifted denim jacket, DMC thread in colour 791, crewel needle, scissors, water erasable pen and wash away stabiliser. My scissors here are Fiskars left handed scissors which have been a great success.The handles are moulded to suit a left handed person and they cut very well when I use them. They are available here in Australia for AUS$35 from Spotlight. Not including my false start with the smaller image, this project took 3 interrupted mornings and the level of difficulty is beginner.
The pattern for the larger fish can be found in our Resources section of the website for free. The pattern itself is in 2 parts due to it's size. For those interested in the smaller image, it can also be found in the resources page of the website. It would be effective to place on a smaller garment such as a child's jacket. I have not included the small lines running down the fins in this pattern but drew them freehand on the fabric directly.
The cost of this project was one hank of DMC thread AUS $1.65. The jacket was thrifted for $12.00. I used a Hemline wash away fabric stabilizer and a wash away market pen, both on hand. This project is very simple as I just followed the marked pattern lines on the wash away fabric. The Stem Stitch is fast and easy and produces great results.
This DMC thread is available at Amazon for $1.88 each. Click here to find it on Amazon https://amzn.to/471vazM
Disclaimer: This post contains an affiliate link. I may receive a commission from purchases you may make at no additional cost to the buyer. I only recommend products I would use, love and are of good quality. Opinions stated are my own.
Find the design used for Dylan on our Resources page.
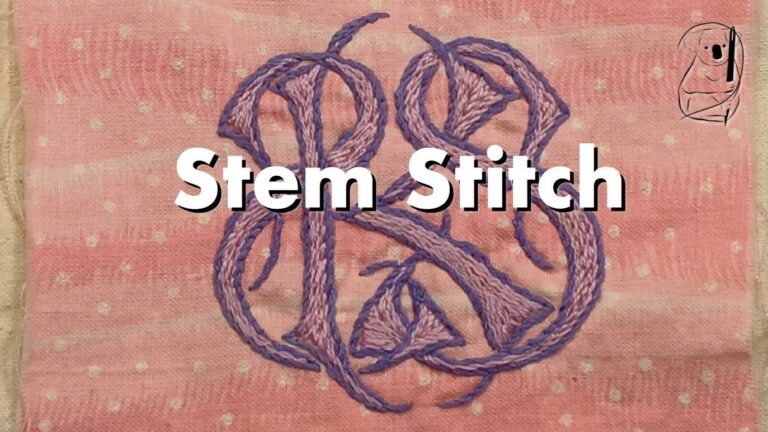
See our Stem stitch blog tutorial for a refresher on how to do Stem stitch.
Or watch our Stem stitch tutorial video on YouTube.
See a short video of the making of Dylan on YouTube.