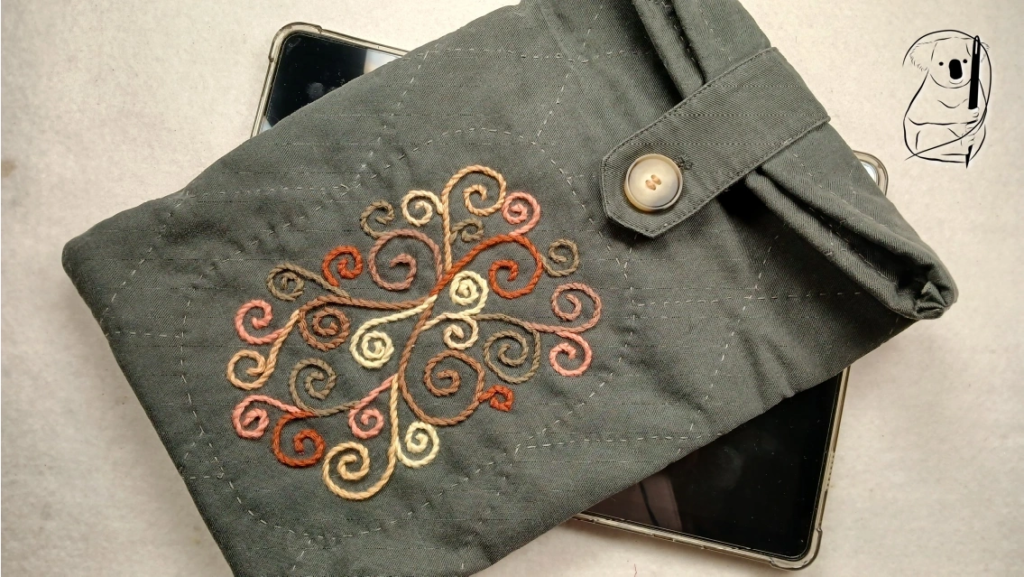
Ever had a project where you knew exactly what it was going to be, and it materialised as imagined? This was not one of those. This project grew, literally, before I'd even put scissors to fabric.
Click here to watch this project on YouTube.
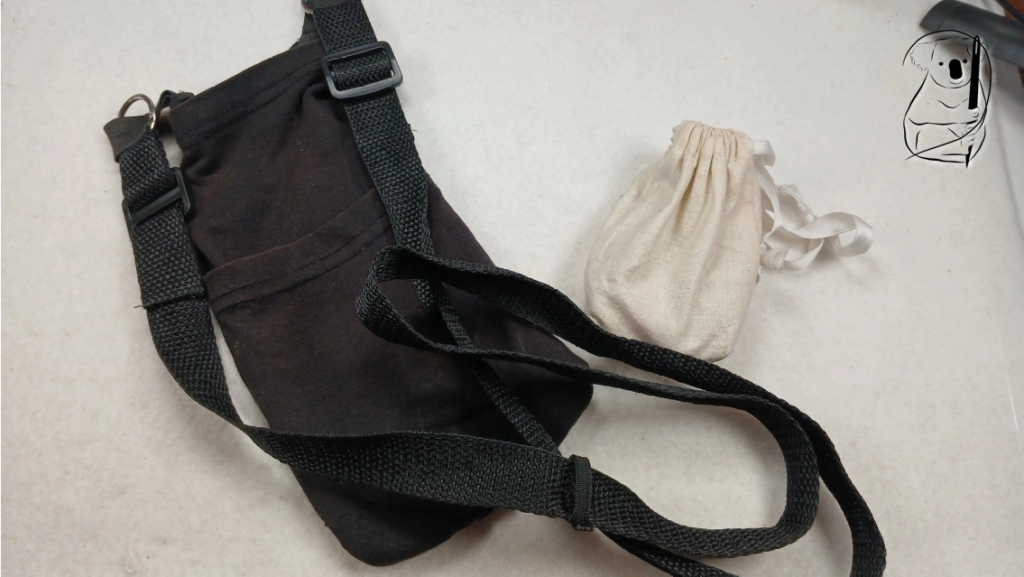
I started with the idea of a coin pouch. With loose change rattling around in my bag, I had made a small coin pouch in calico as a test piece. But when I looked at the fabric I was going to use, I felt it needed to be bigger.
I have a small "pocket" on a strap that I carry my phone and keys in at home, when my clothes don't have pockets for them. Maybe I could make a "going out" version of that. No, it still needed to be bigger.
And then it came to me. I've been doing a lot of train travel lately, and a pouch to protect my tablet would be just the thing. And so the project began to solidify in my mind.
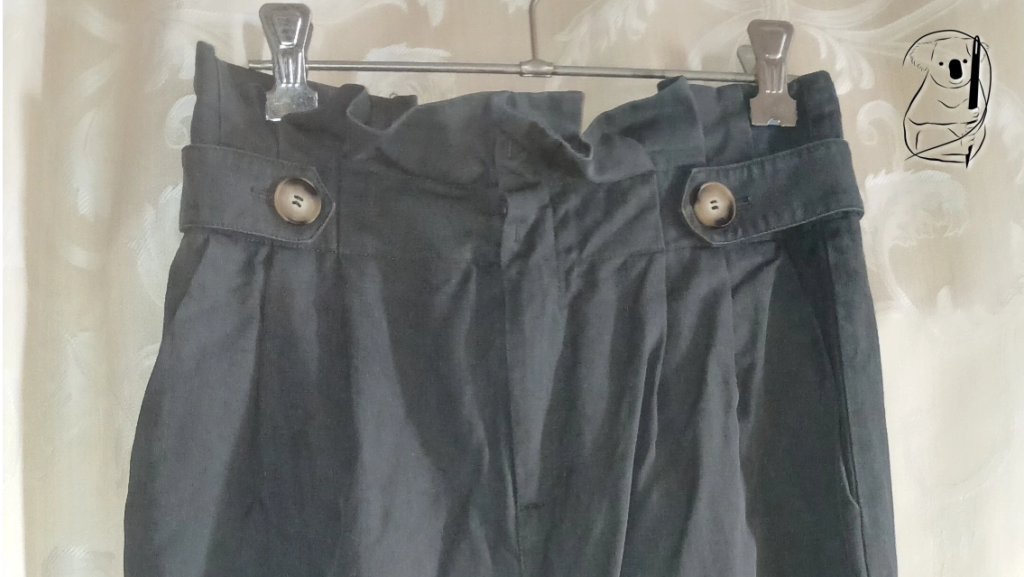
I picked up a pair of trousers at the thrift store that were on the $2 rack - one more week and they'd be out - in a really soft fabric. It might be Tencil. I'm not sure, because the label is in another language.
But it is a fine gaberdine-style weave in a good weight for the project.
There were some small flaws in the garment, and for $2, I'm prepared to take the scissors to it and give it a different life.
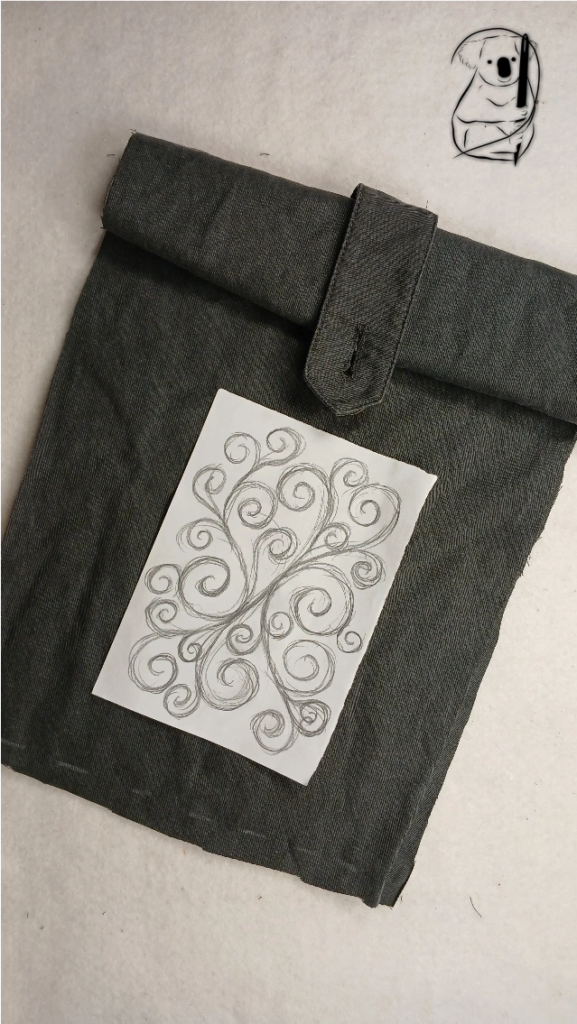
With stem stitch as the star of the show, I always wanted a design with flow.
With limitations on the width of the fabric, I checked that I would have enough by laying the tablet on the leg of the trousers, and drew a stitching line around it.
At the narrowest part of the leg, I did unpick the seam, rather than just cut it, to give myself just that little bit extra fabric.
I unpicked one of the side tabs of the pants, with a view to using it to fasten the top.
I was also planning to use of the original buttons.
At this point, I hadn't thought about the padding, and so the closure was a little neater than it turned out in the end.
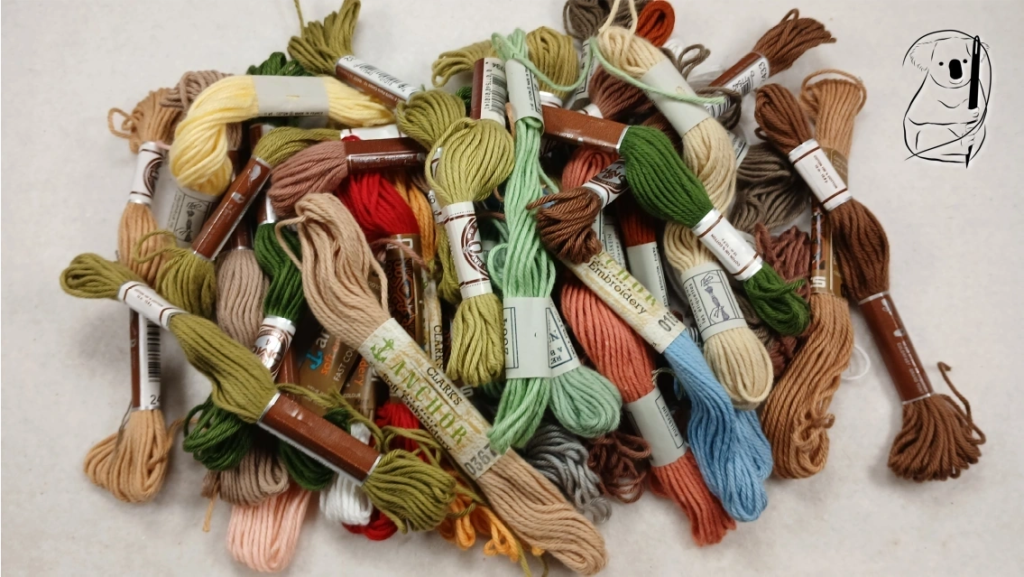
I have a selection of DMC and Anchor soft embroidery cottons that I've found at various thrift stores, and these threads will work with the soft of the fabric, while creating an obvious raised texture.
The size of the project gave me space to work with the thicker cotton threads.
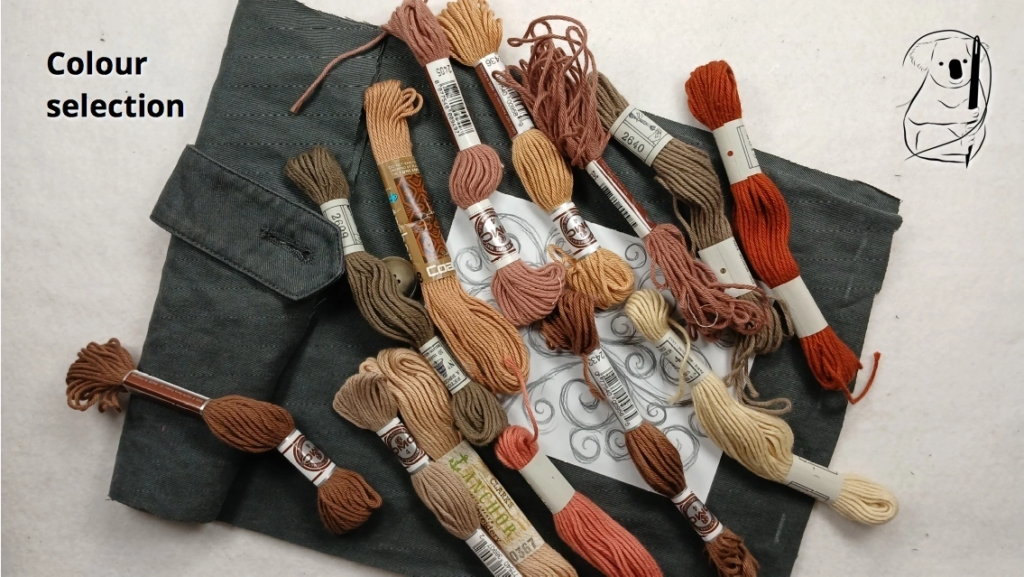
I chose earthy colours that would tone with the green, while their texture offered a gentle contrast to the smooth fabric.
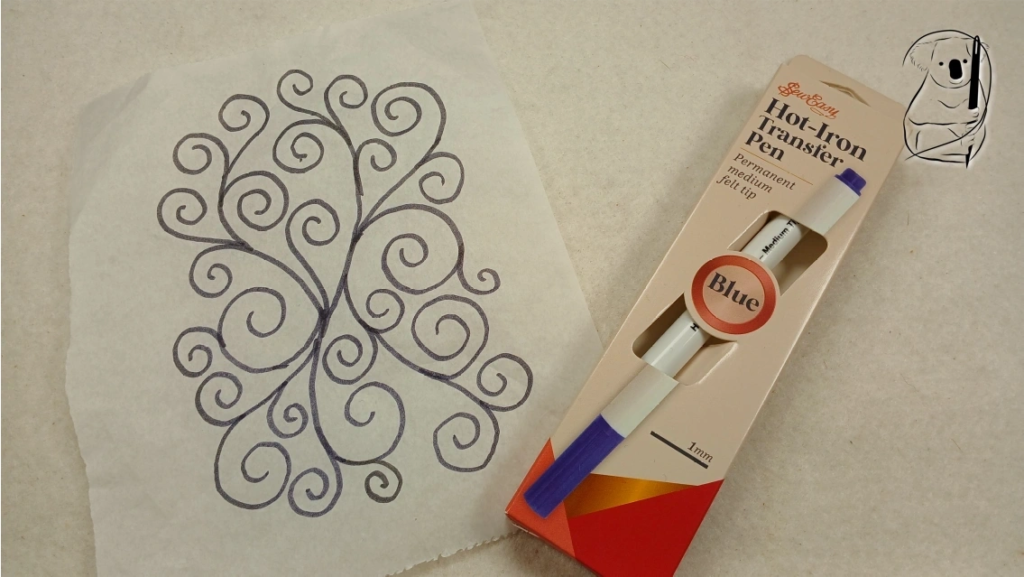
I decided I wanted to try out a new transfer pen for getting the design onto the fabric, so I used a SewEasy Hot-Iron Transfer Pen to trace the design onto grease-proof kitchen paper, then ironed the design onto the fabric.
No text means there is no right or wrong way for this design.
The line produced by the pen is 1mm thick, and is permanent once ironed on.
My choice of thread and stitch means that the lines will be covered, however this pen might not be suitable for finer stitching.
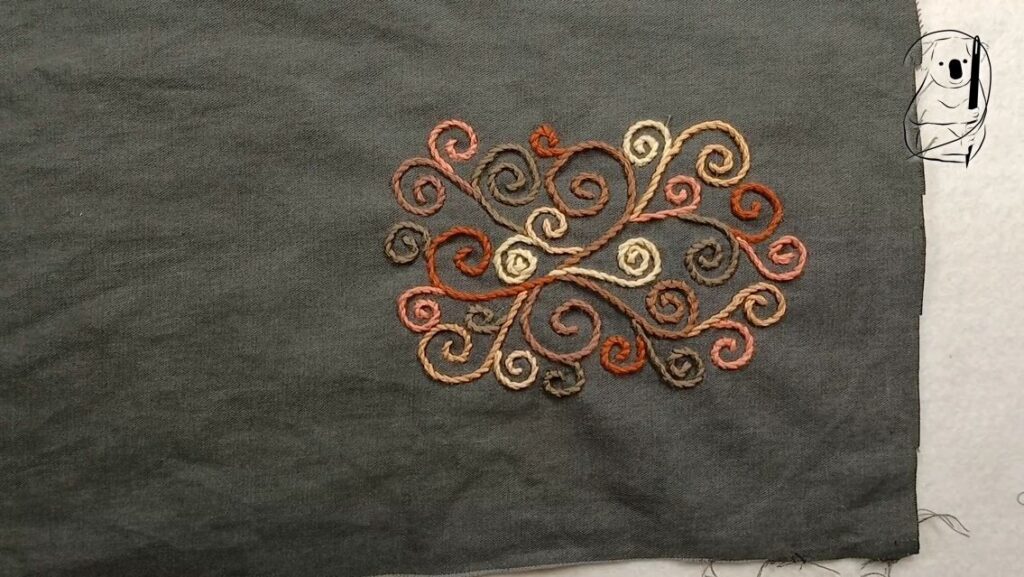
Stitching the design was relaxing and fun, the hardest part being distributing the colour as I went. This was not planned, and there was one unpicking session, but I am generally happy with the colour spread.
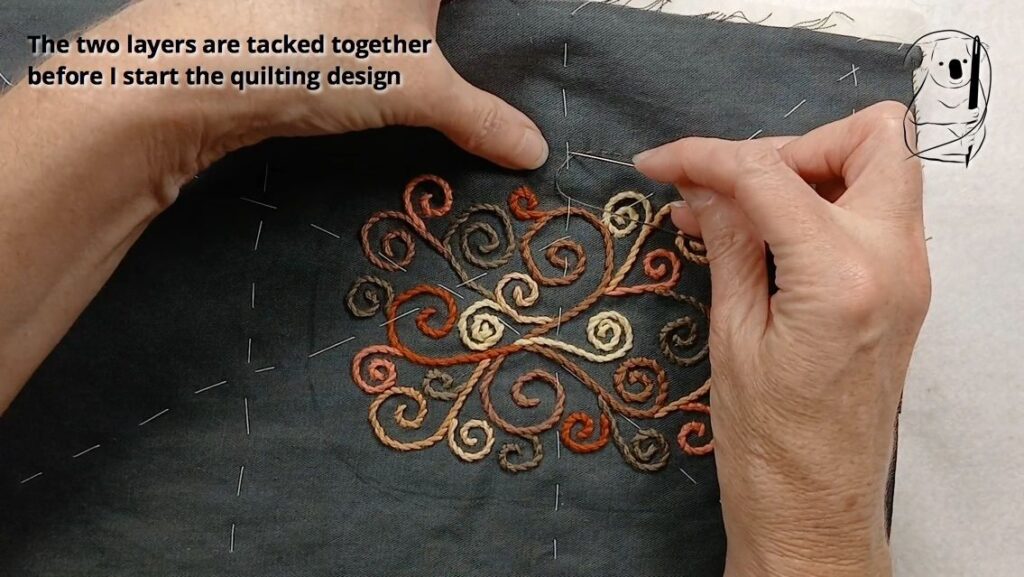
I found some light-weight batting to line the pouch.
The two layers were tacked together before any sewing, to ensure they didn't shift.
I drew around the stitched design, as a border for the quilting, then stitched around this before drawing the lines for the rest of the quilting.
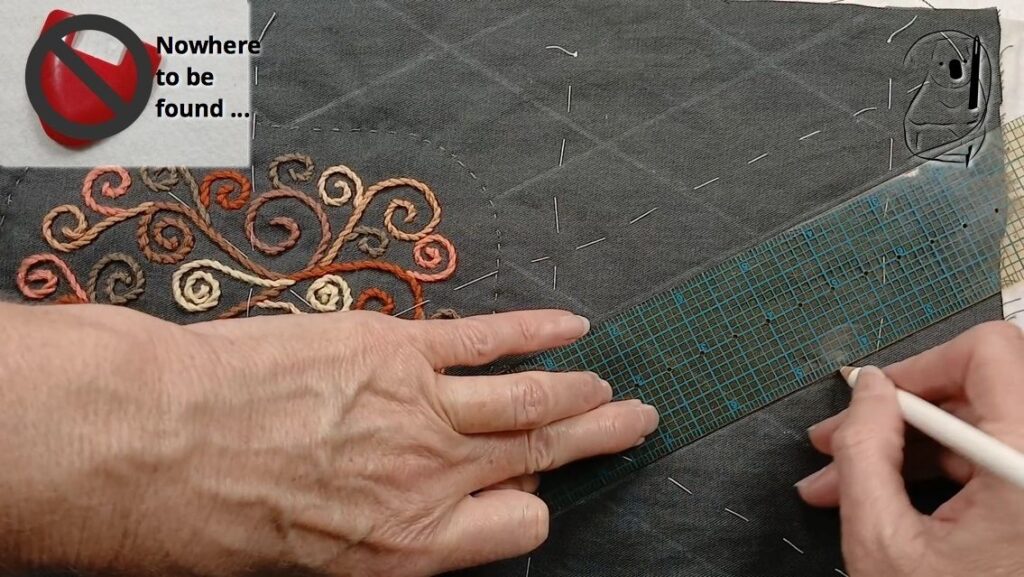
I drew a design on the fabric to quilt the two layers together.
This was done using a water soluble dressmaking pencil.
I would have preferred to use my chalk wheel, which is magic for drawing straight lines on flat fabric, but it was nowhere to be found.
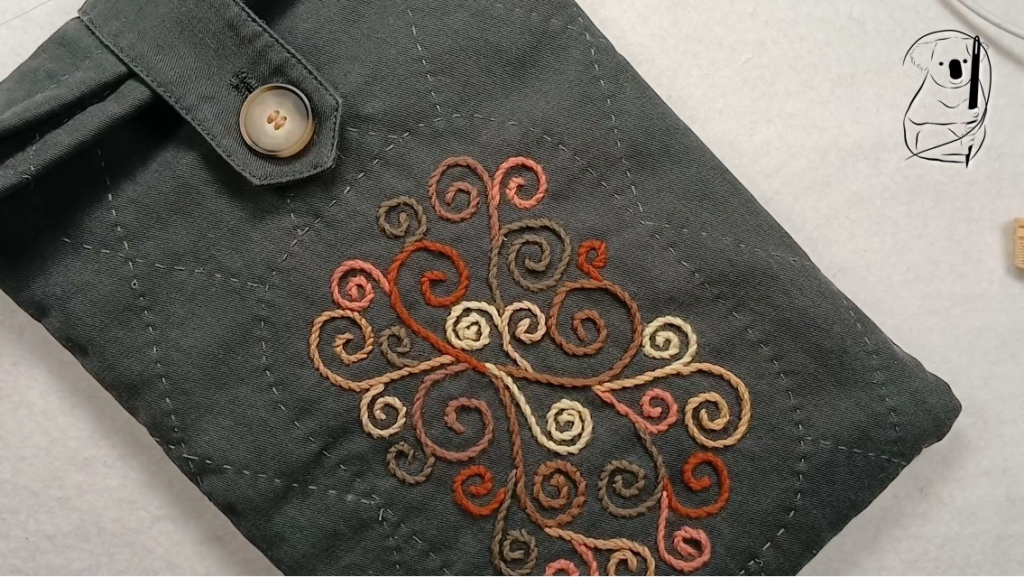
Once the layers were secured, I back stitched around three sides, secured the hem around the opening, and I was ready to add the fastening.
I stitched on a tab and button removed from the original trousers, using some of the embroidery thread to secure the button. With a little encouragement, the top flap lays almost flat, and I like that I used elements from the trousers in the design.
Having made the initial design choices, this project flowed smoothly. Completing some of the construction by sewing machine rather than by hand might have been faster and more regular, however it was a pleasant task to complete whilst commuting.
The softness of the fabric is enhanced by the light padding, and I am very pleased with how it turned out. Not a complete beginners project perhaps, because there are a number of stages to the sewing where experience helped, but putting the same design onto a finished item would be easy to do.
Now, what other tablet accessories can I create from the same fabric? Perhaps a beanbag stand...
Find the design used for Josie on our Resources page.
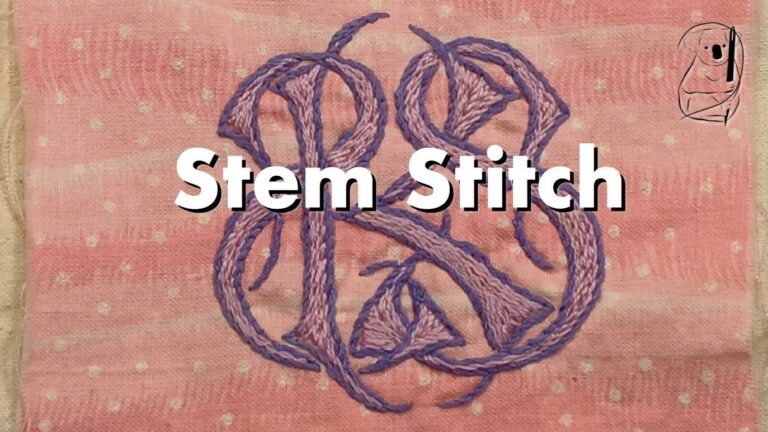
See our Stem stitch blog tutorial for a refresher on how to do Stem stitch.
Or watch our Stem stitch tutorial video on YouTube.
See a short video of the making of Josie on YouTube.