Stem stitch is a classic embroidery technique which produces a smooth flowing line of stitching and is often used as an outline stitch, or as its name infers, as the stems of flowers and other botanical elements. The line it creates is smoother and thicker than back stitch, with a rope-like finish.
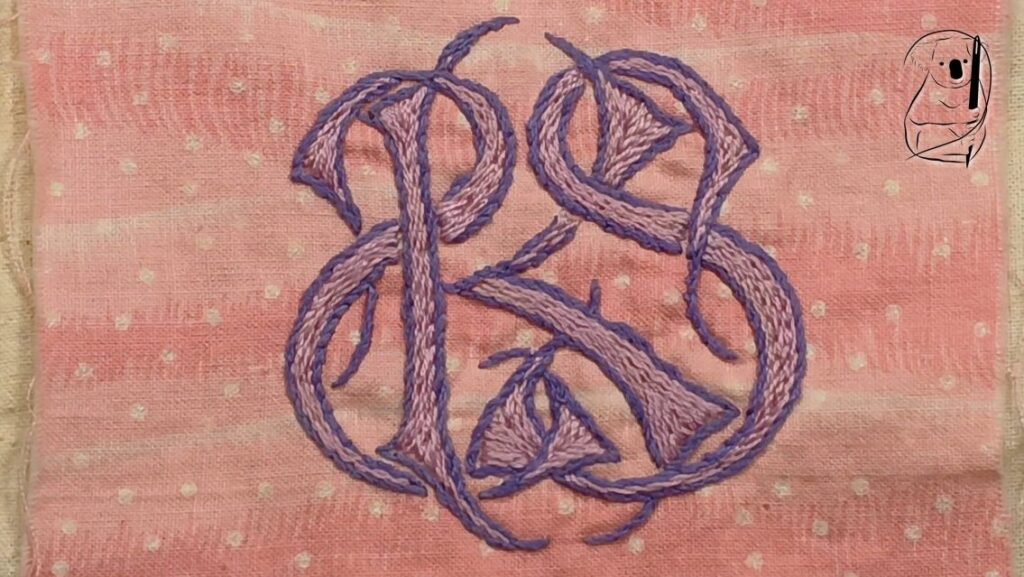
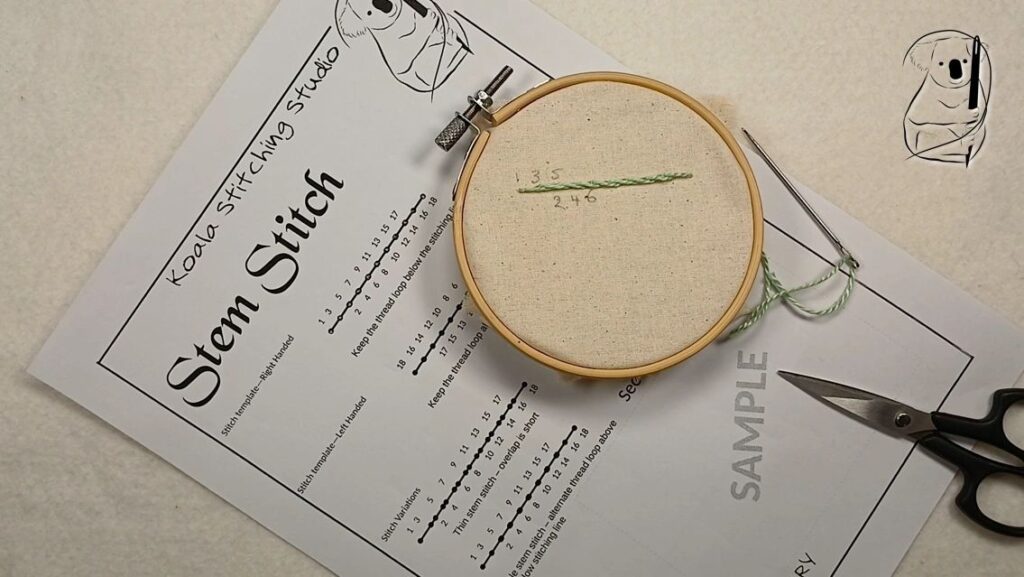
For right-handers, it is worked left to right, with the surface loop below the line of stitching. For left-handers, it is worked right to left with the surface loop above the line of stitching. We test this is in our video, and show our results below as well.
Steps to Create Stem Stitch
Step 1: Preparation
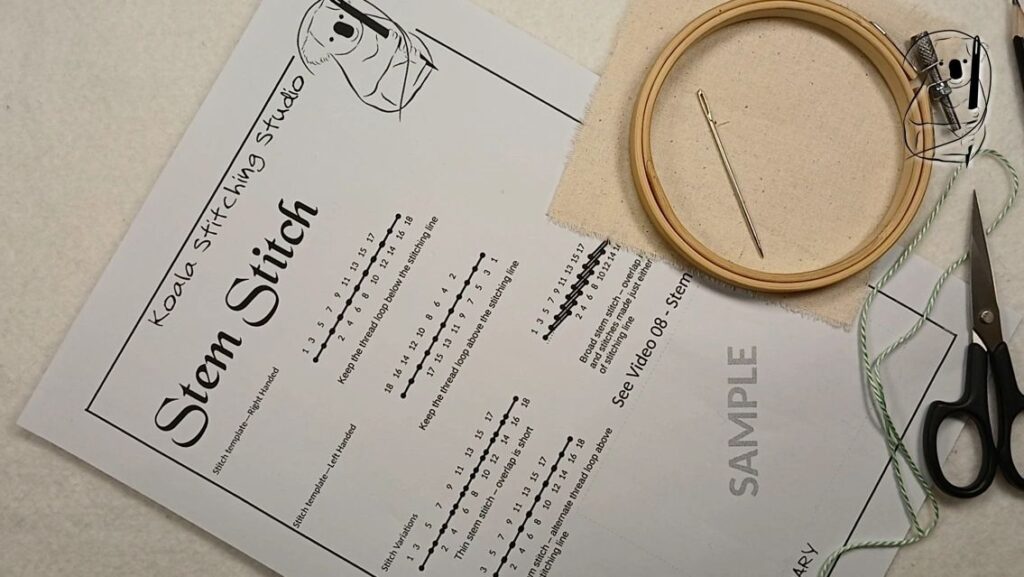
Cut a length of thread, approximately 12 to18 inches long, to ensure it is manageable and doesn't tangle easily. Thread the needle and knot the end of the thread to prevent it from pulling through the fabric. (see our video - Getting Started in Hand Stitching for a simple starting knot, or the Getting Started blog page for a description with photos.)
If you are using our stitch guide, mark your fabric. For practice stitching, pencil works well. I have used a 2B pencil here, which is soft enough to make clear marks.
Step 2: Starting the Stitch
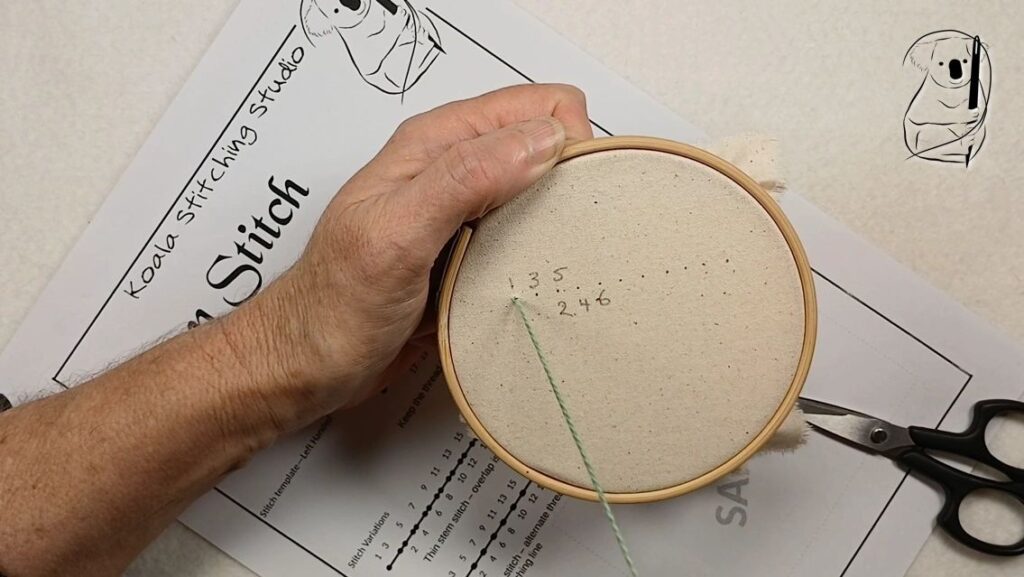
Working left to right, insert the needle into the fabric from the underside at the point where you want to start your stitch line. Pull the thread through until the knot rests against the fabric.
Step 3: Making the Stitches
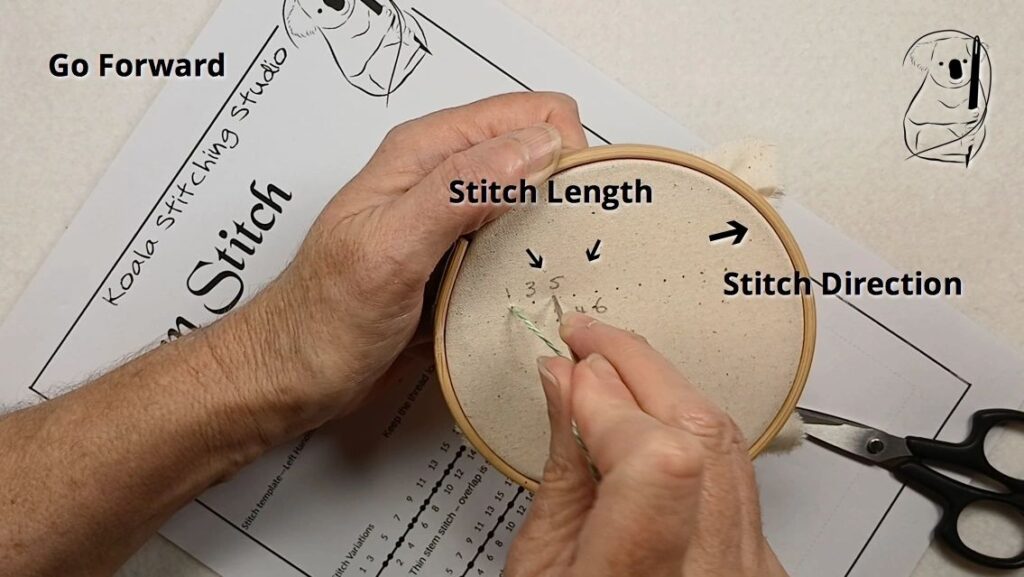
Go forward
Push the needle back into and through the fabric a short distance away. This will be one stitch length. Pull the thread most of the way through the fabric. Leave a small loop of fabric below the line of stitching.
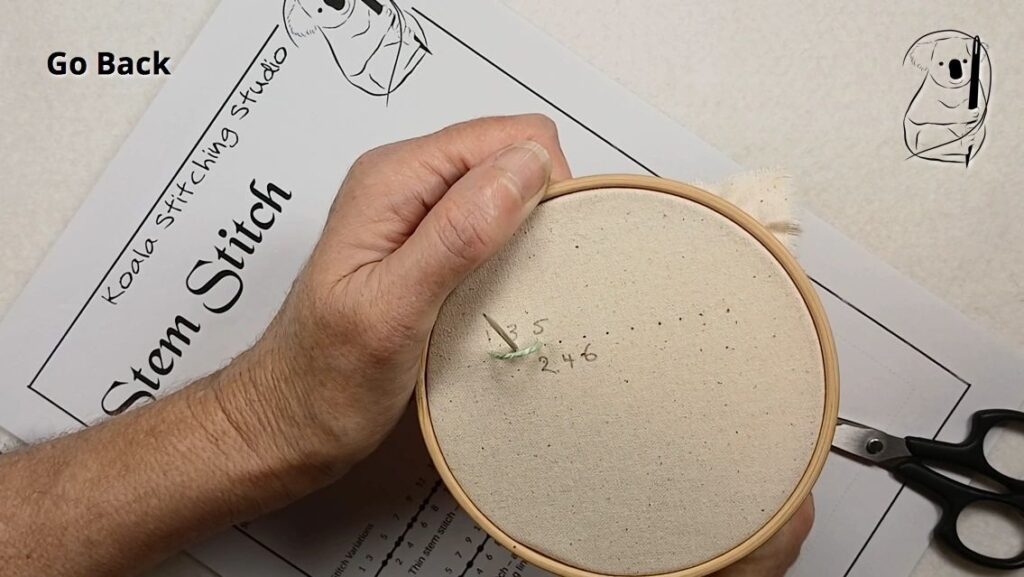
Go Back
Bring the needle back to the front of the stitching half way back toward the start of the stitching line and draw through the remainder of the thread so that the stitch lies flat against the surface of the fabric.
Step 4: Continuing the Pattern
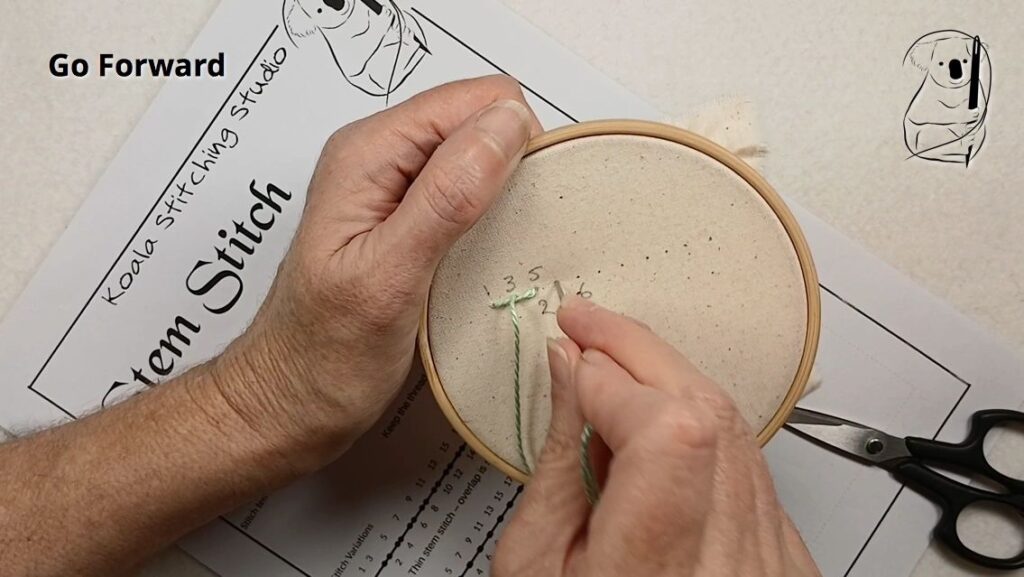
Forward
Take the needle along one stitch length, push through the fabric and pull the thread most of the way through, again leaving a small loop on the surface of the fabric. Ensure this loop remains on the same side as before (for example, below the stitching line).
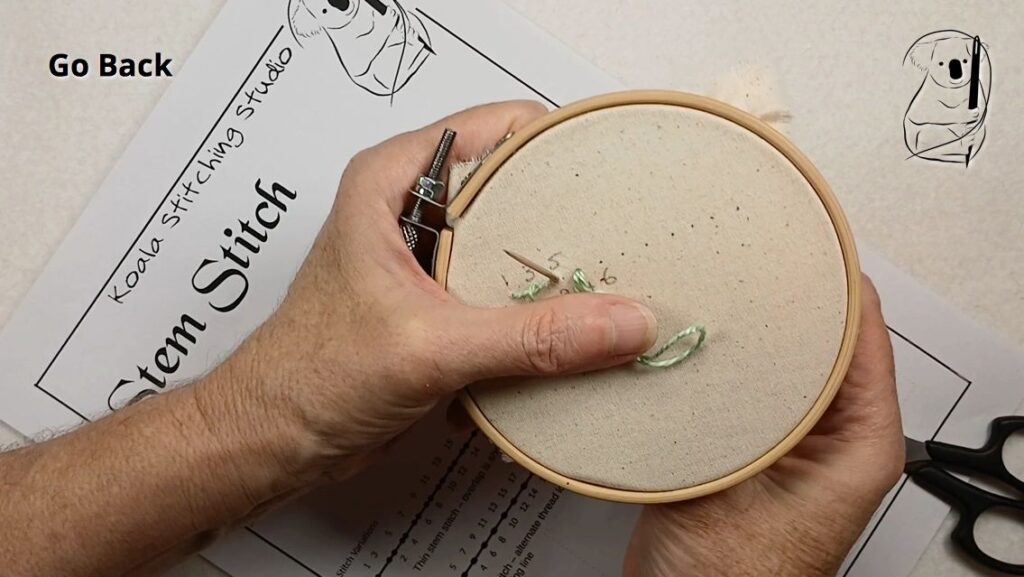
Back
Bring the needle up through the fabric half way back along the stitching line, at the end of the last stitch and pull the previous stitch flat.
Continue the stem stitch by repeating the process, ensuring that your stitches are consistent in length. The evenness of the stitches will contribute to the overall appearance of the line of stitching.
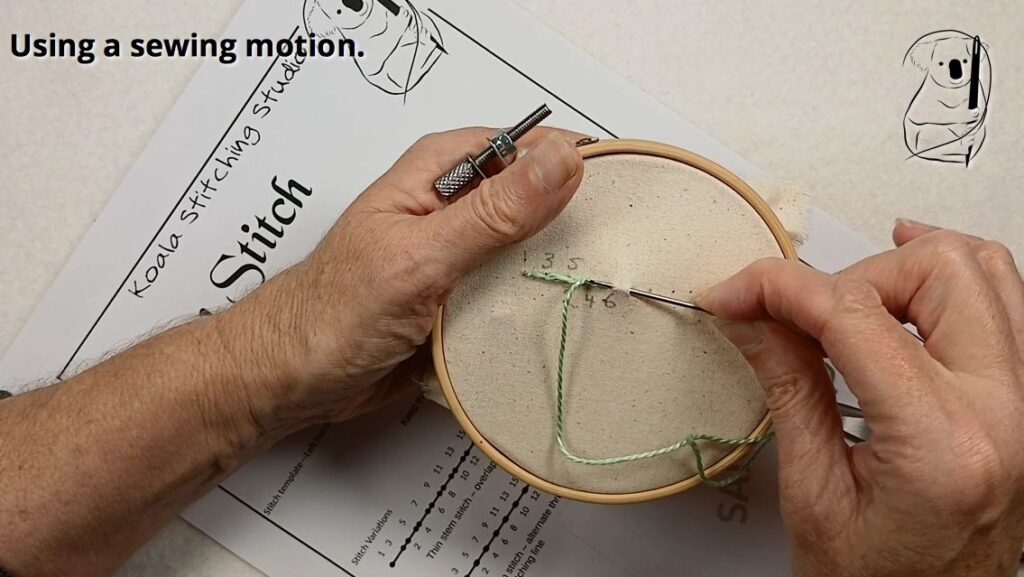
Instead of pulling the thread all the way through the fabric for every stitch, you can use a sewing motion to take the needle into and out of the fabric in one action. If you are not using an embroidery hoop, take care that the tension on the thread remains even to maintain a uniform appearance and a smooth fabric surface.
Step 5: Finishing the Stitch
When you reach the end of your line of stitching, bring the needle to the under side of the fabric.
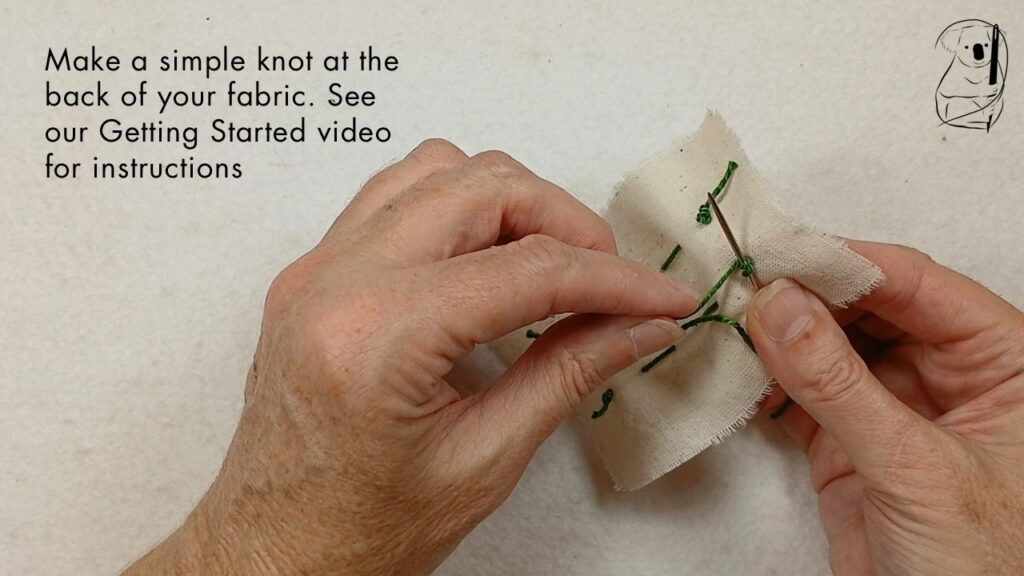
Make a small knot close to the fabric to secure the thread. Trim any excess thread with scissors. (see our video - Getting Started in Hand Stitching for a simple end knot, or the Getting Started blog page for a description with photos.)
What's the deal? Above or Below?
The difference between which side you keep your loop of thread is the difference between Stem stitch and Outline stitch. In theory, you might think that these stitches would look the same, however due to the twist of threads, there is a difference in the way they appear on the fabric.
For right handed stitchers working left to right, when doing Stem stitch, keep your loop below the line of stitching. For Outline stitch, keep your loop above the line of stitching.
For left-handed stitchers working right to left, when doing Stem stitch, keep your loop above the line of stitching. For Outline stitch, keep your loop below the line of stitching.
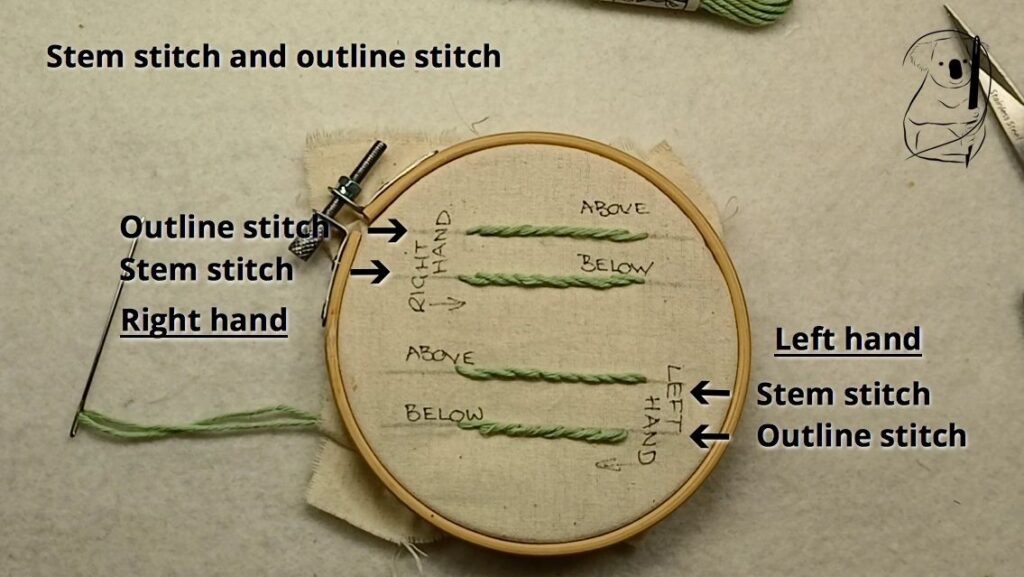
In this example, the Stem stitch has a more ropy appearance.
The Outline stitch is a bit smoother, and in some examples, it can be difficult to discern the individual stitches.
But this can change if you change your thread. The above guidelines apply when stitching with threads with an "S" twist, which is the most common twist for embroidery threads. This green thread is an "S" twist thread.
When using a "Z" twist thread, these guidelines are swapped around. We'll have a closer look at this in our Threads video and blog.
So how do you know which way to hold your thread loop?
The best approach is probably to do some practice stitching, including curves if they will be in your final work. Try both above and below, and see which you prefer. After all, it's not about getting it right, it's about getting the look you like.
Top Tips for Success with Stem Stitch and Outline Stitch
What becomes important, with all these variables, is that you pick the look that you like best, then remain consistent as you stitch, so the stitch remains the same throughout your piece. This might mean turning the work so you are always stitching horizontally, or vertically, whichever you find most comfortable..
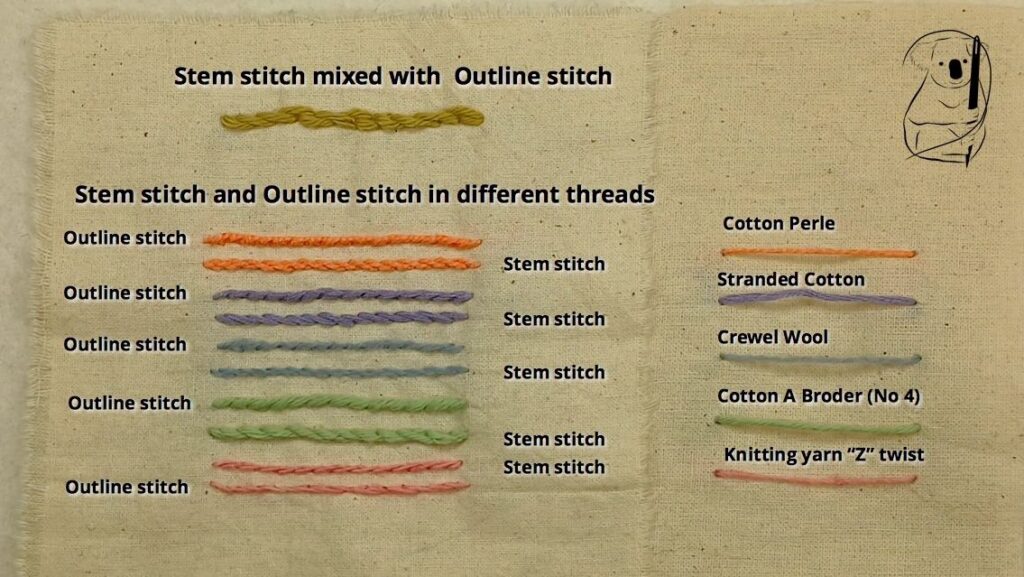
And, just to make it more exciting, different threads give different effects with these stitches. With some threads, the difference between Stem stitch and Outline stitch may be less obvious in the finished stitching. As already mentioned, the important thing is to remain consistent, and keep your work in a position that is comfortable so it is easy to keep your stitches even.
Variations on Stem Stitch
With stem stitch, varying the length of the overlap can change the look of the stitch from an even rope to a thinner string, or a thicker cord.
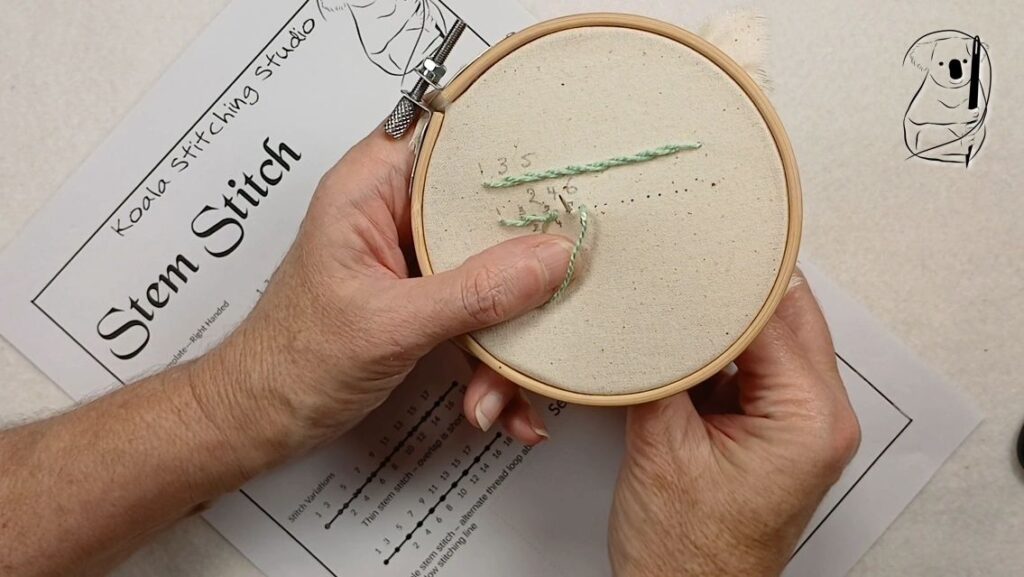
Thin Stem Stitch - by reducing the distance you go back for your next stitch, you can create a thinner line.
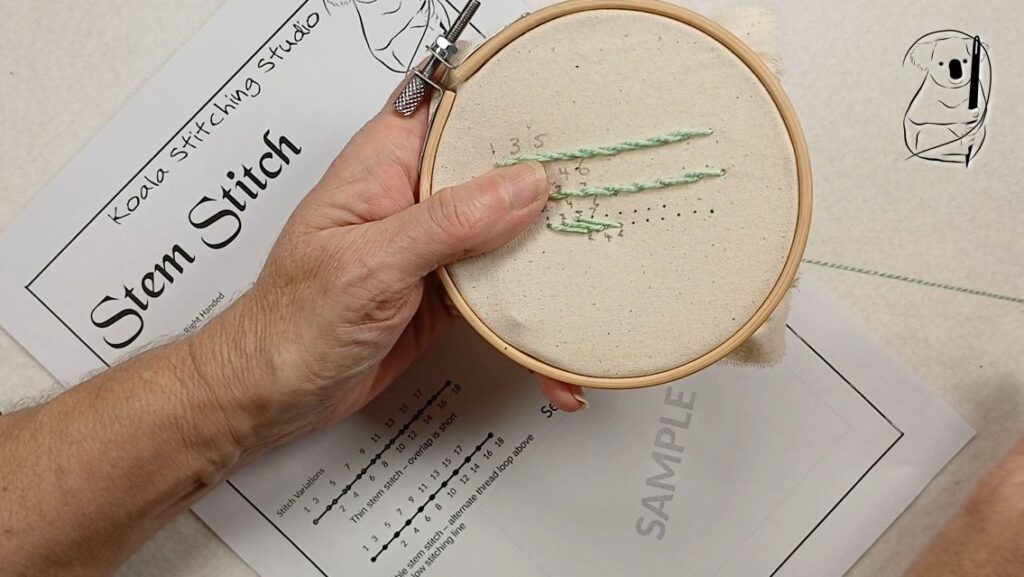
Broad Stem Stitch - by increasing the distance of the overlap, and sewing either side of the stitching line, you can create a broad line of stitching that might be part of a border or a filling stitch.
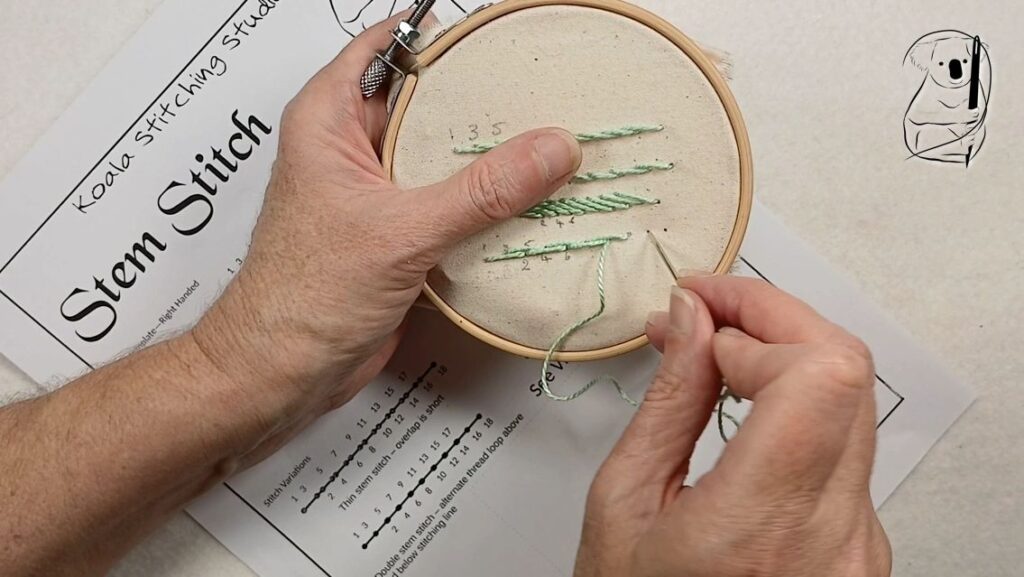
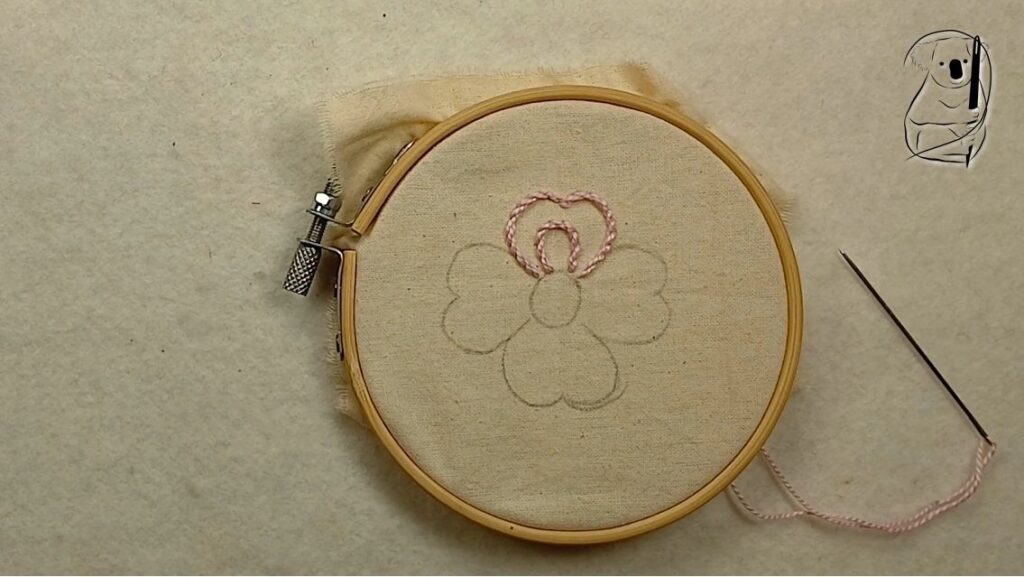
Double Stem Stitch or Cable Stitch - by intentionally swapping the side the loop rests each time you make a stitch, you can create a cable or flattened chain appearance.
Applications of Stem Stitch
The applications of stem stitch tend to be decorative.
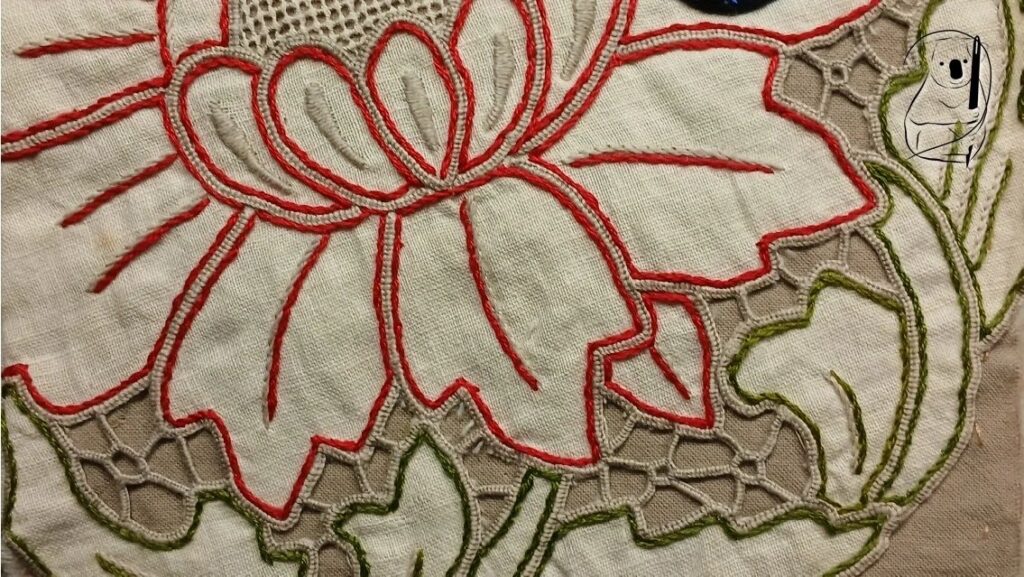
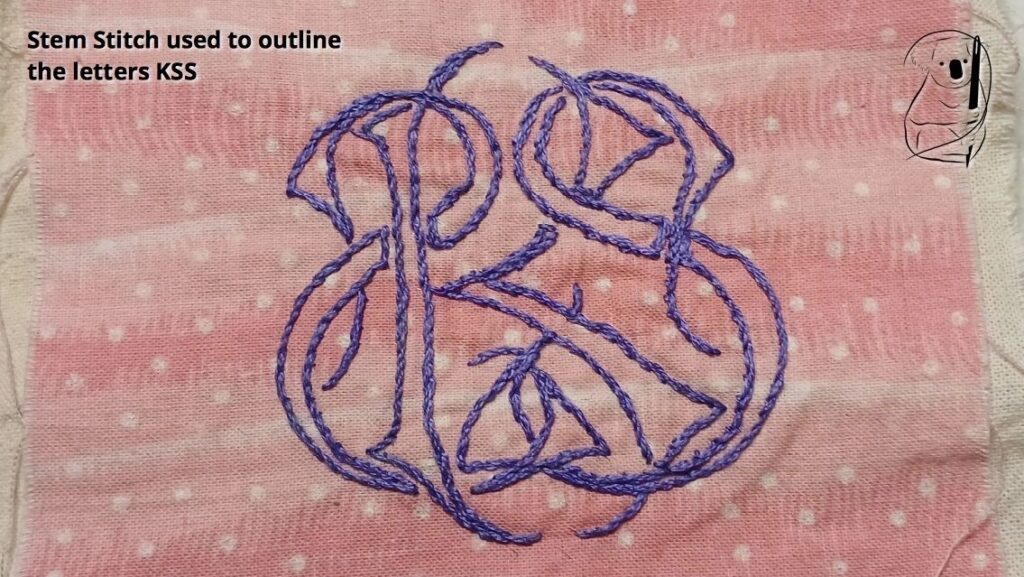
It provides clear outlines and when worked as a small stitch, creates smooth, even curves and is very useful for lettering and text in embroidered works.
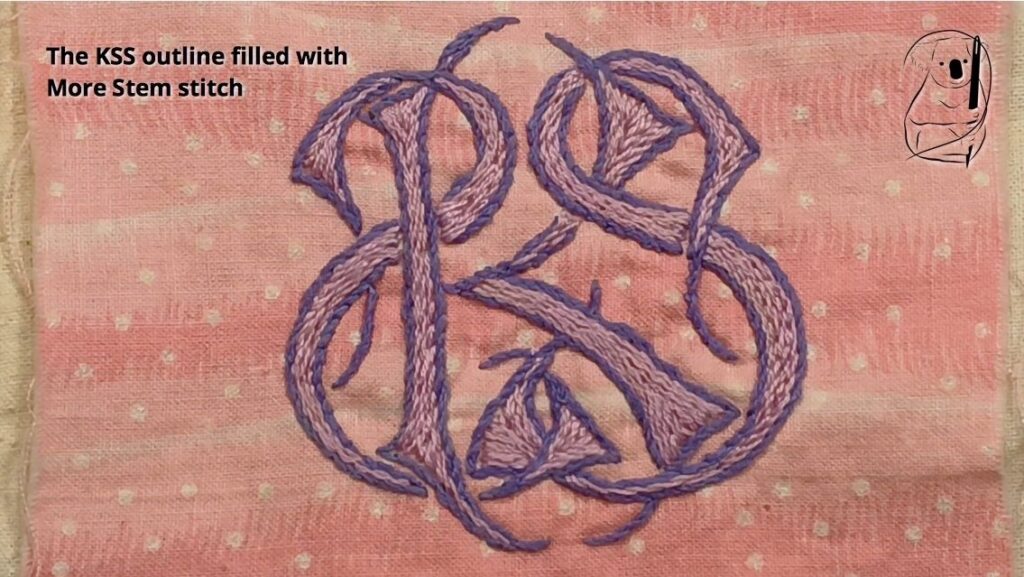
Although generally thought of as an outline stitch, stem stitch can also be used as a filling stitch. The soft rope-like finish creates an interesting surface effect when worked in close lines.
Generally, a stitch that goes back half way along the stitch, will look smoother and more even than one that only goes back a shorter distance.