The hand-sewn running stitch is one of the simplest and most fundamental stitches in sewing. It is used for a variety of purposes, from basting and gathering fabric to creating seams and decorative effects. This versatile stitch is cherished for its ease of execution and its historical significance in the world of crafting.
Steps to Create a Running Stitch
Step 1: Preparation
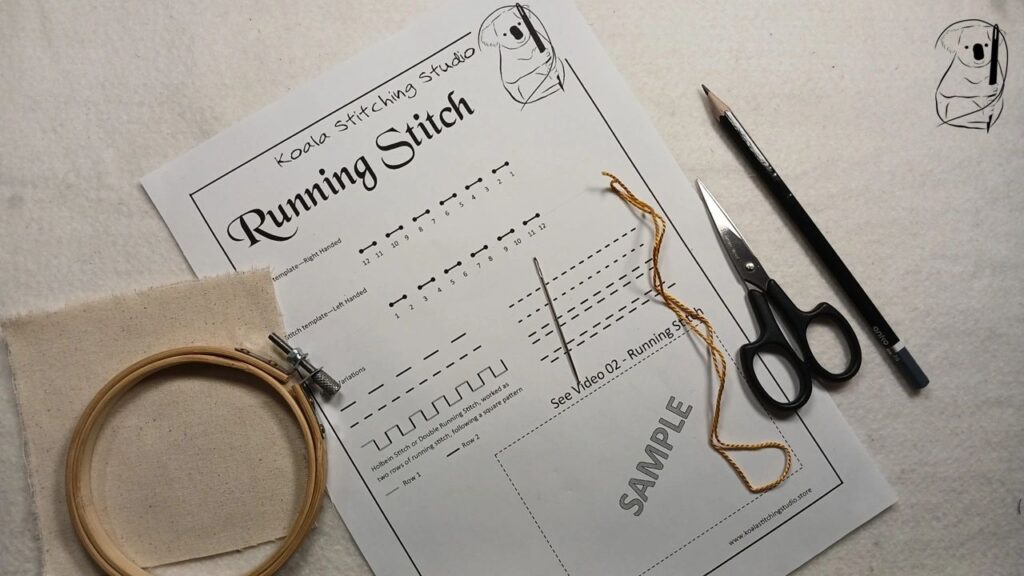
Cut a length of thread, approximately 12 to18 inches long, to ensure it is manageable and doesn't tangle easily. Thread the needle and knot the end of the thread to prevent it from pulling through the fabric. (see our video - Getting Started In Hand Stitching for a simple starting knot , or the Getting Started in Hand Stitching blog page for a description with photos.)
If you are using our stitch guide, mark your fabric. For practice stitching, pencil works well. I have used a 2B pencil here, which is soft enough to make clear marks.
Step 2: Starting the Stitch
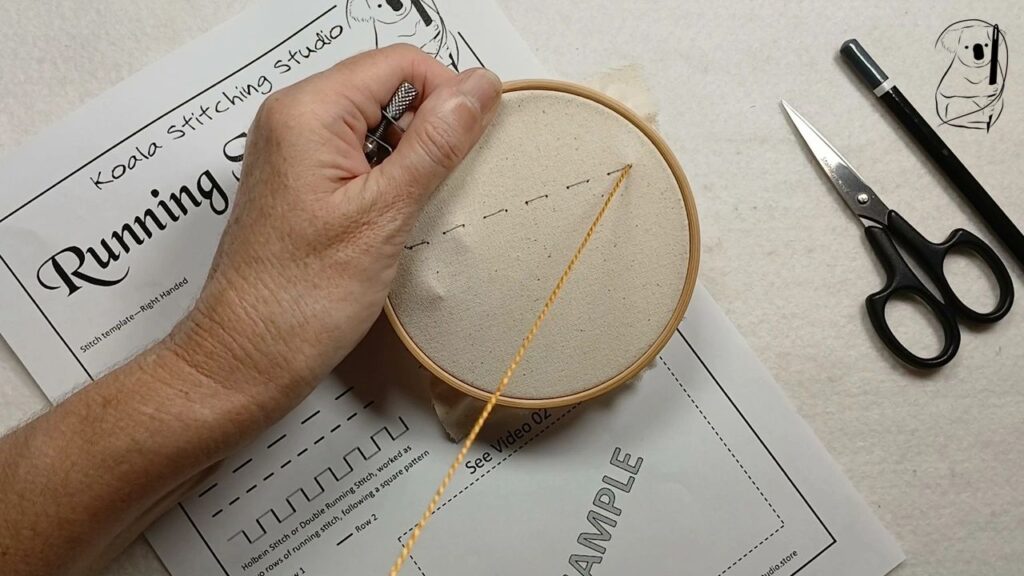
Insert the needle into the fabric from the underside at the point where you want to start your stitch. Pull the thread through until the knot rests against the fabric.
Step 3: Making the Stitches
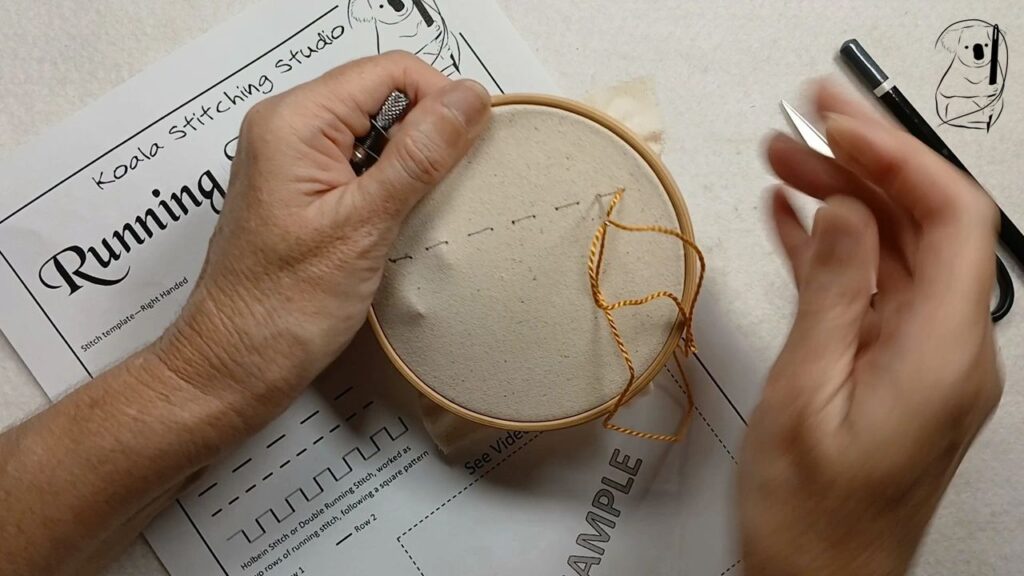
Push the needle back into and through the fabric a short distance away. This will be one stitch length. Continue pushing the needle in and out of the fabric in a straight line, creating a series of small, even stitches.
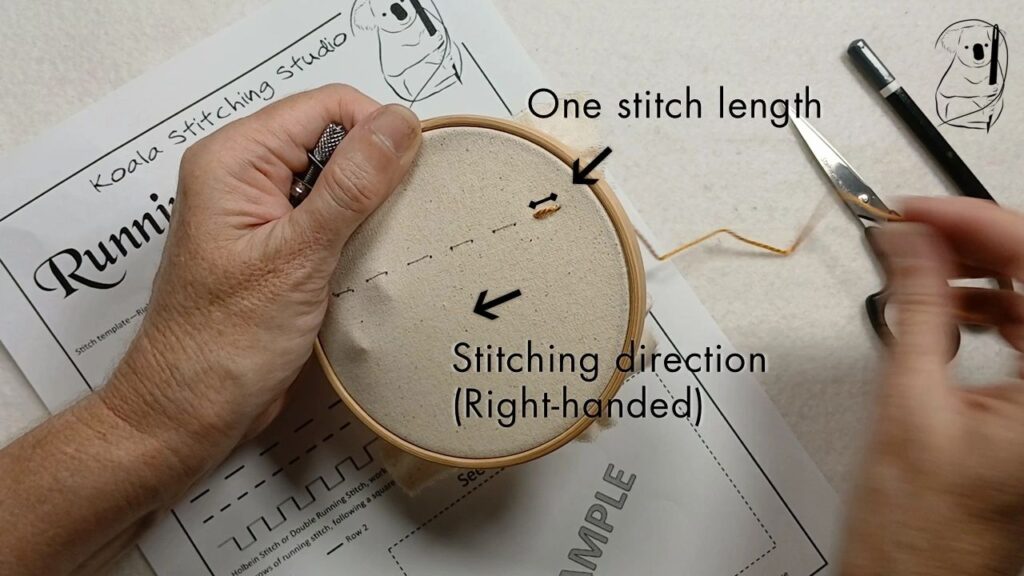
Each time the needle goes through the fabric, it should create a small visible stitch on the top or the bottom of the fabric. The length of each stitch can vary but typically ranges from 1/16 to 1/8 of an inch.
Step 4: Continuing the Pattern
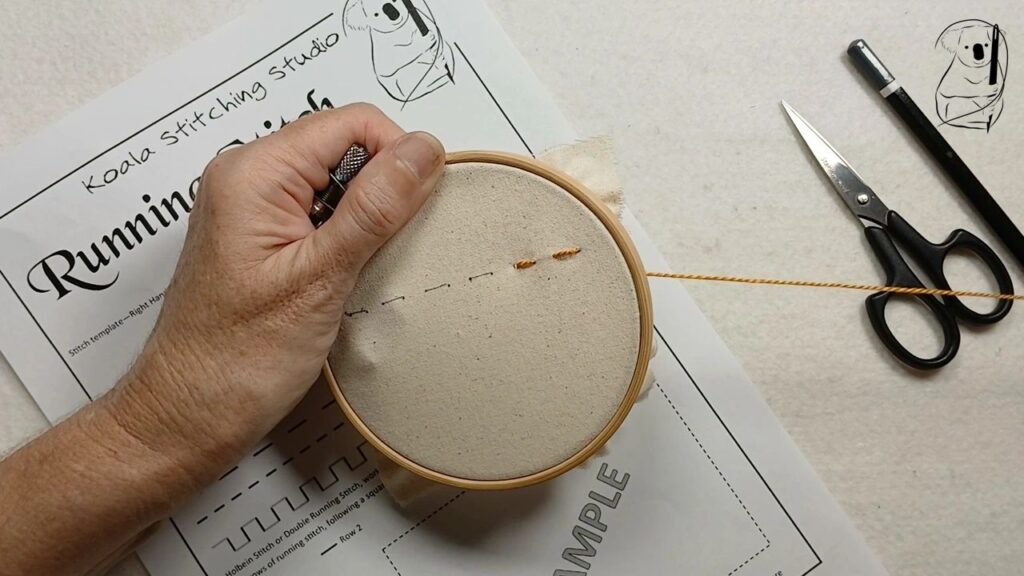
Continue the running stitch by repeating the process, ensuring that your stitches are consistent in length and spacing. The evenness of the stitches will contribute to the overall appearance and strength of the seam or line of stitching.
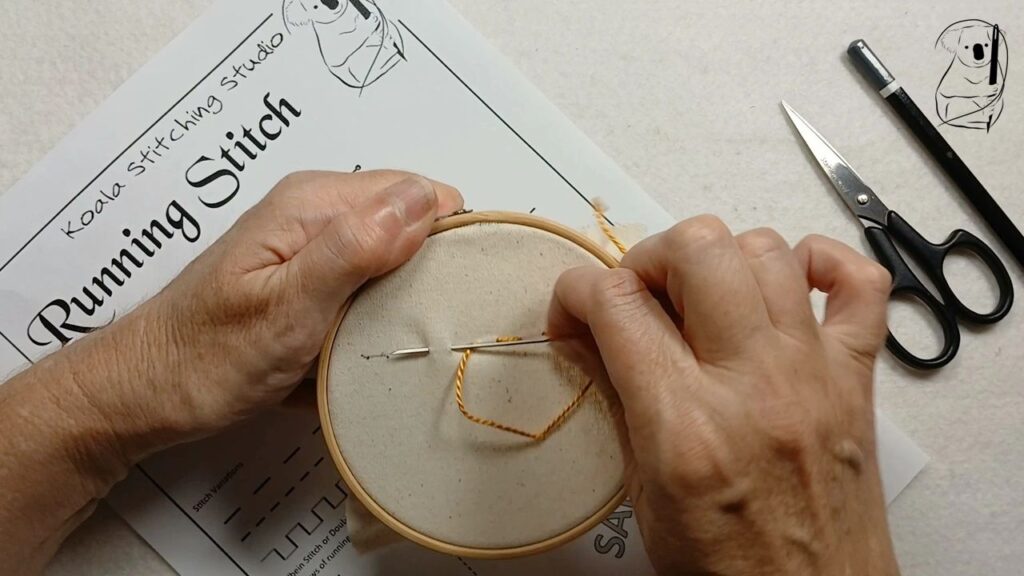
To speed up the process, instead of pulling the thread all the way through the fabric for each stitch, inserting the needle and drawing it back to the front can be done in one movement. In fact, a number of stitches may be lined up on the needle and the thread pulled through several stitches at once. Care needs to be taken when doing this, especially in decorative work with multiple lines of stitching, as the thread can gently pull up the fabric, effectively gathering it, and reducing the size of the worked area.
Step 5: Finishing the Stitch
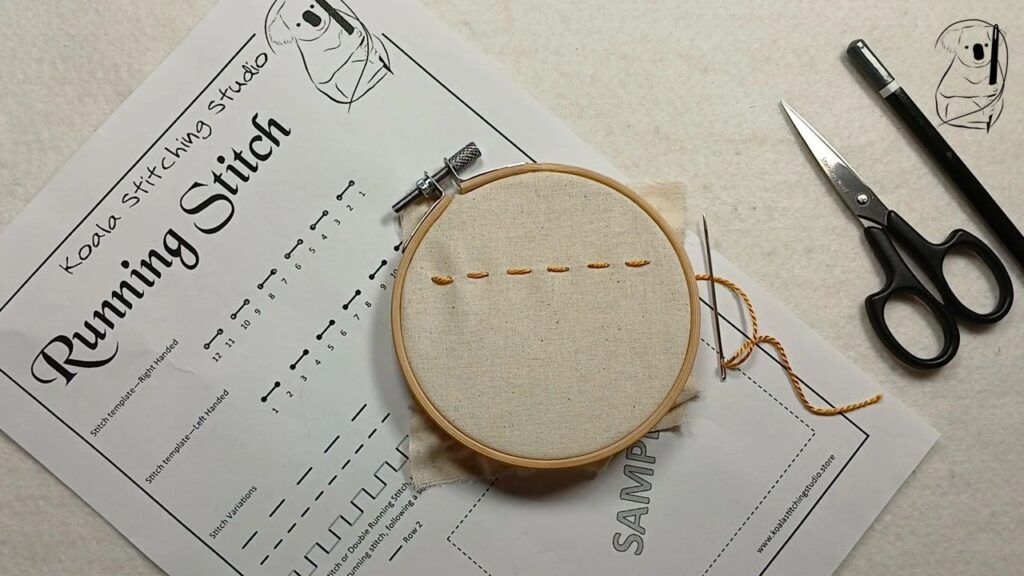
When you reach the end of your line of stitching, bring the needle to the under side of the fabric.
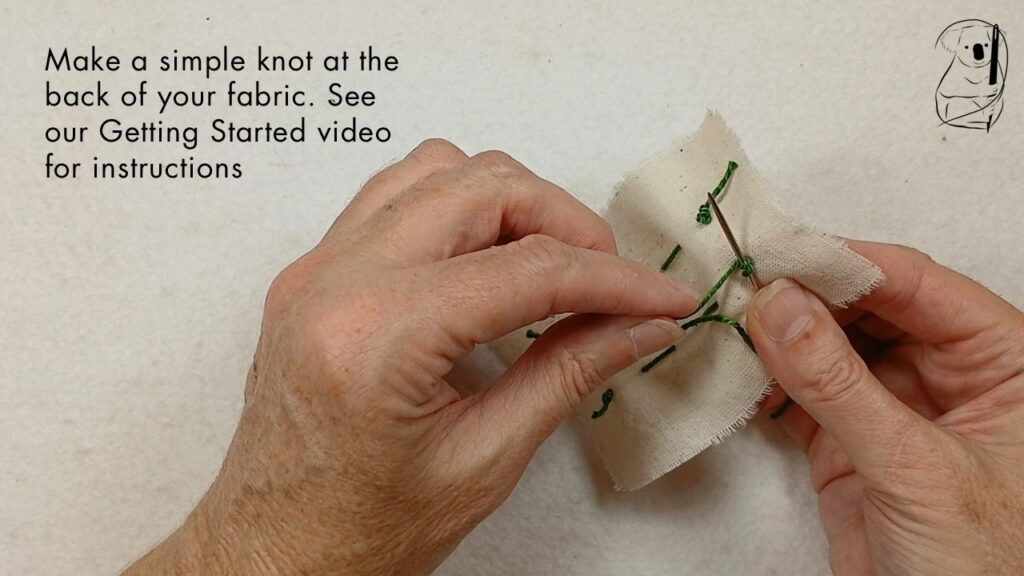
Make a small knot close to the fabric to secure the thread. Trim any excess thread with scissors. (see our video - Getting Started in Hand Stitching for a simple end knot, or the Getting Started in Hand Stitching blog page for a description with photos.)
Variations on Running Stitch
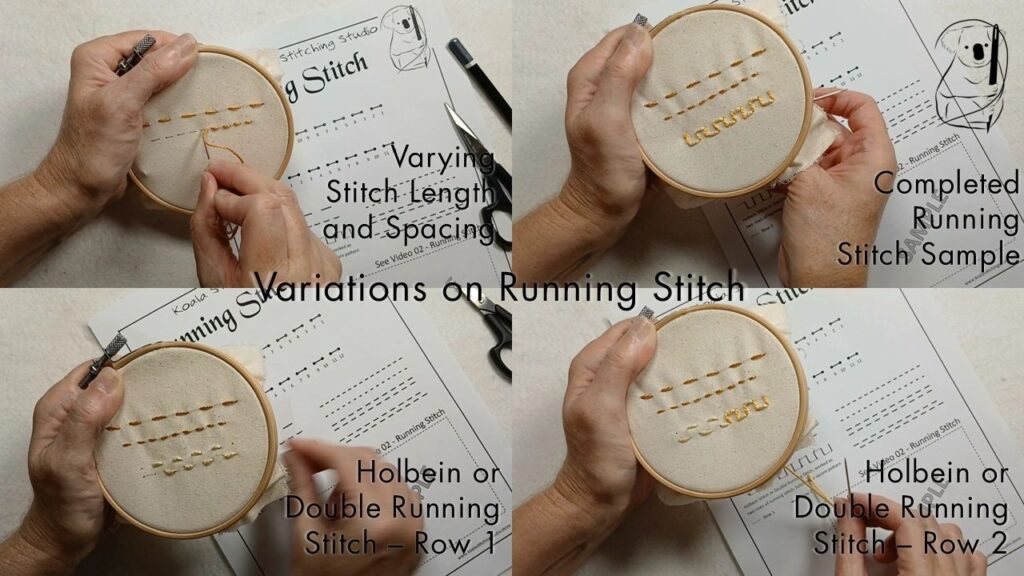
A popular variant of running stitch is Holbein or double running stitch. In this variation of basic running stitch, the same line of stitching is covered twice, with the second line of running stitch filling the gaps left by the first. This gives a clean outline stitch, and is very popular in Blackwork embroidery.
Applications of Running Stitch
Running stitch can be both functional and decorative.
In construction, running stitch may be used for
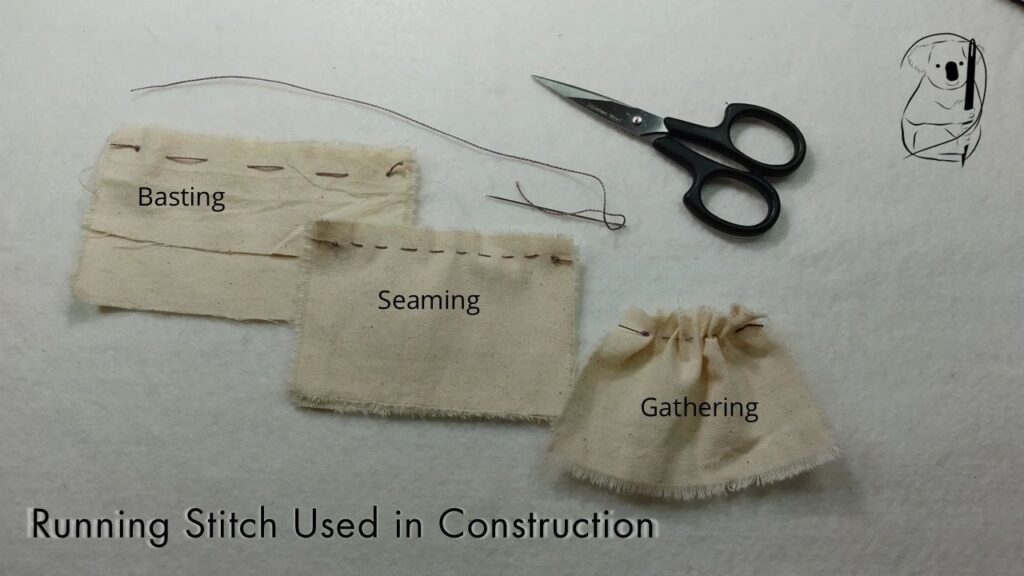
· Basting: Temporary stitches to hold fabric in place before final sewing.
· Seaming: Joining two pieces of fabric together.
· Gathering: Creating ruffles or gathers by pulling on the thread to bunch the fabric.
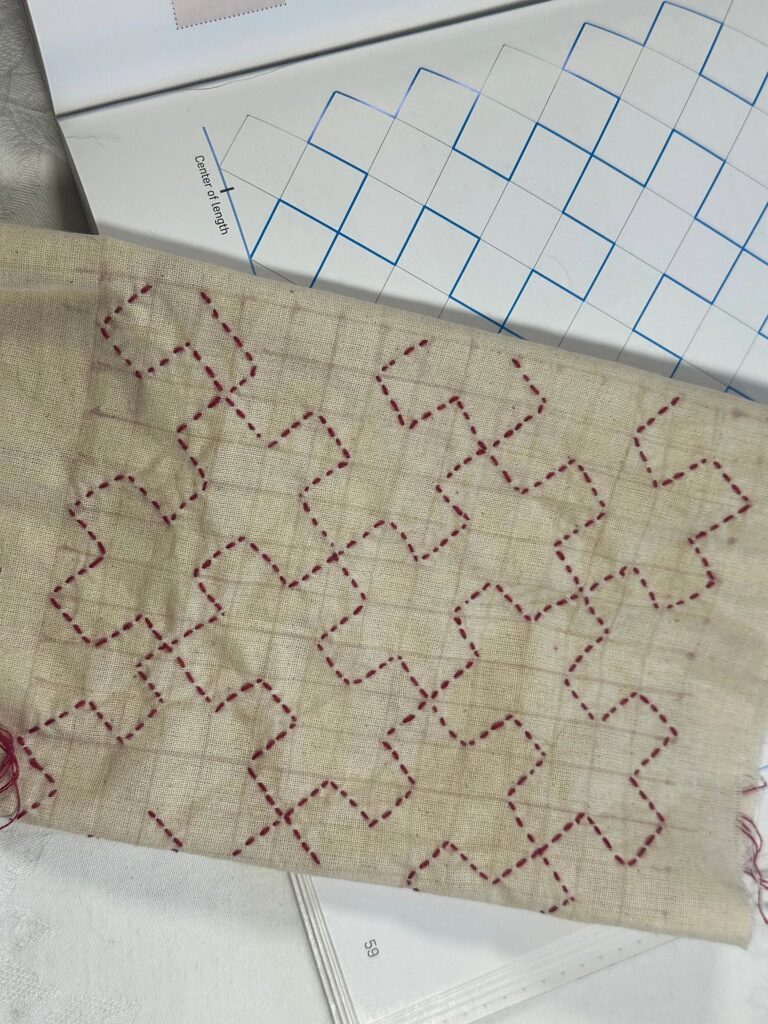
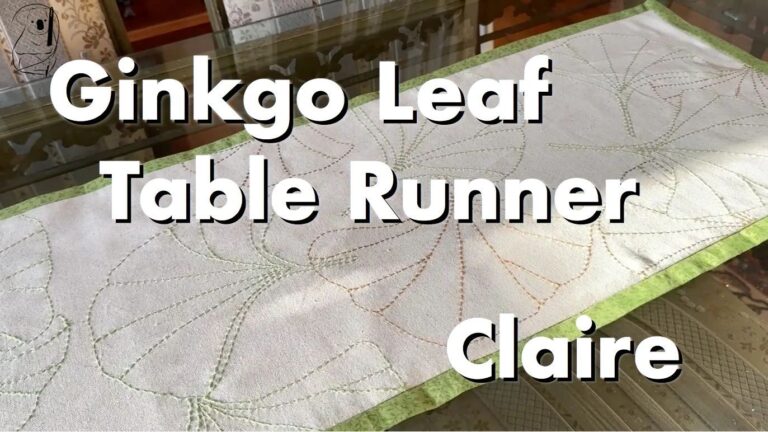
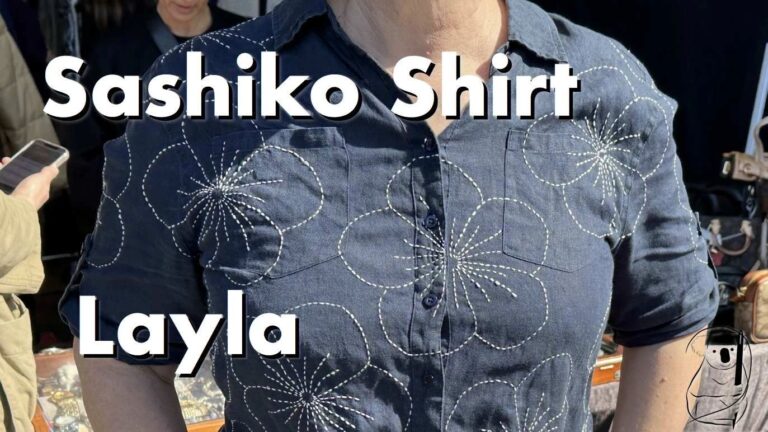
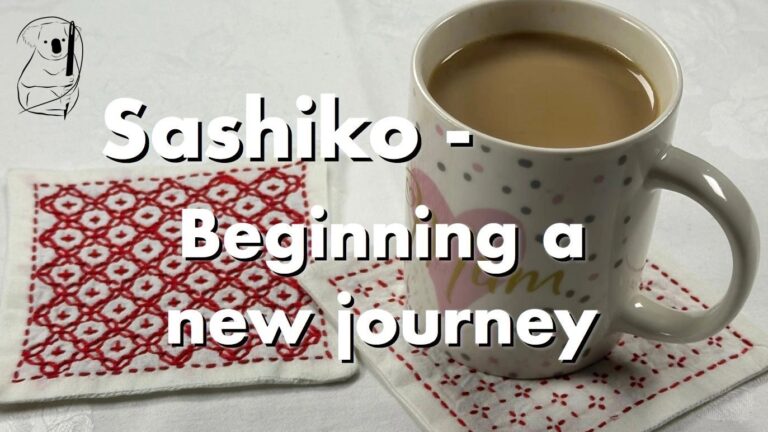
Decoratively, running stitch adds visible lines of stitching as a design element. This is seen in Sashiko and Kantha work, outlines and quilting.
Sashiko is becoming increasingly popular, both because it is relatively easy to get started, and the philosophy behind it speaks to a make-do and mend ethos that is gaining momentum around the globe.
With motifs that explore symmetry and geometry, the product is a thing of beauty.
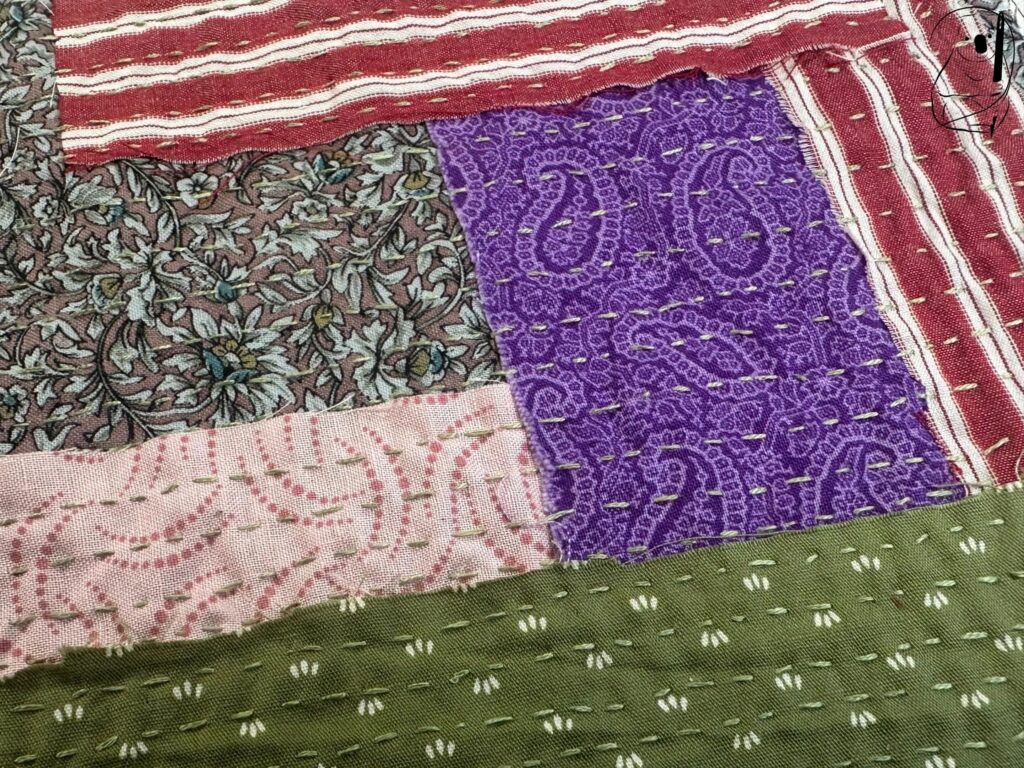
Kantha work also uses running,and can be a simple quilting of pieces of fabric together in a colourful design. It can also create elaborate patterns and picture designs, and is used to decorate clothing and household linen.
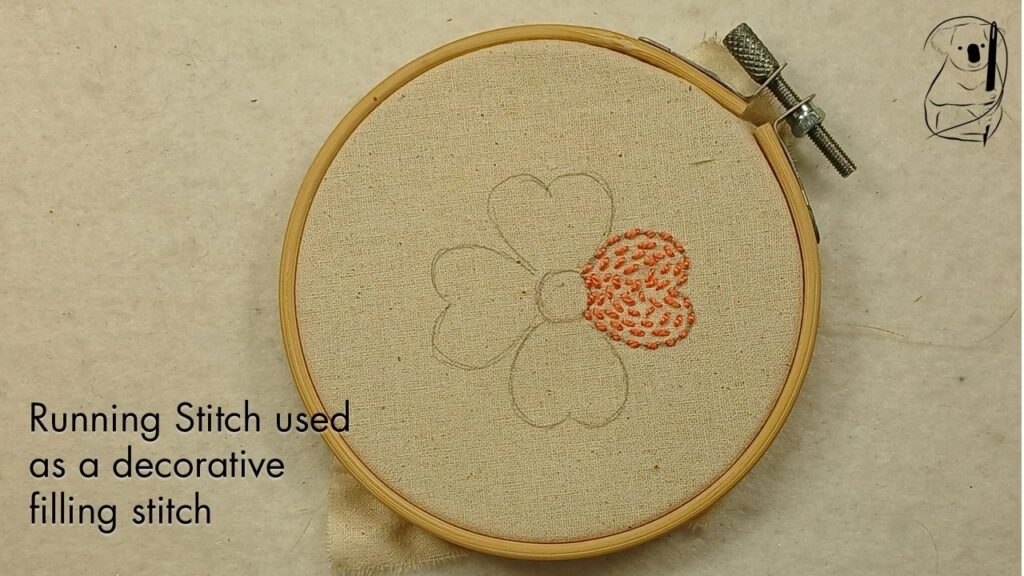
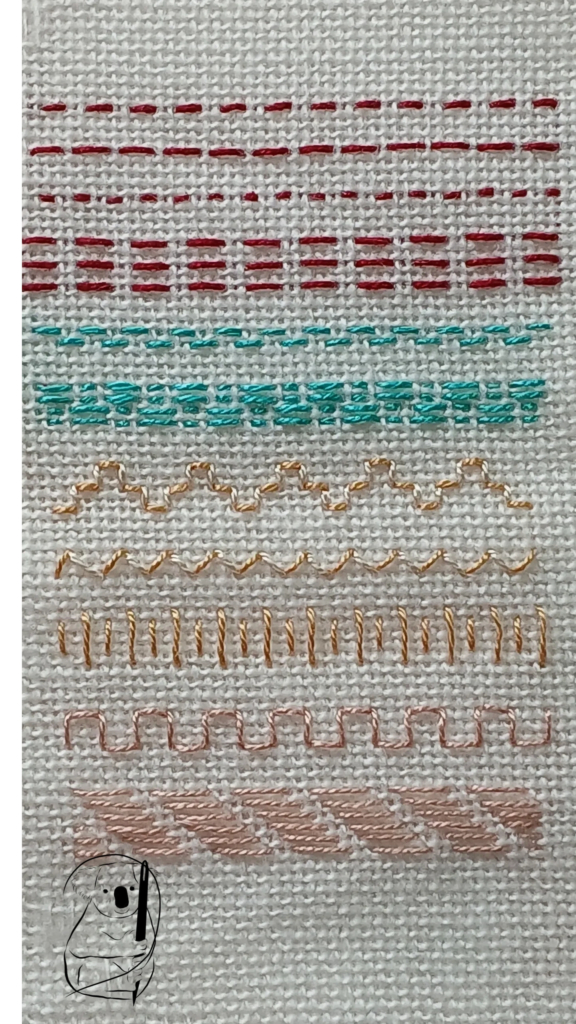
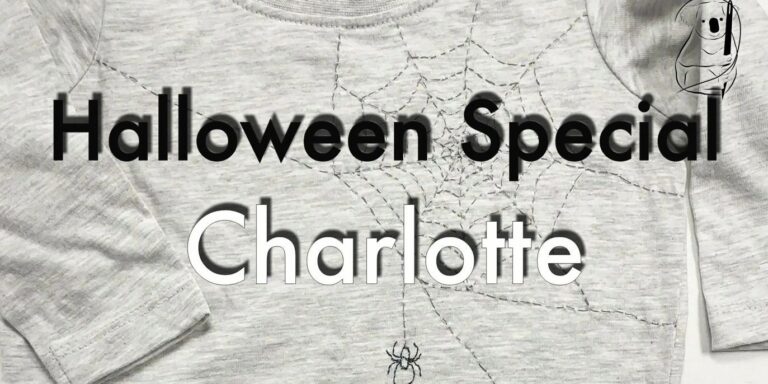
Varying the length of the stitch, the gap between the stitch or the alignment of parallel lines of stitching can all make simple but effective decorative statements.
This can be applied to projects such as garments or household linens.
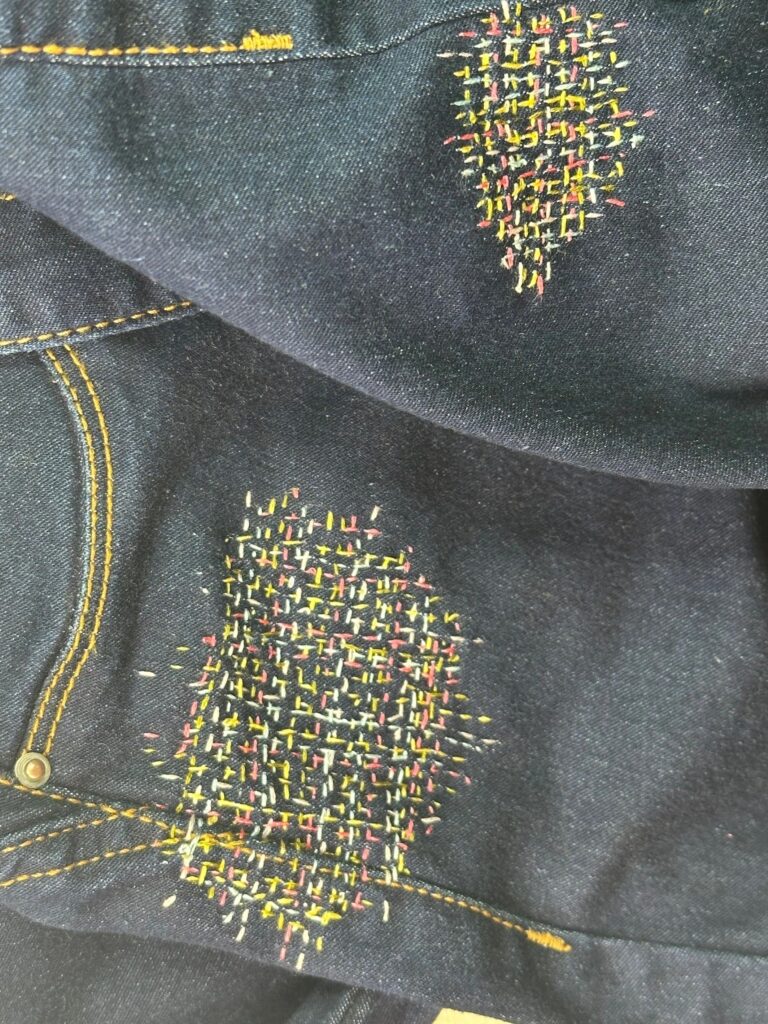
In our project Evie (see below), running stitch provides a decorative element by using changing thread colours and the density of the stitching in a defined space.